
3-July-08 The laser cut cab sides, thanks for my friend Tim M. Cab windows were also cut and provided, but I decided not to use them, leaving the window opening…
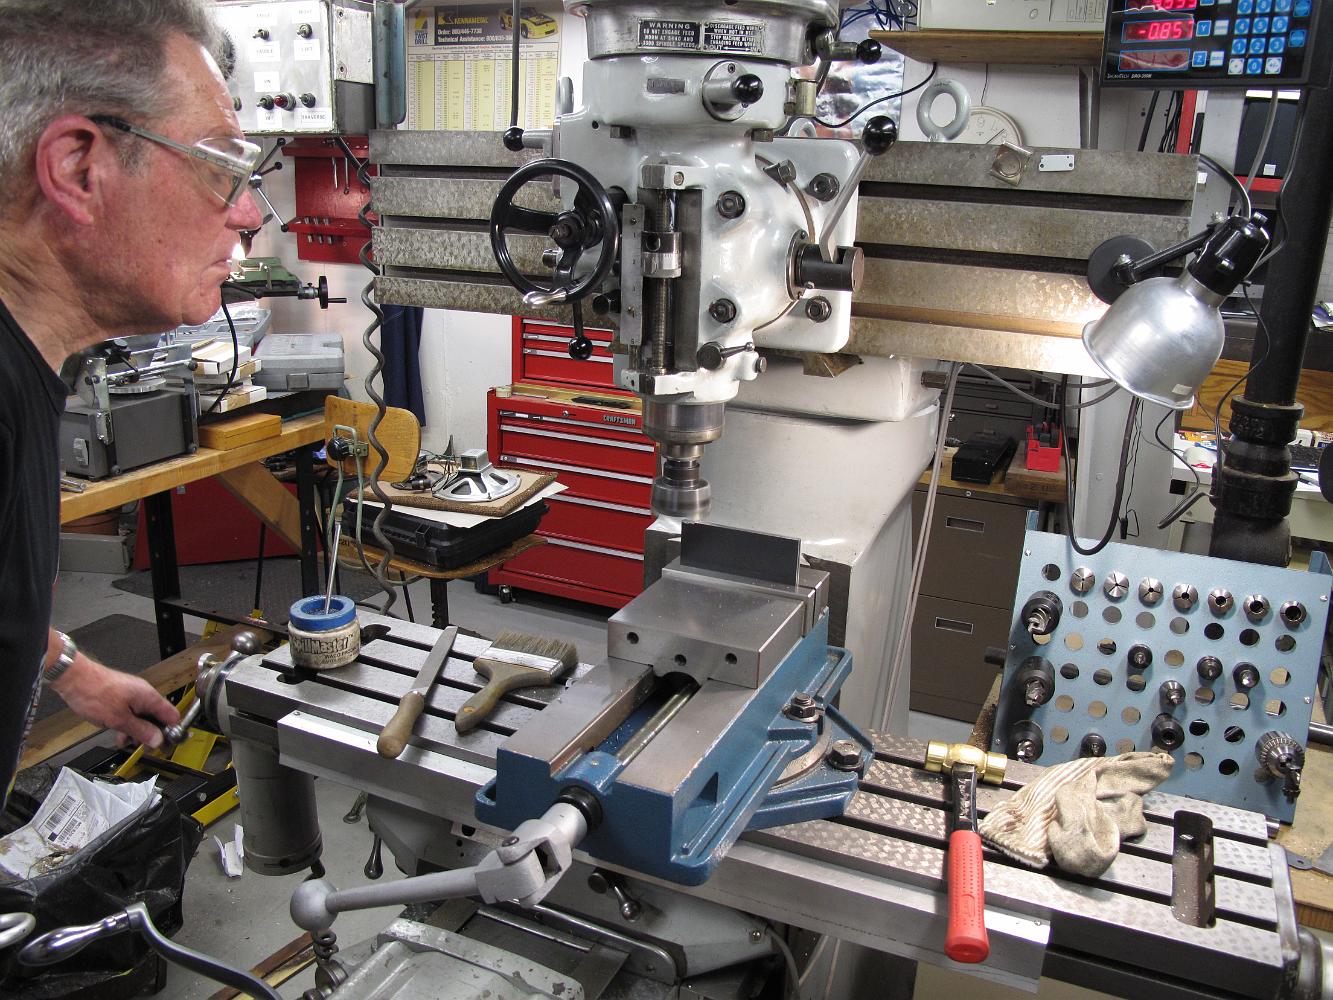
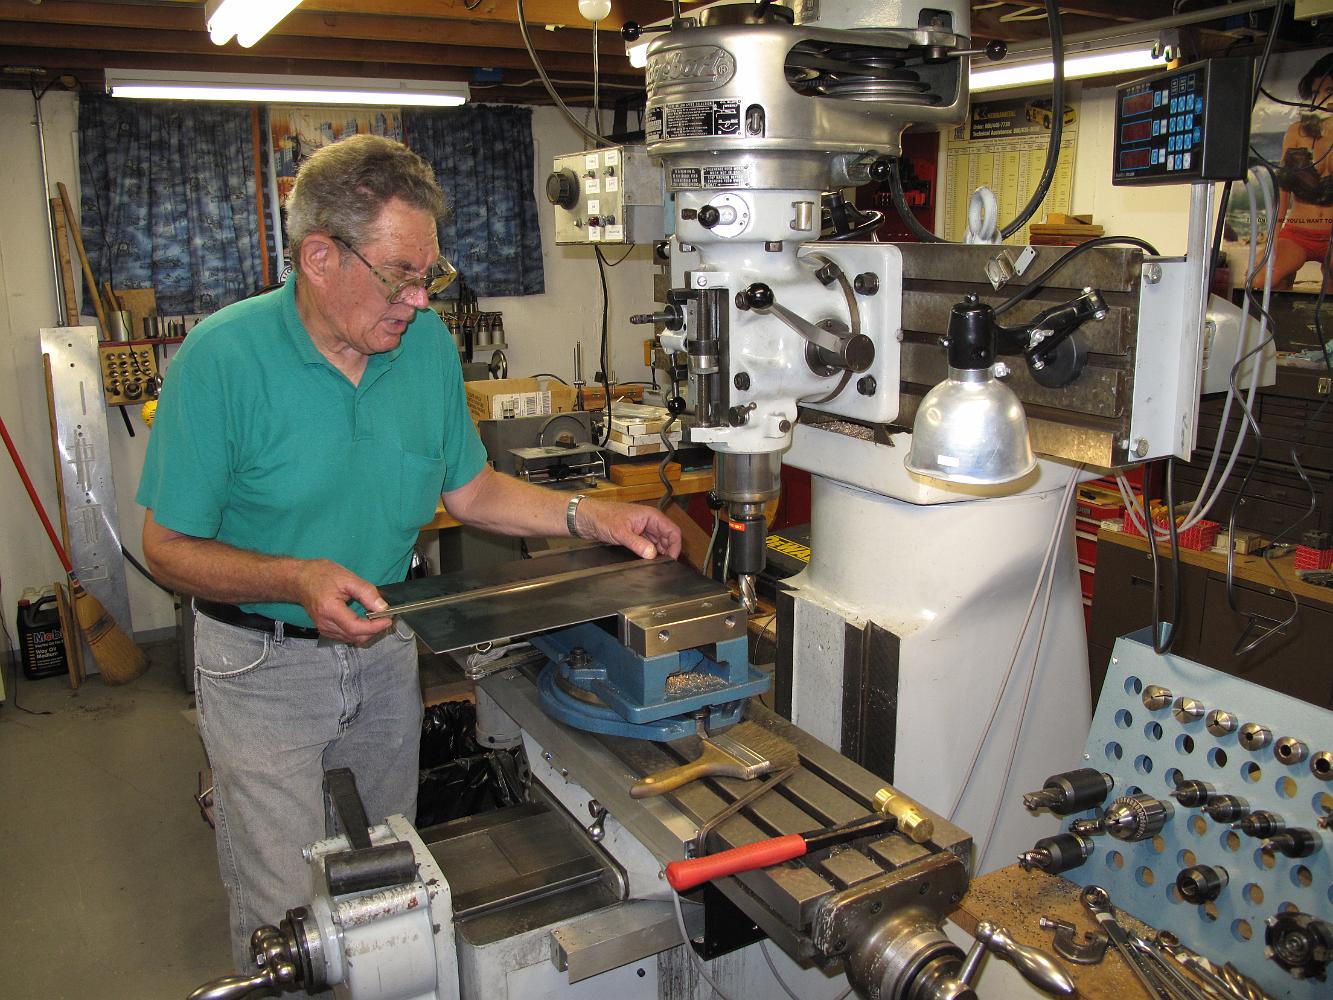
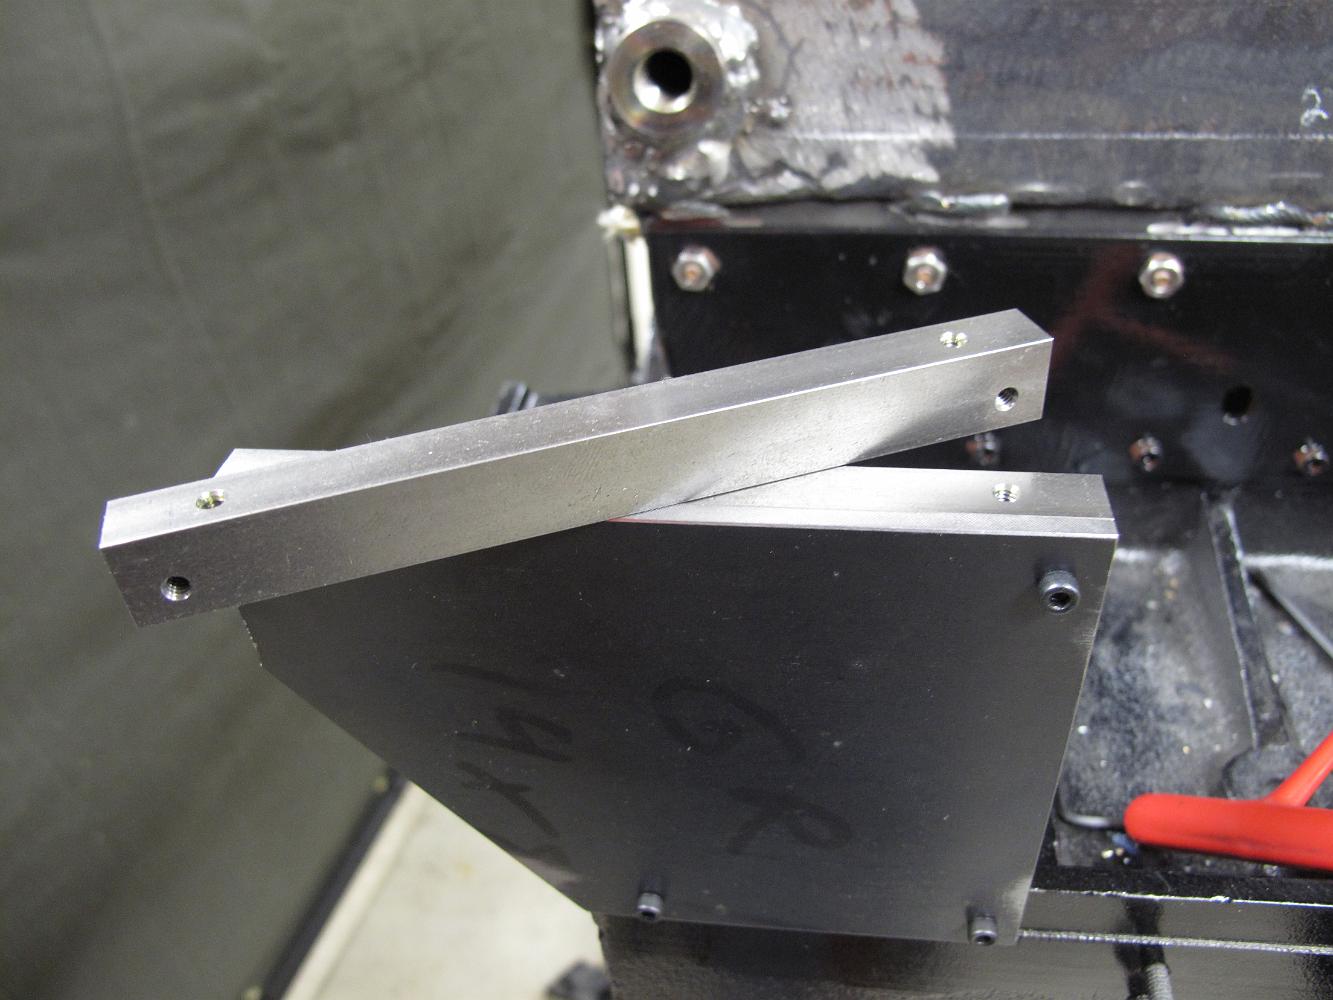
17-May-2011 Step one of machining the cab floor brackets - mill them square. Both pieces have been saw cut from the plate and are clamped in the vise. Using a…
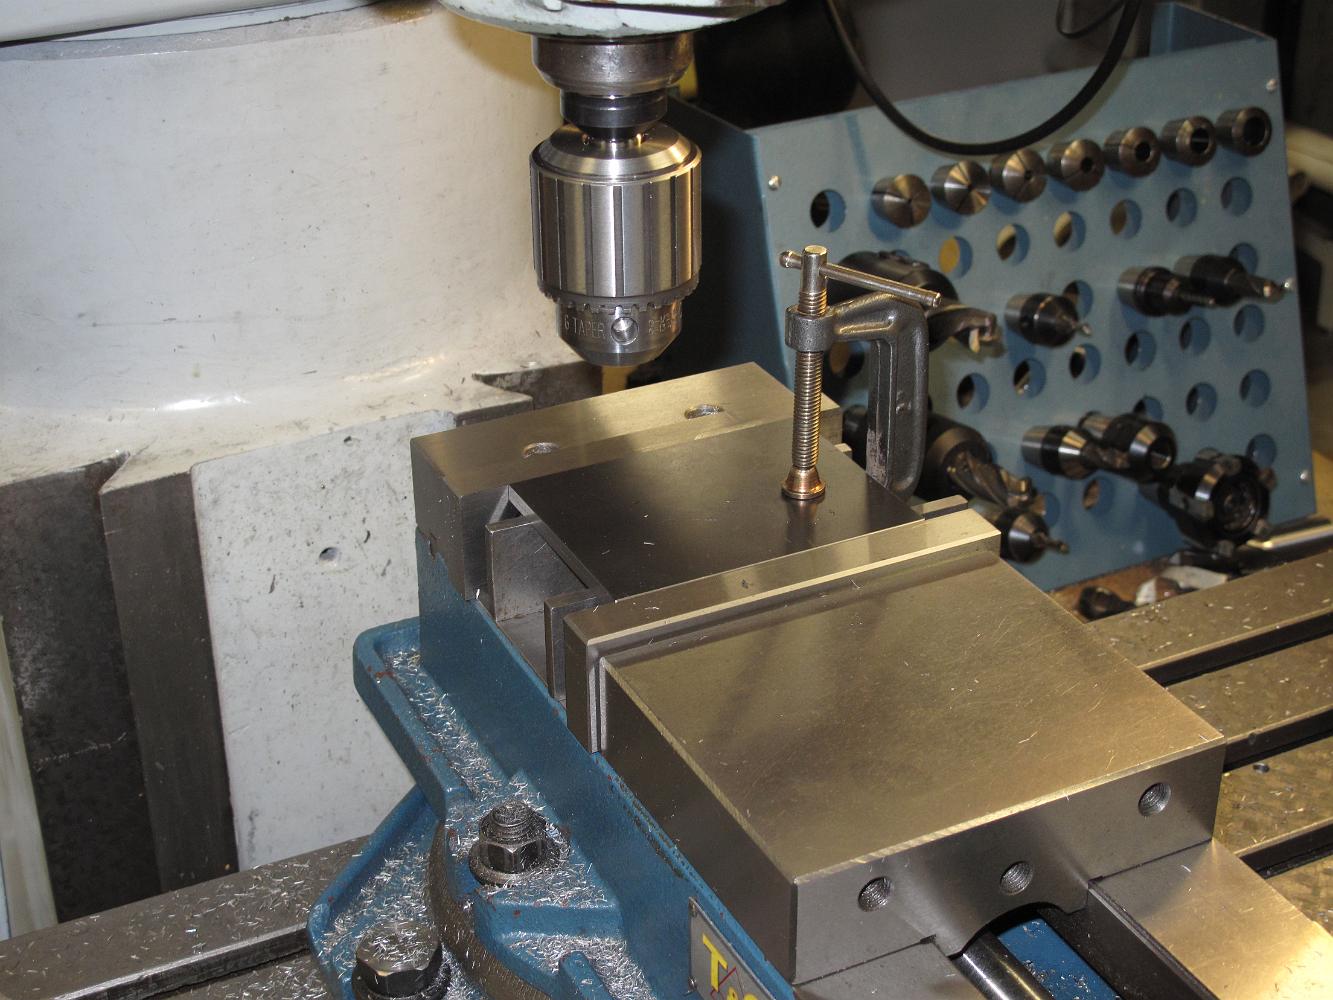
17-May-2011 Bill use a clamp to hold the two pieces together from the previous operation while turning side to side for machining. Here the plates are set up on…
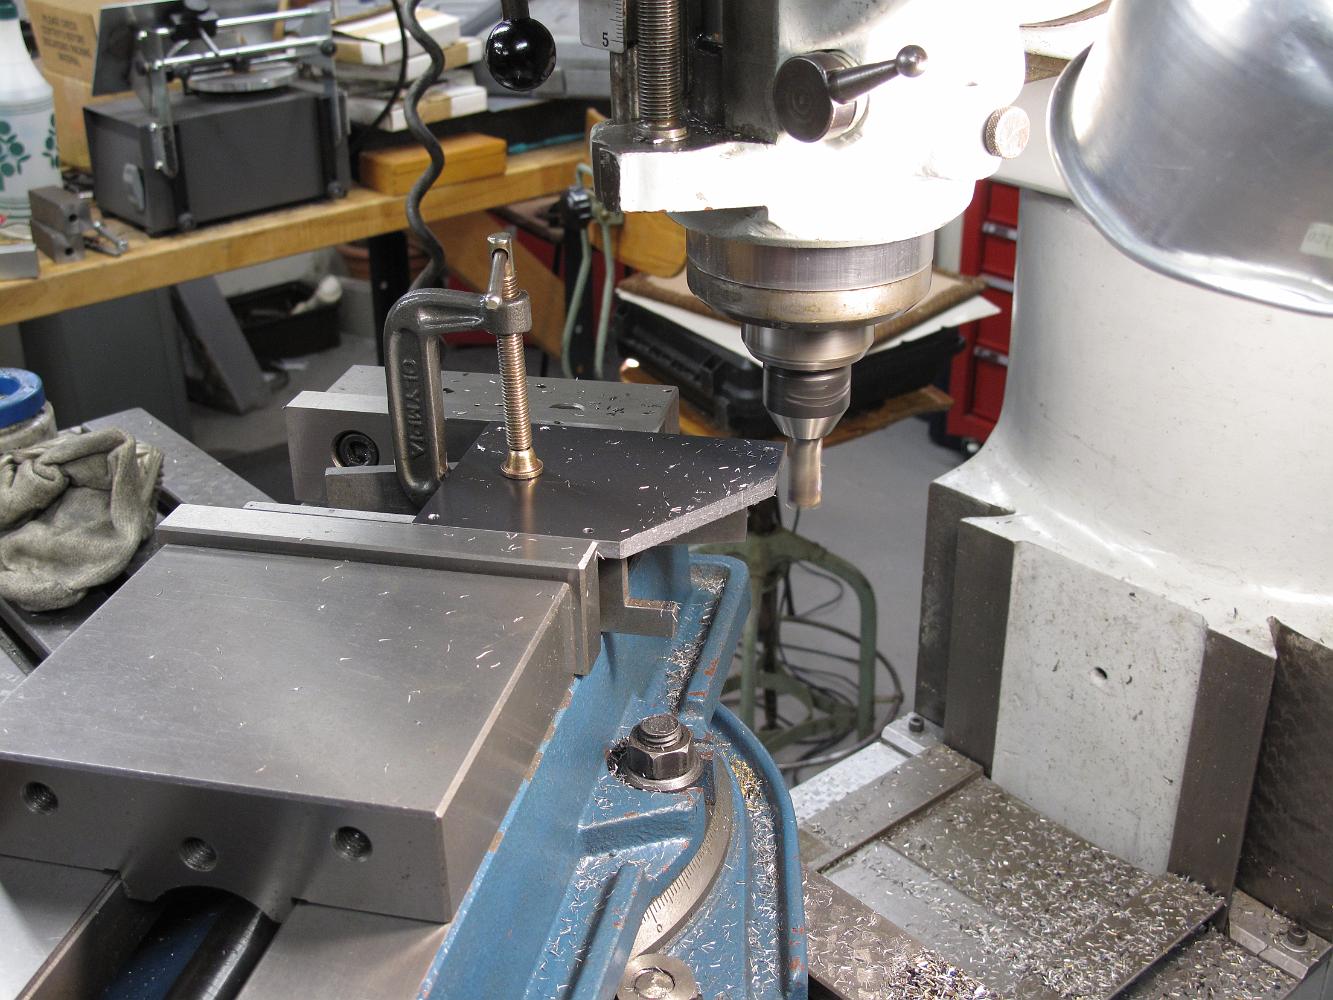
The holes have been drilled and next we use a stout 4-flute endmill to turn the extra material at the corner into chips. We have use the swivel base of the vise…
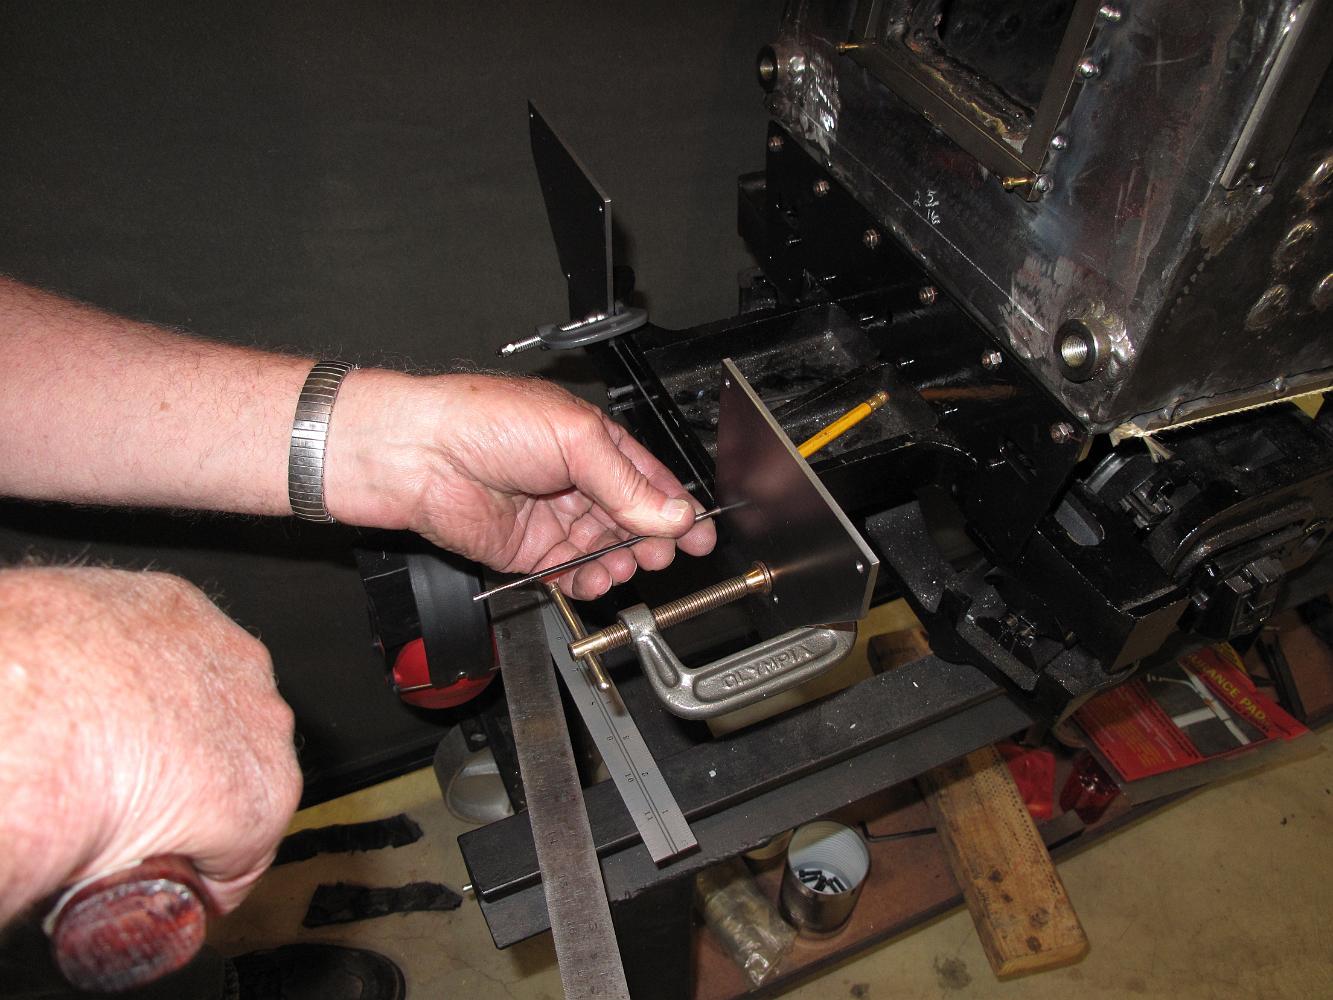
Clamping the pieces in position, we use a dowel punch to dimple the location of the hole. The clamp blocks the other hole, so leaving the part clamped in place,…
Here's how things look before drilling and tapping.
17-May-2011 With the cab floor support brackets bolted in place, it's time to work on the cab floor. But before jumping directly to cutting metal, I decide to…
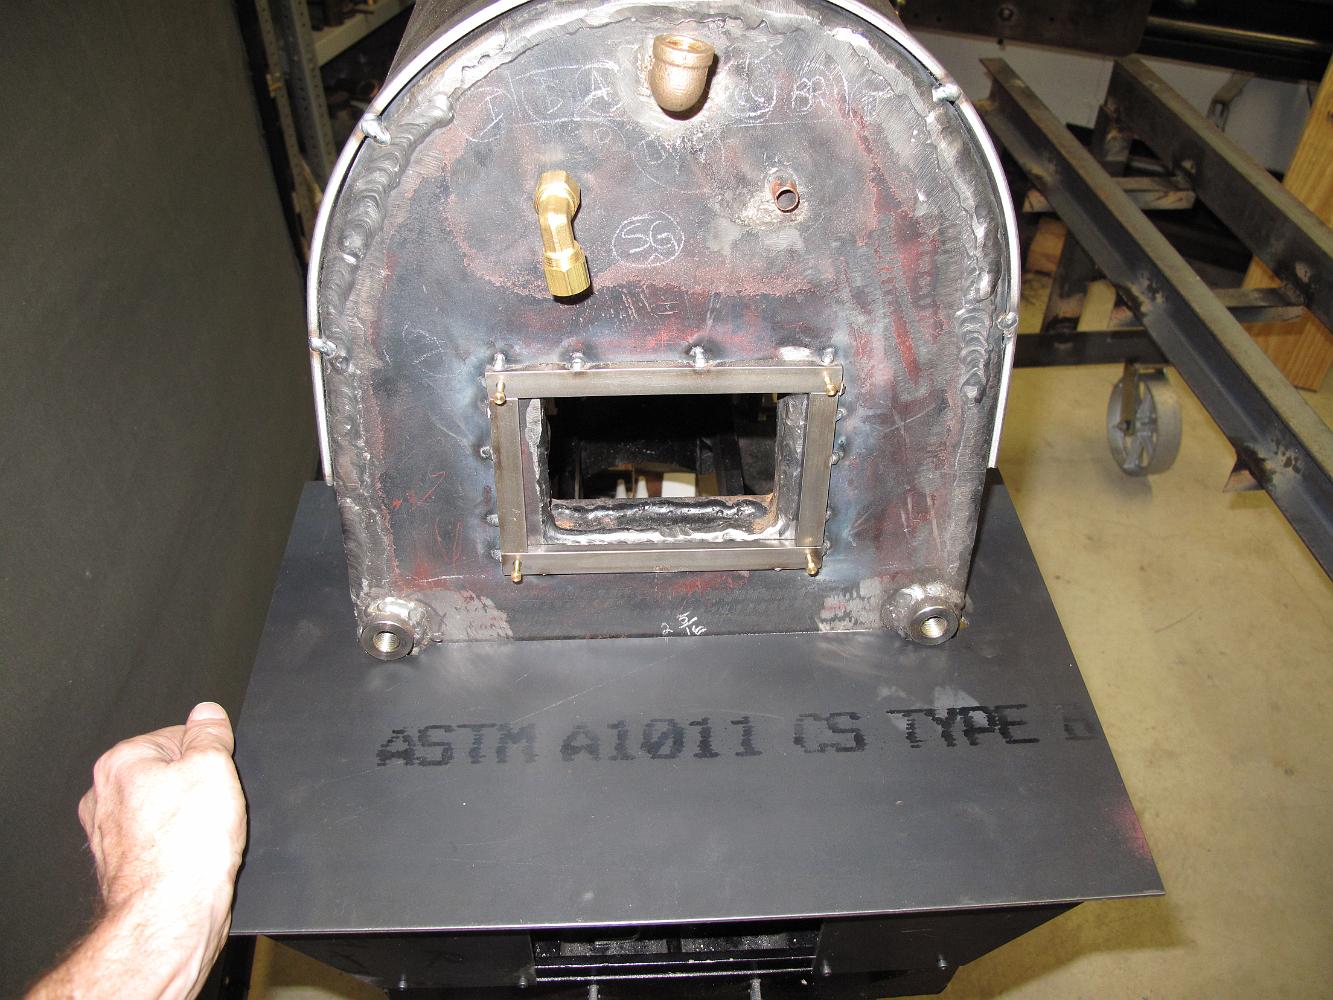
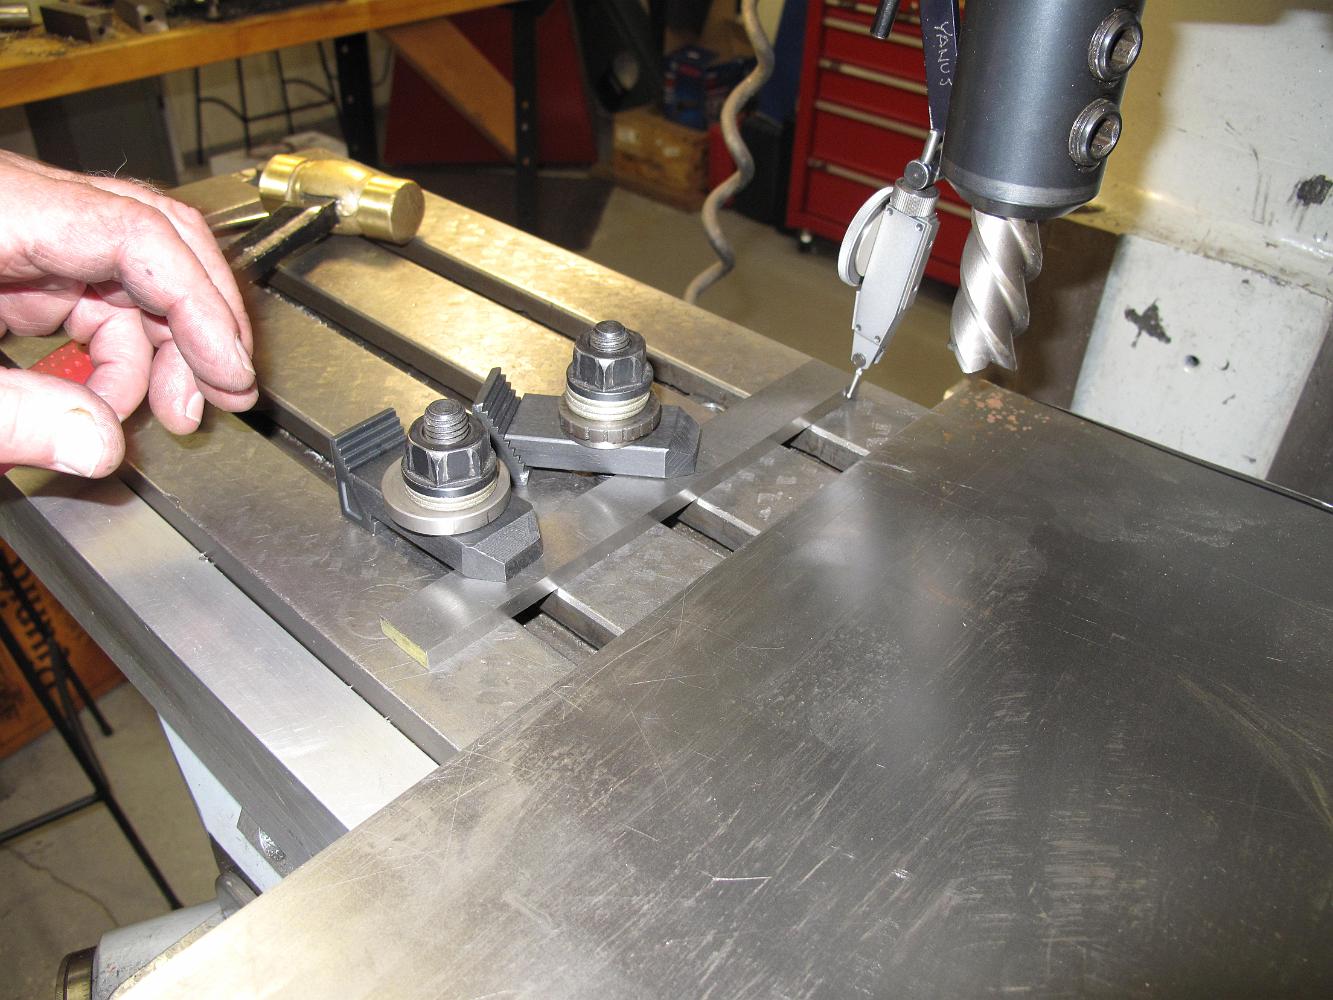
22-June-2011 Trimming the cab floor to size. The metal supplier did a good job shearing the 1/8" steel to size, leaving it a little bit oversize so I could…
The metal is 1/4" wider when called for. Bill and I debate what to do--milling .250 at 0.010 per pass will take a long time. And I don't have a vertical bandsaw…
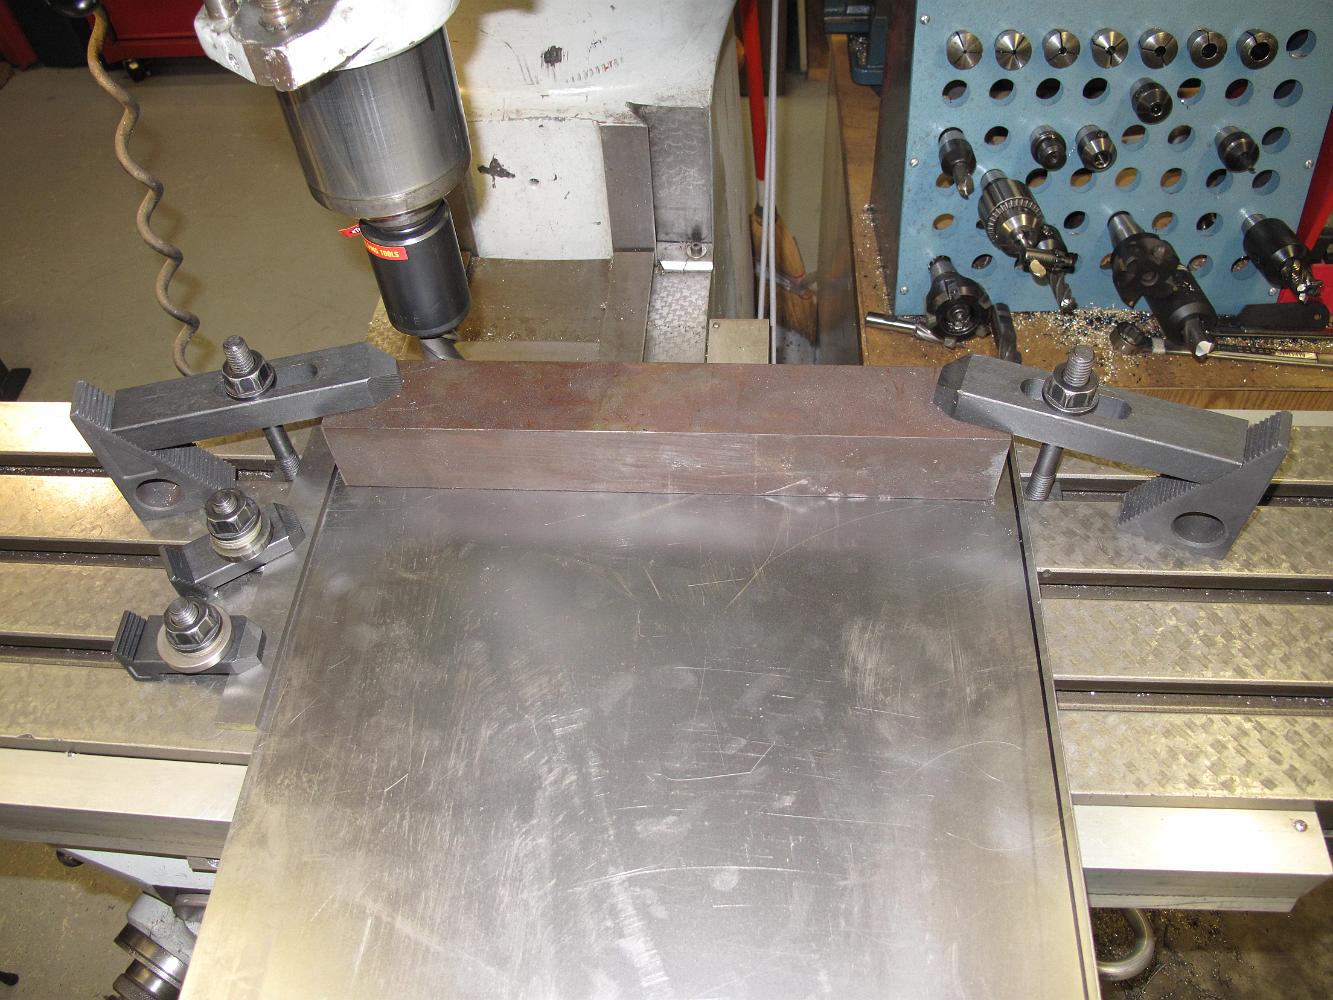
Trial fitting of cab components on the floor. We decide the little extra width of the floor is okay.
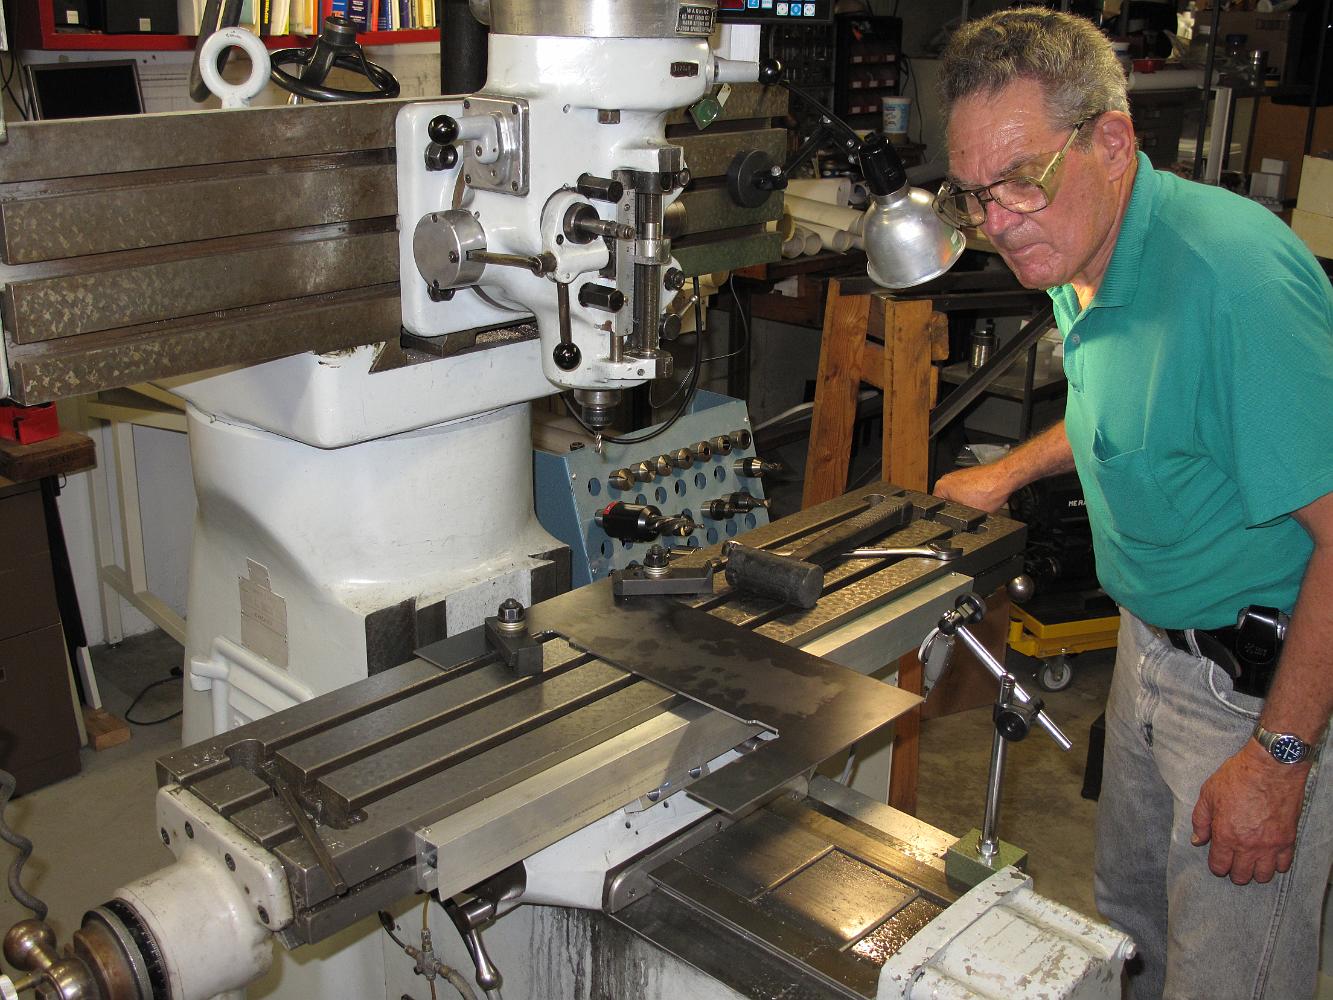
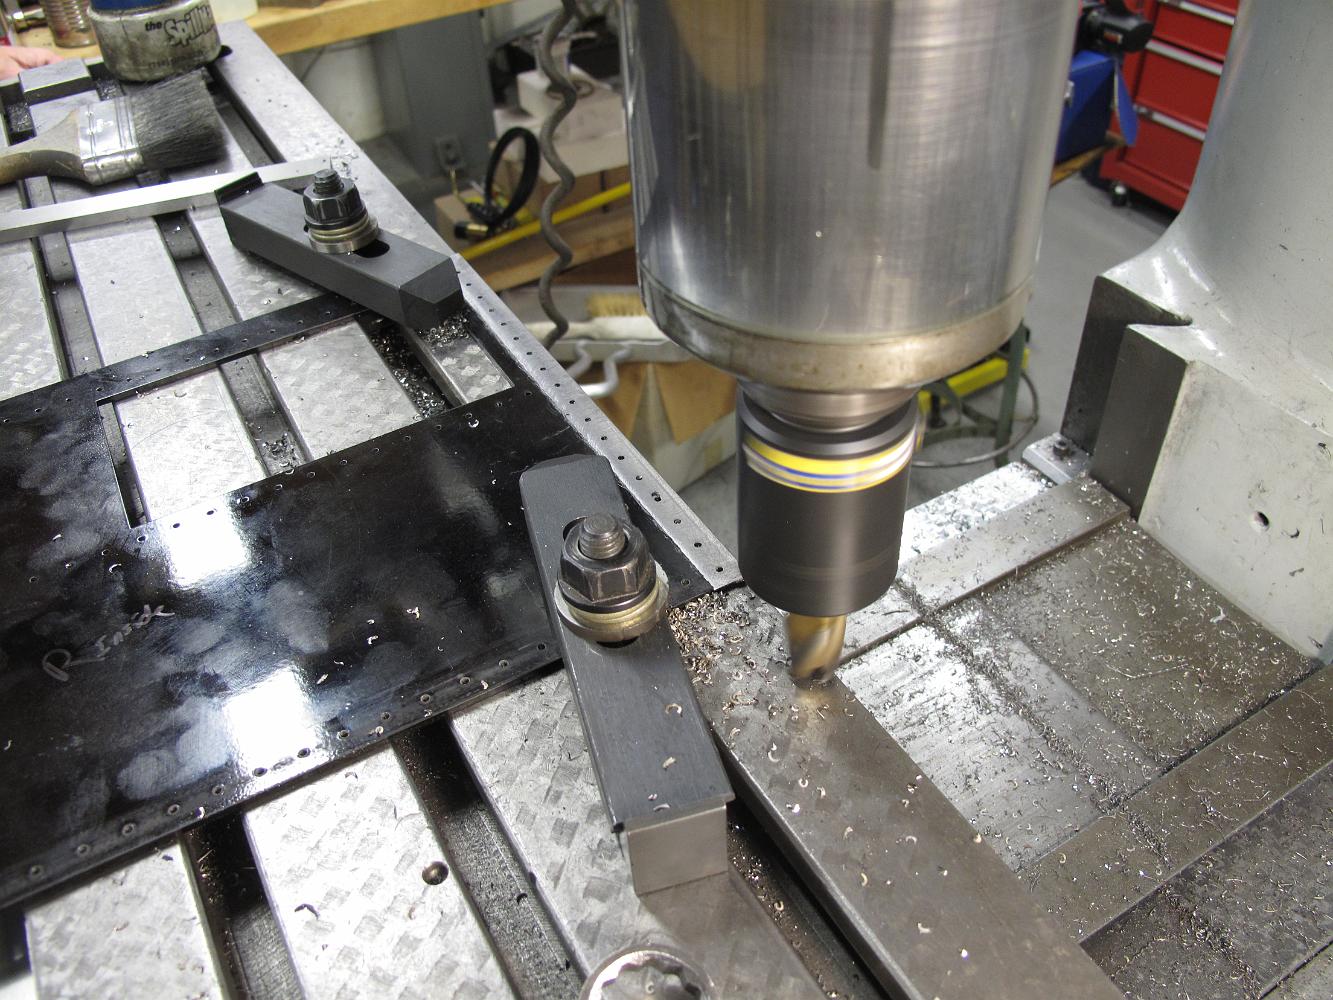
With the Mill Ram fully retracted, Bill continues to mill the cutouts on the cab floor.
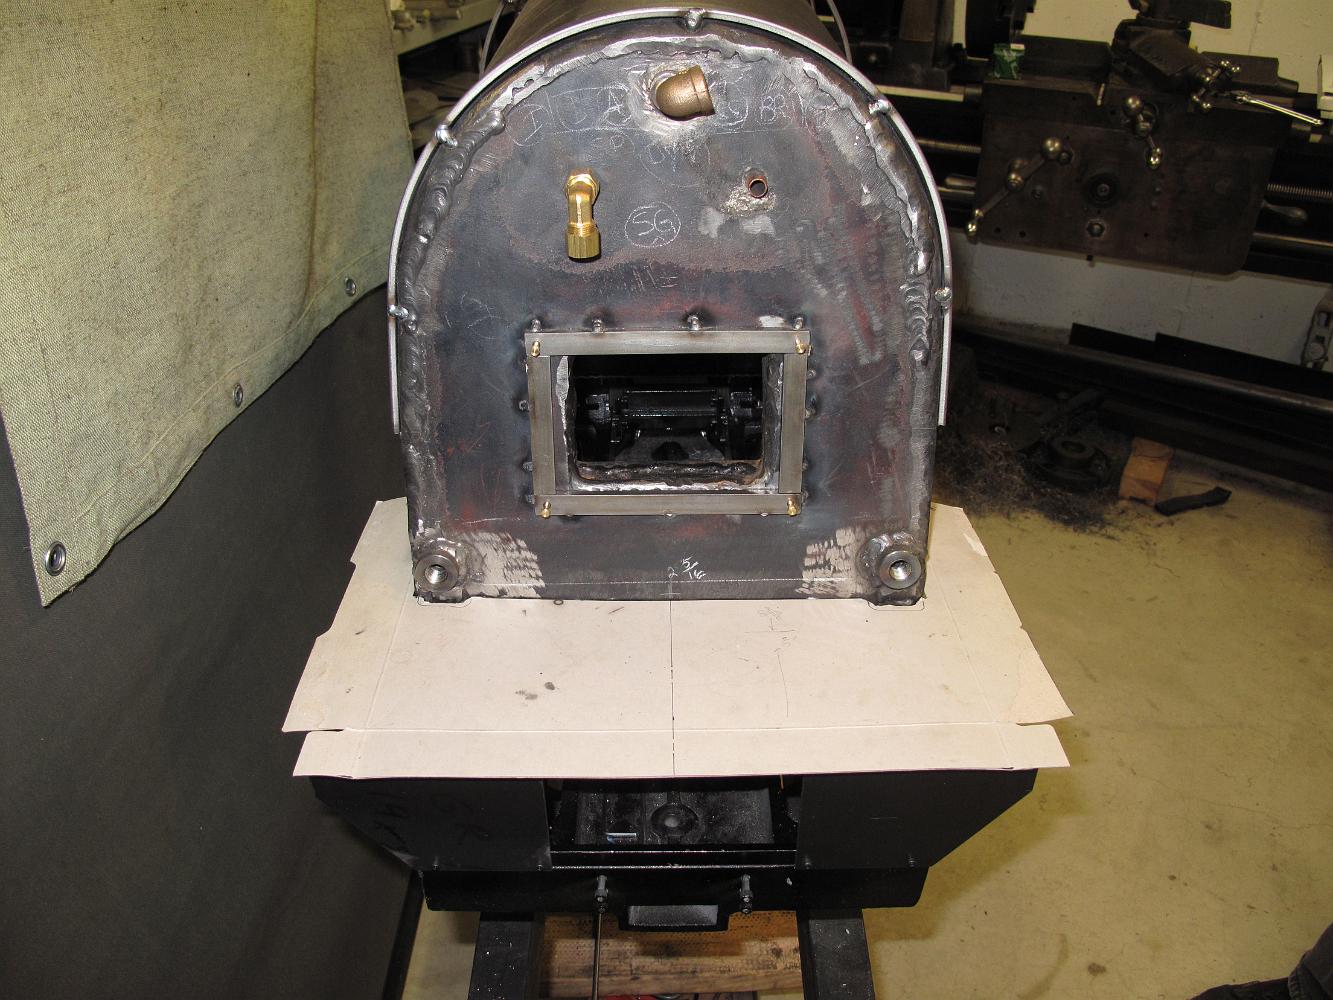
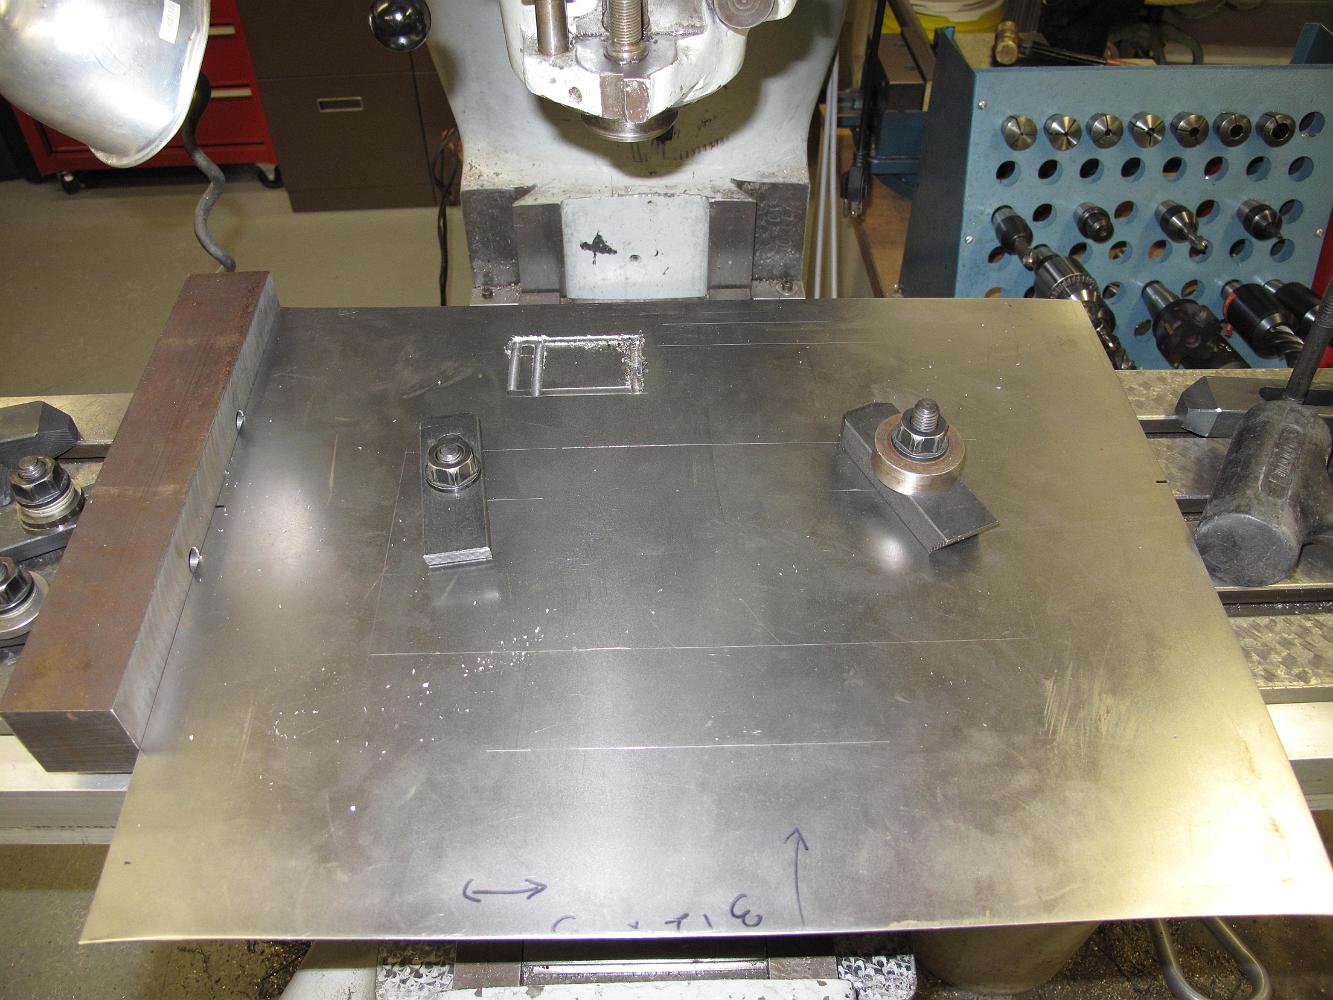
22-June-2011 Cab floor with boiler cutout completed. A Nice fit. This is also the first of many cab floor on/off fittings as we add all the appliances to the…
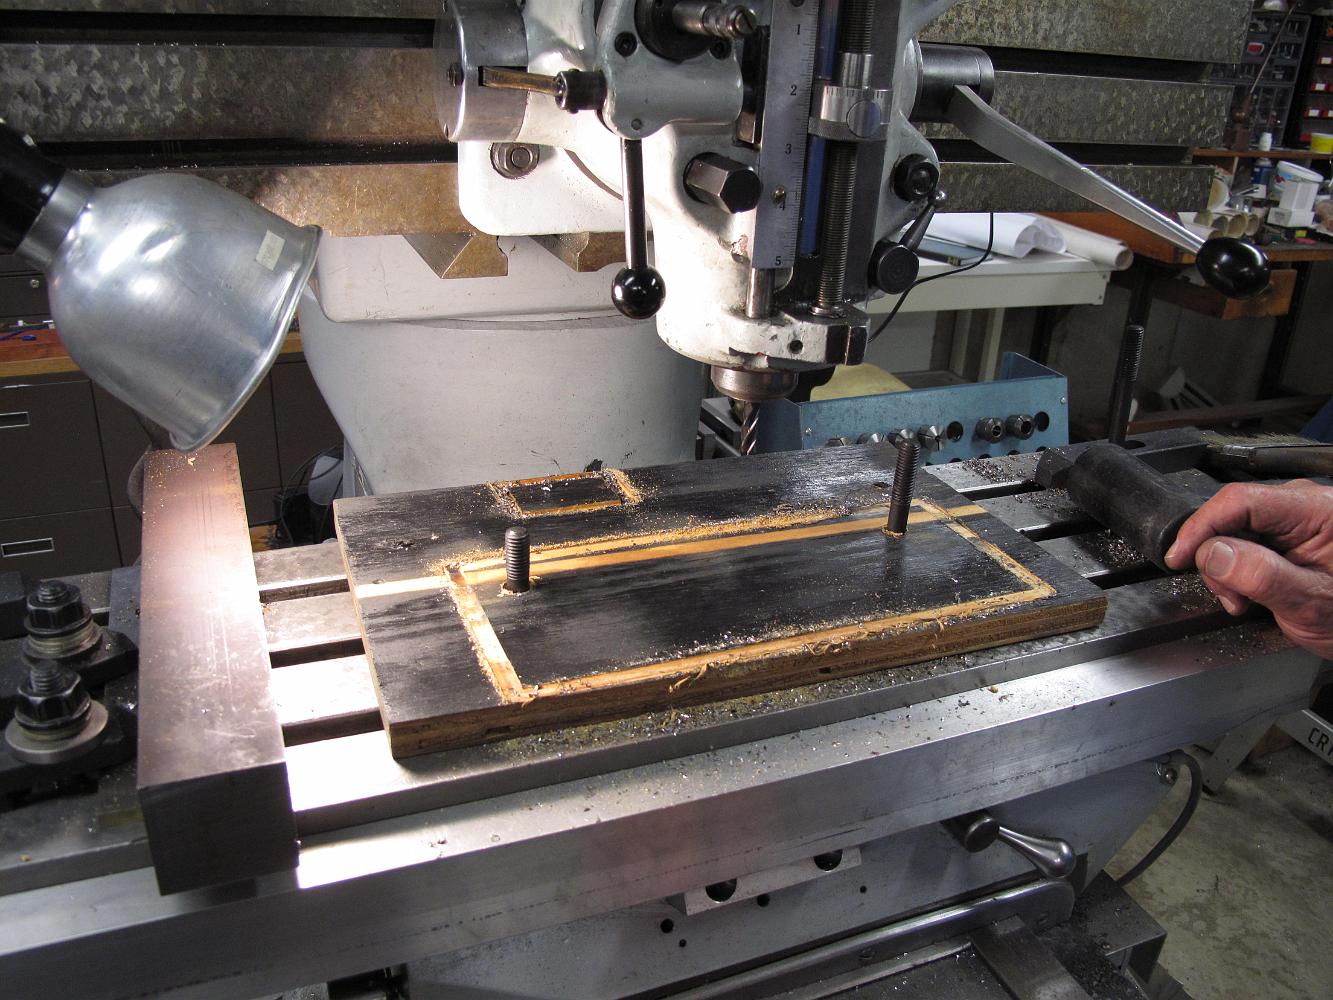
29-June-2011, 5-July-2011 work on the cab floor continues. Lacking the small angle iron called for in the prints, we've milled some 1/4 x 3/8" bar stock to hold…
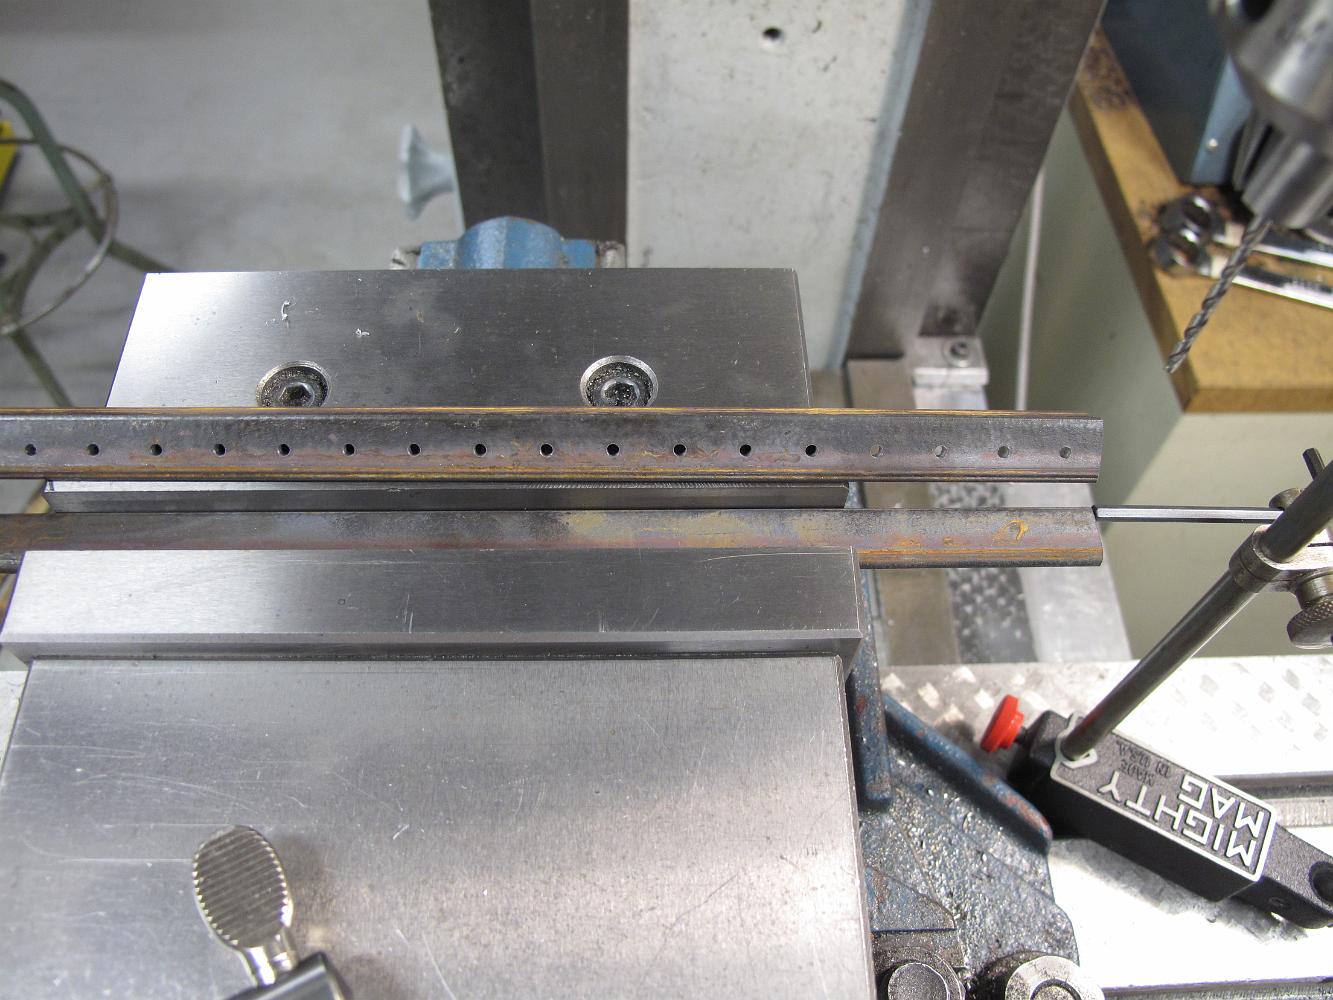
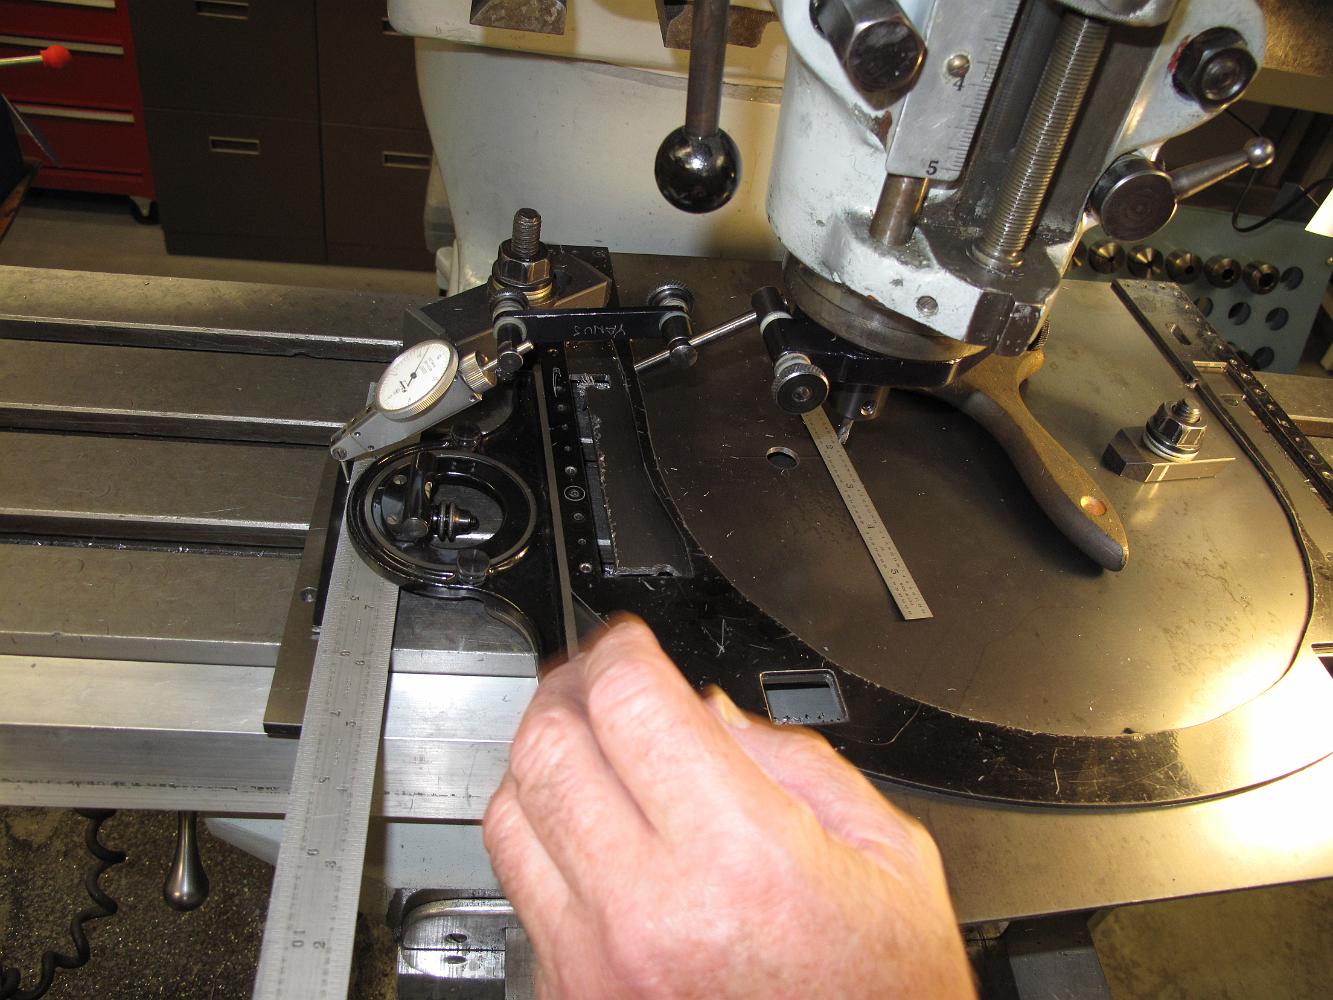
18-June-2012 Drilling rivet holes in 1/2" steel angle for the cab sides. I used a stop for positioning the stock, once set up I could put the next piece in the…
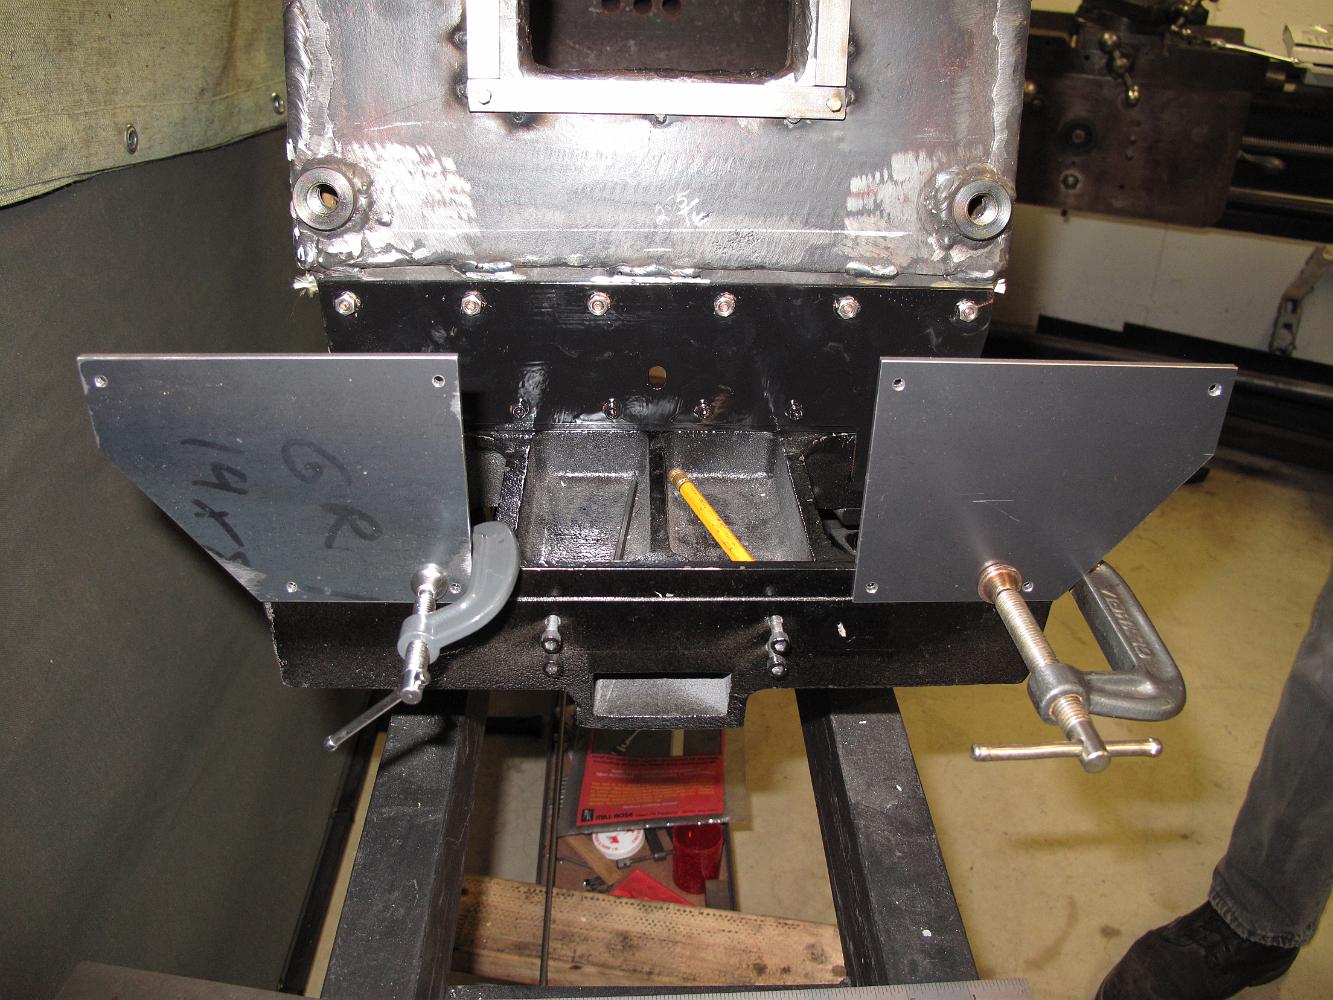
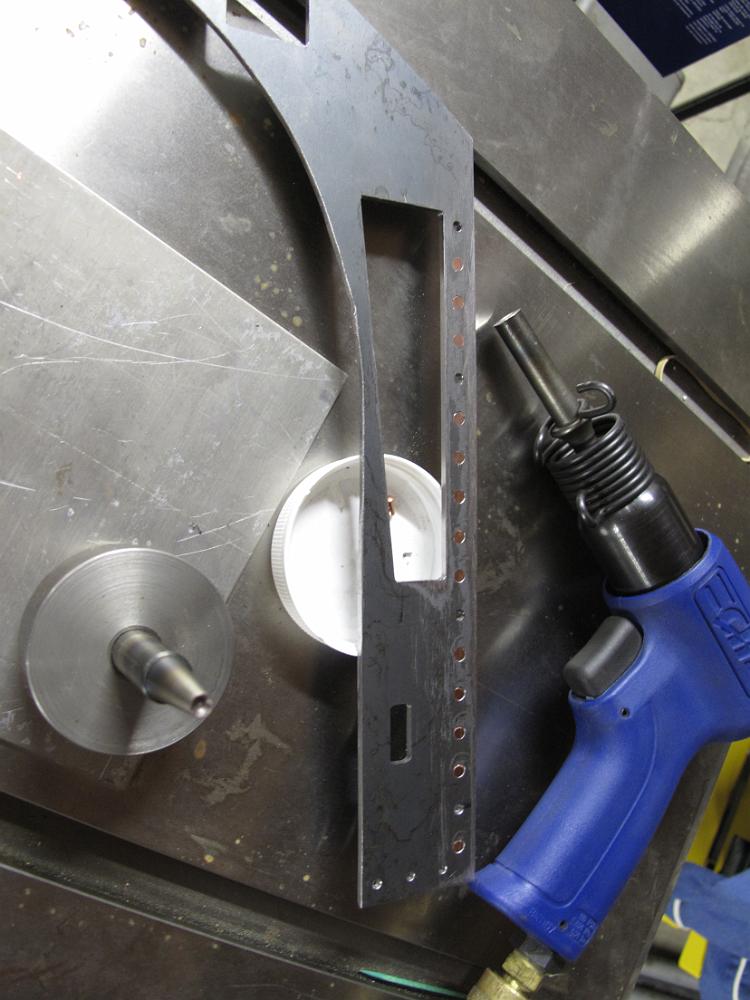
23-July-2012 Checking the fit of the machined brackets. Looks like the brackets, which are 1/8" hot rolled angle and not 1/16 alum as called for in the print…
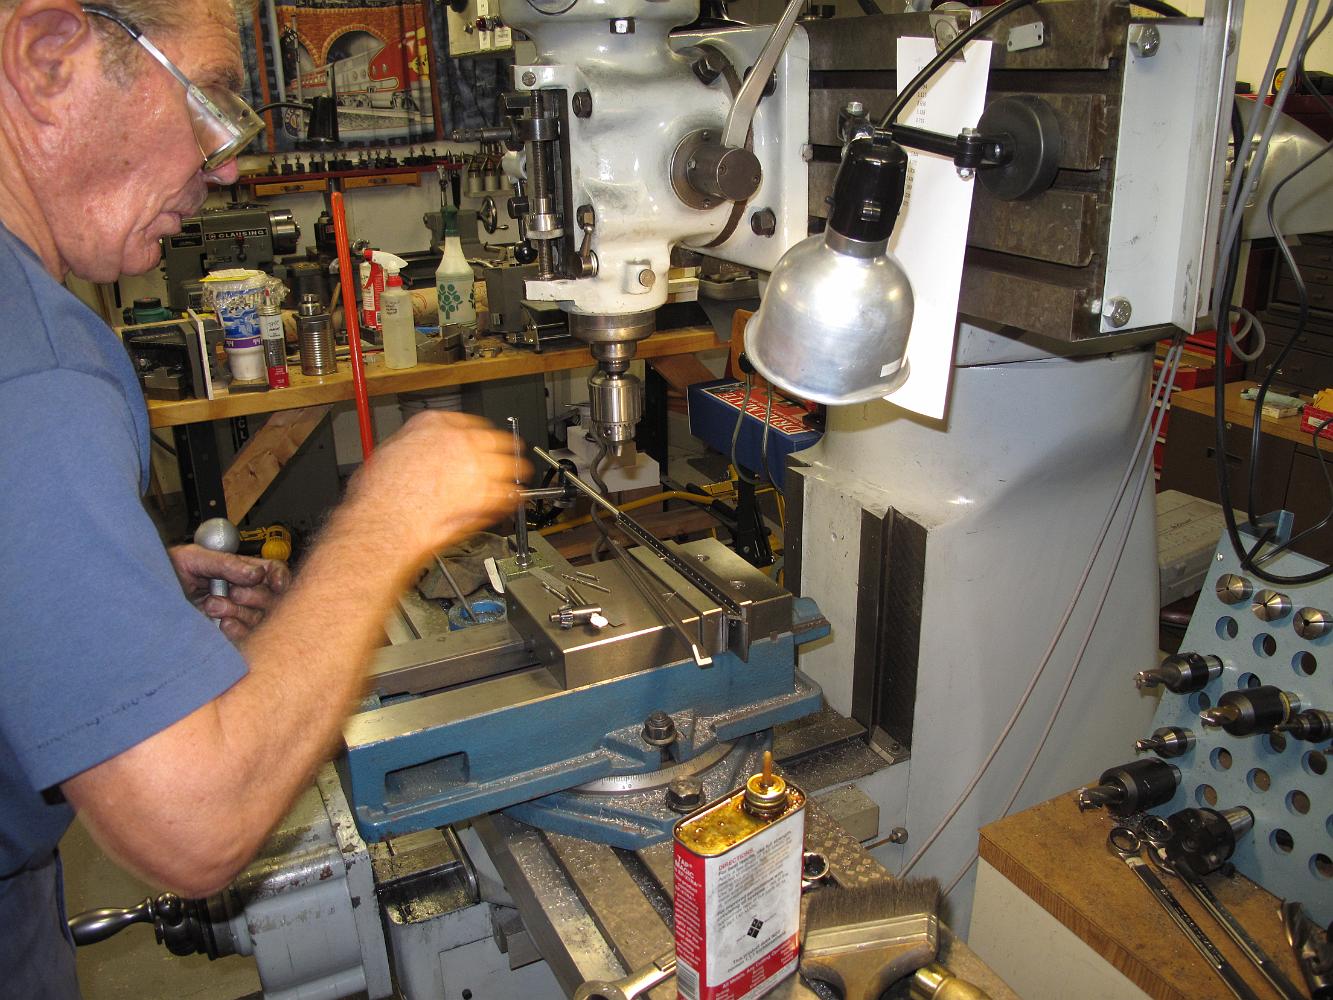
30-Jul-2012 Drilling and tapping the bottom brackets for 5-40 threads.
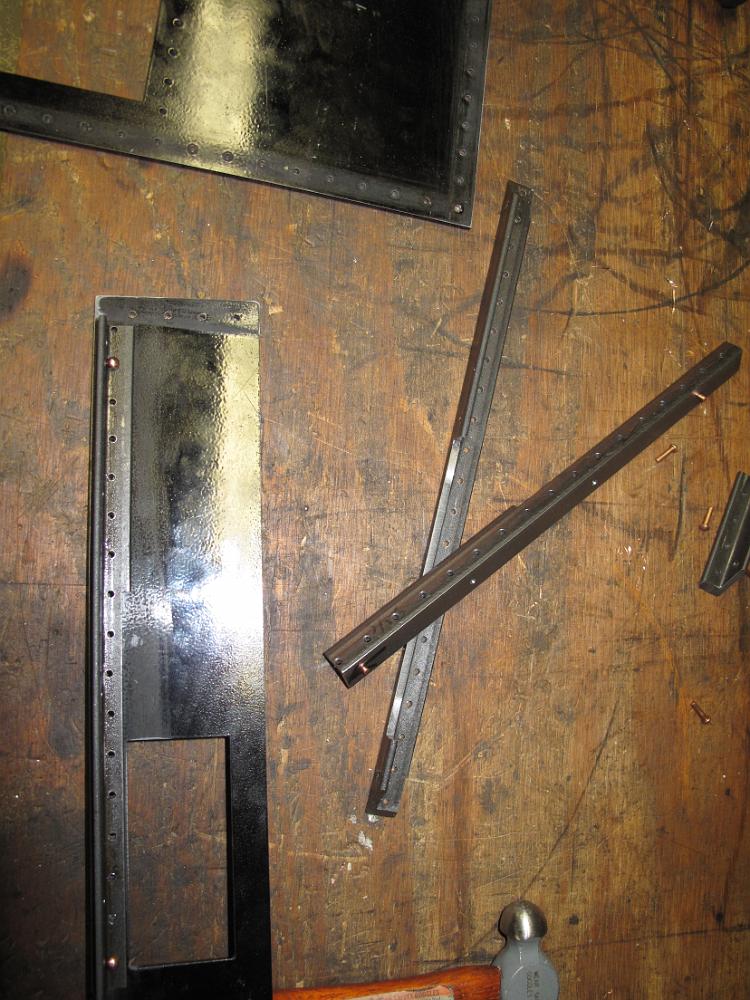
30-Jul-2012 At the end of the workshop day: more angle brackets completed, including milling the right lower bracket to fit around the reversing stand lever.
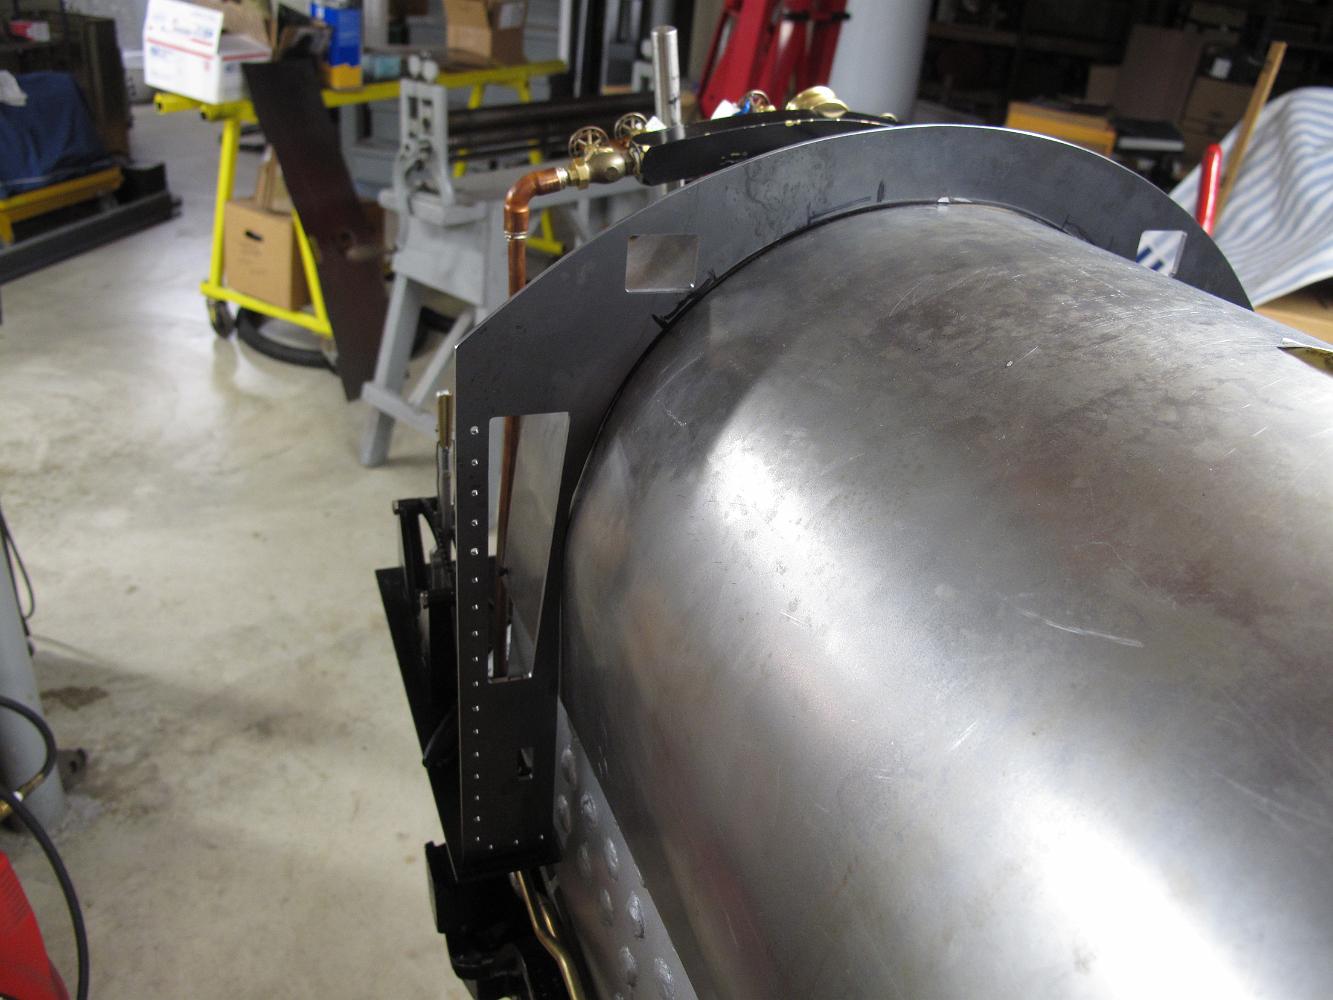
4-Aug-2012 Even after milling the steel hot roll angle iron down 1/32", the cab sides still were wider than the cab front and back, making them stick out a bit…
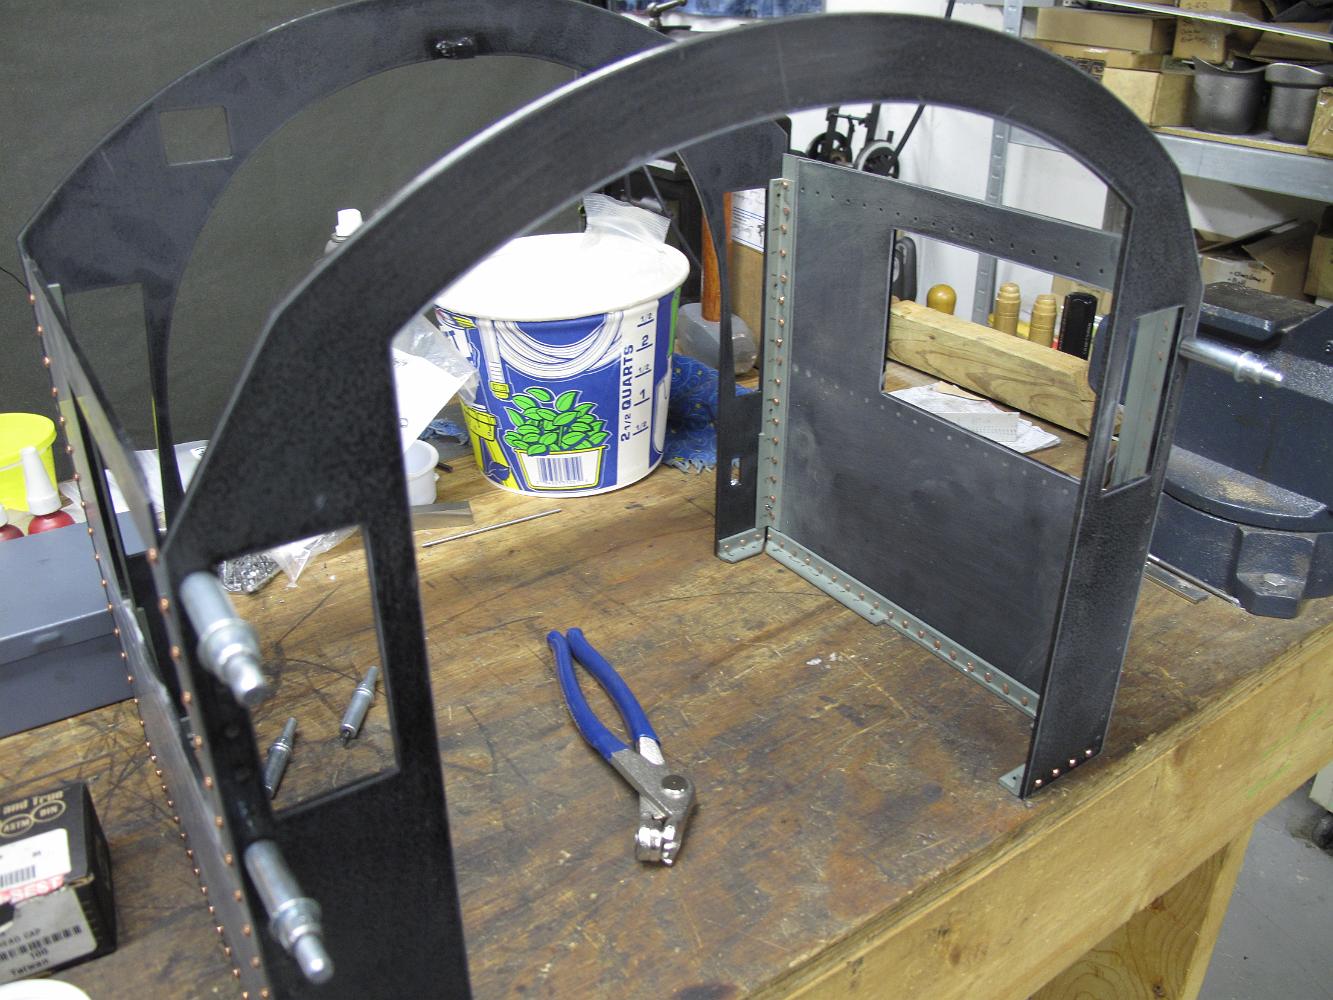
4-Aug-2012 Another trial fitting of the cab walls. after machining the brackets and cab sides, they fit together nicely!
4-Aug-2012 Another trial fitting of the cab walls. after machining the brackets and cab sides, they fit together nicely!
4-Aug-2012 I change the 6 pitch blade in the bandsaw to the 10-14 variable pitch fine-tooth blade and cut the cab front to match the jacket profile from the…
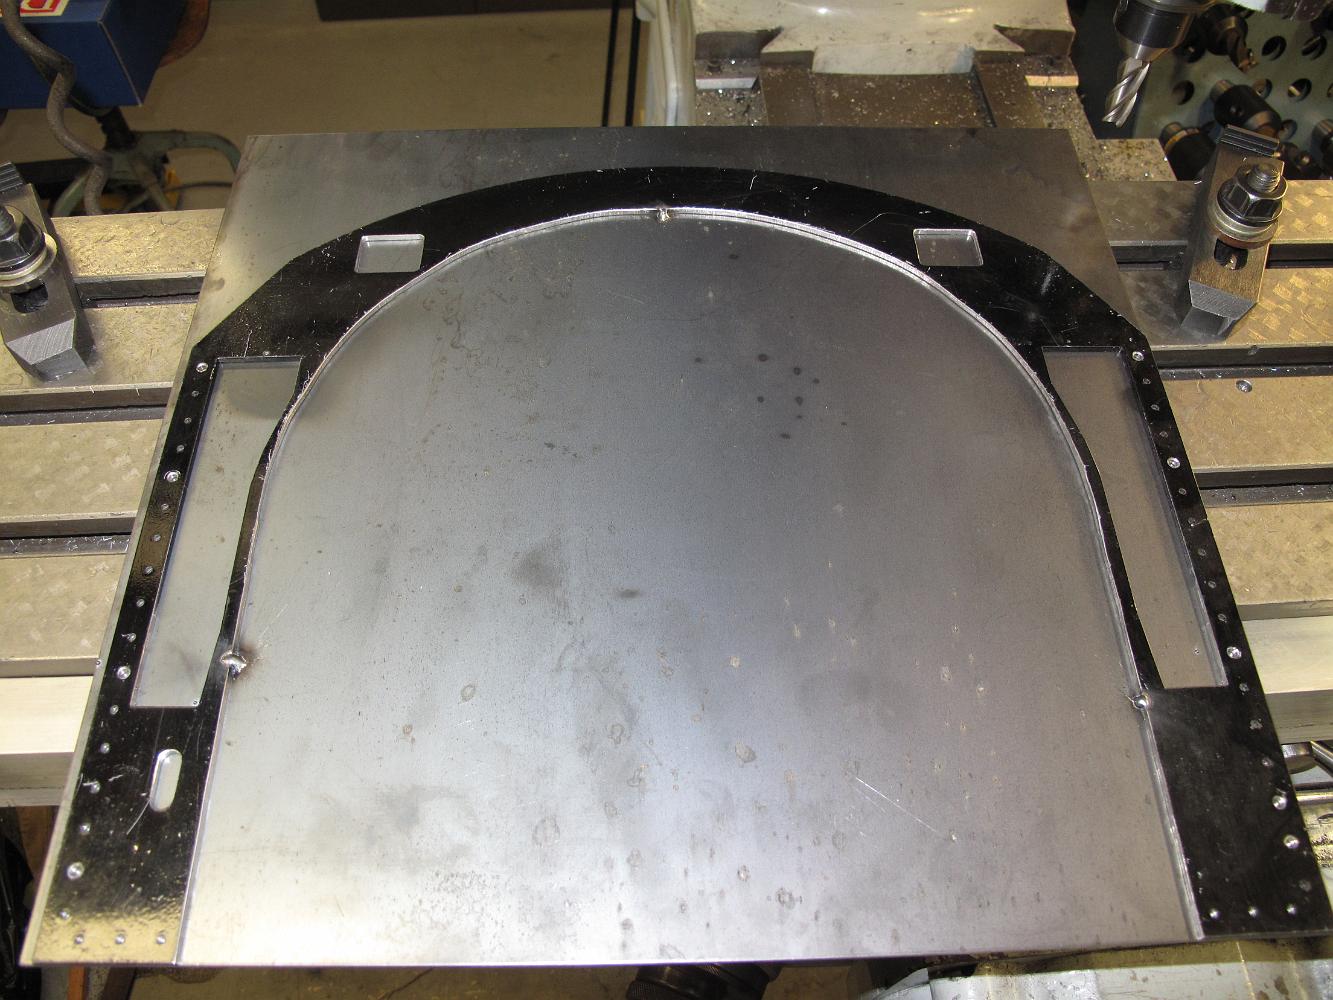
20-Aug-2012 After all that work modifying and cutting the cab front out, I wasn't happy with the results. The window modification gave it look like a droopy…
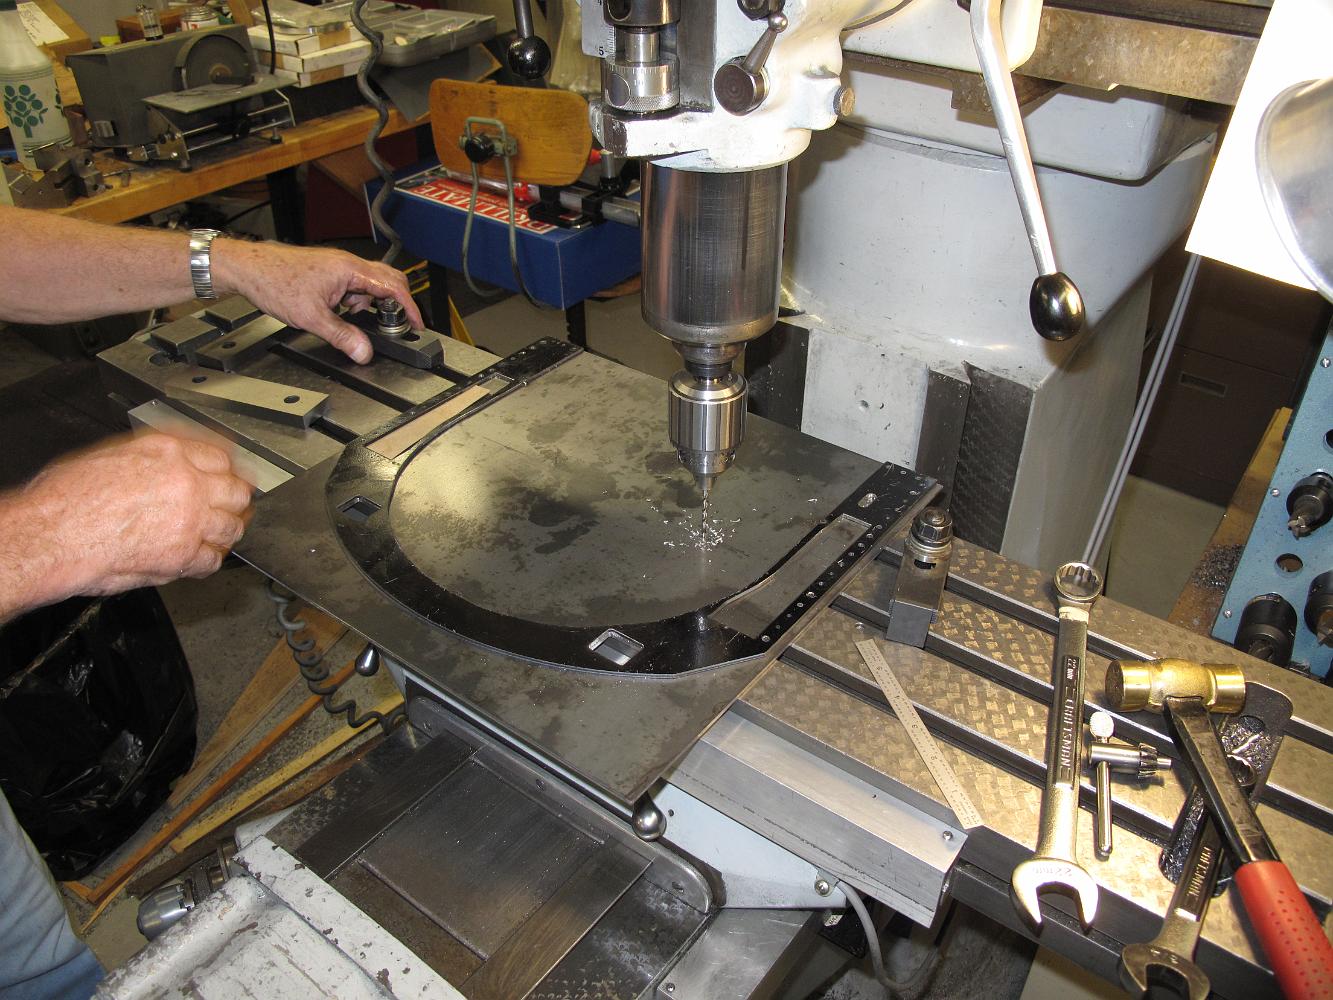
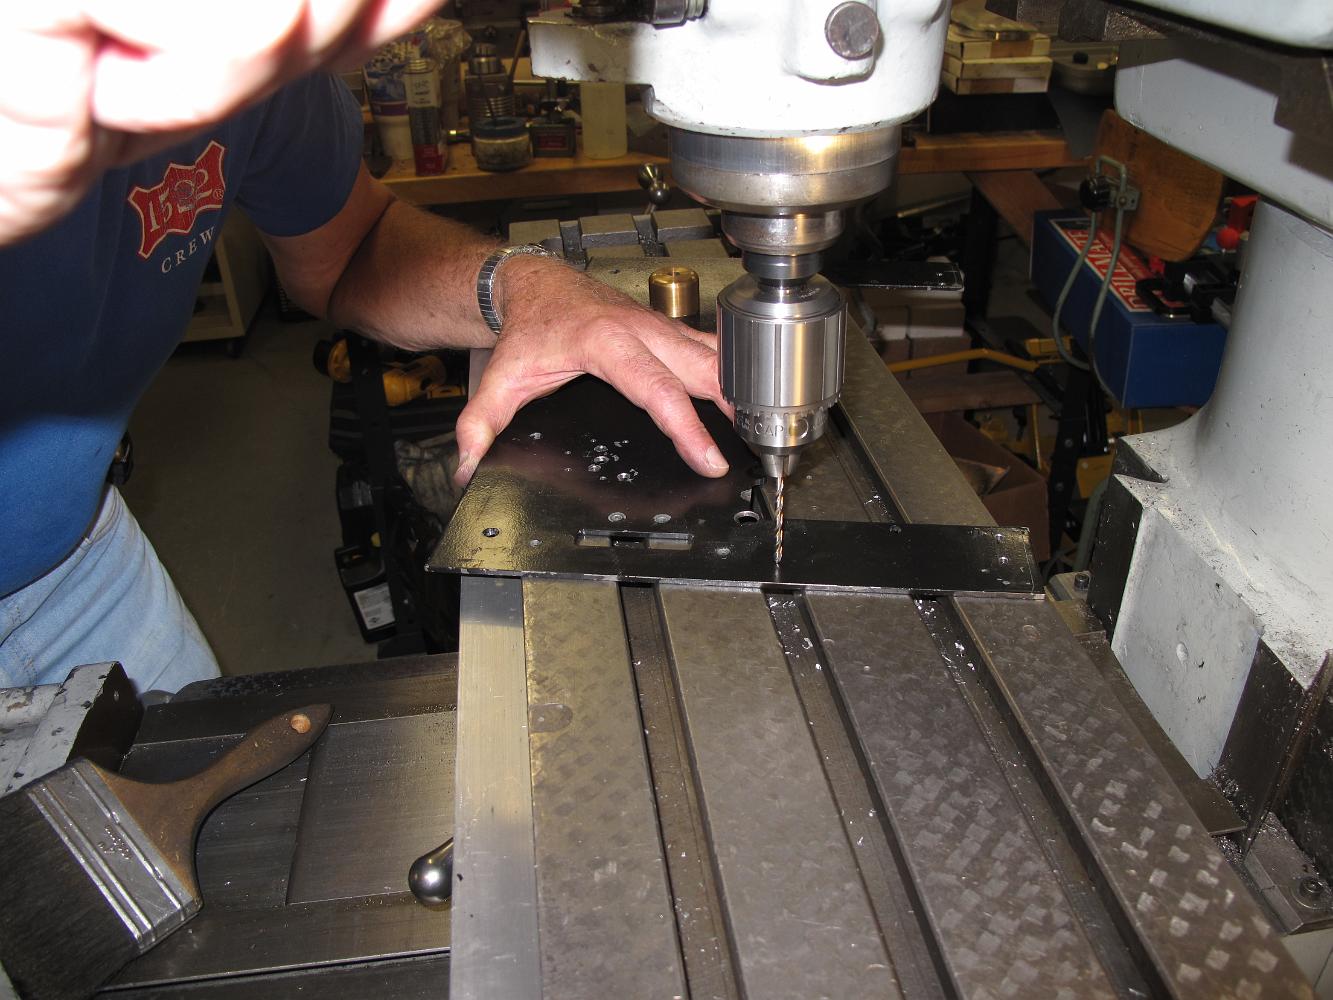
20-Aug-2012 Bill drills a couple pilot holes to bolt the piece down to the table for the milling operations.
20-Aug-2012 The stock is bolted down across middle and on the ends. It's hard to see but the stock is resting on some parallels to keep it off the table for the…
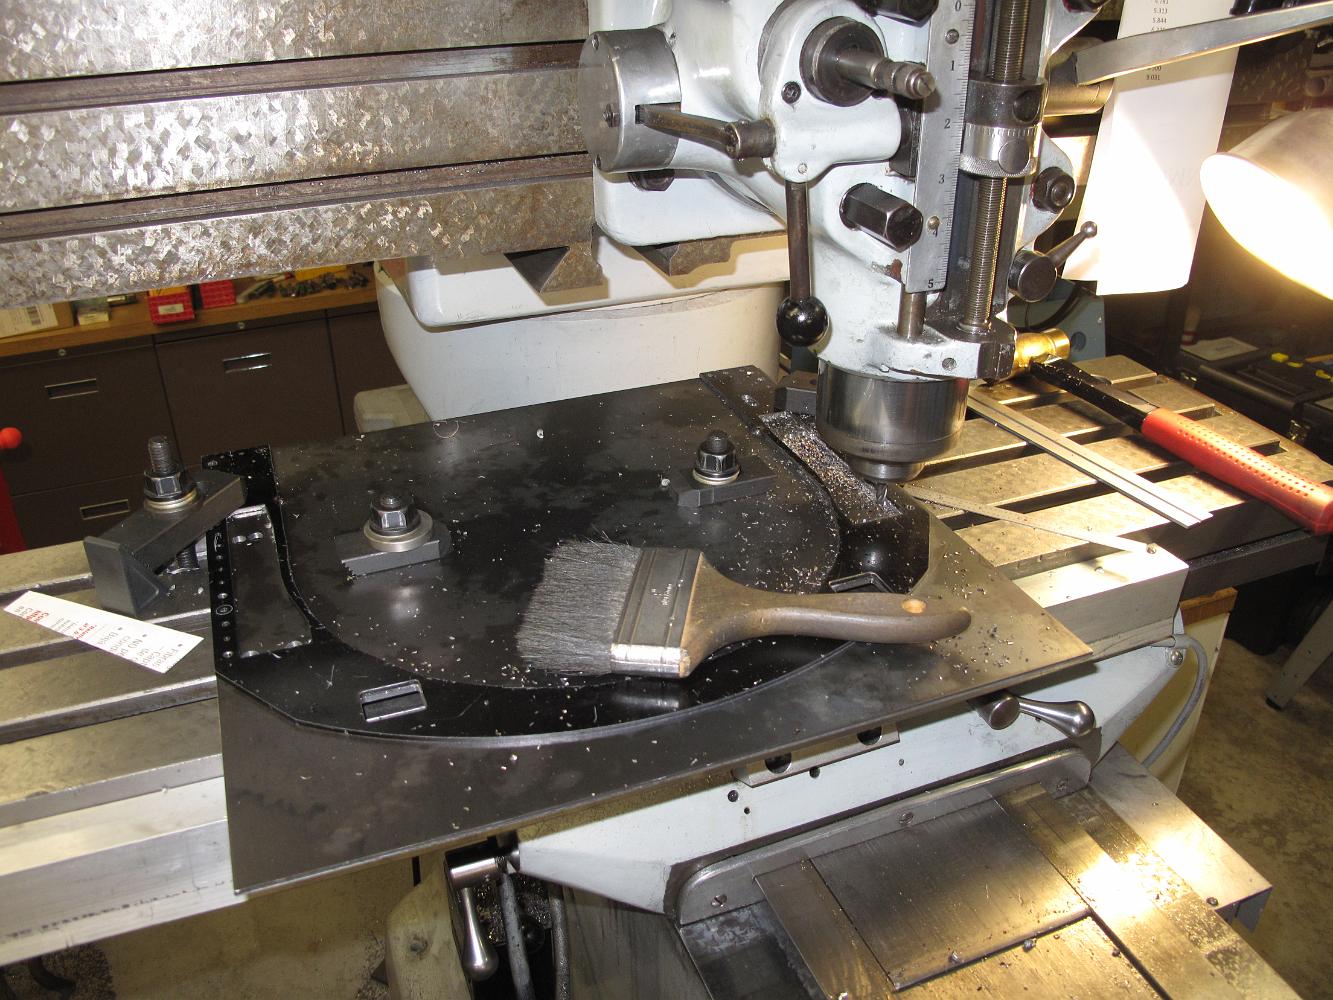
27-Aug-2012 Another machinist's tip was revealed tonight. In order to mimic the Frisco window style, we needed to mill the left and right sides to a 5 degree…
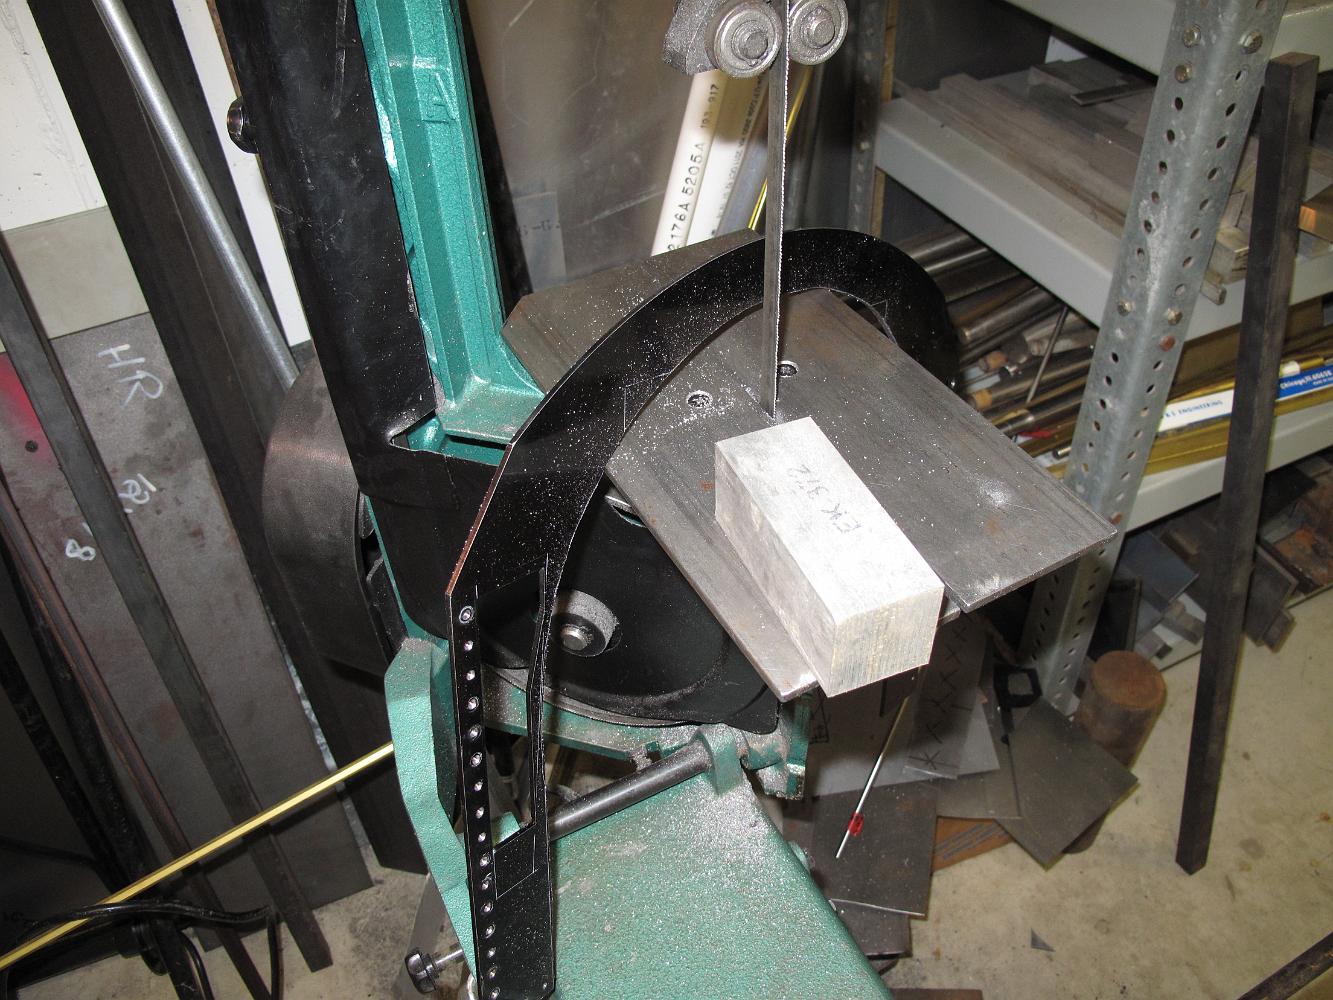
27-Aug-2012 I spend some time with the bandsaw set up with vertical table, sawing the outside roof radius and rough cutting the inside boiler radius. This time…
-Sept-2012 After two hours of gentle grinding then trial fitting, marking and grinding with the angle grinder, I have achieve an acceptable fit of the cab front…
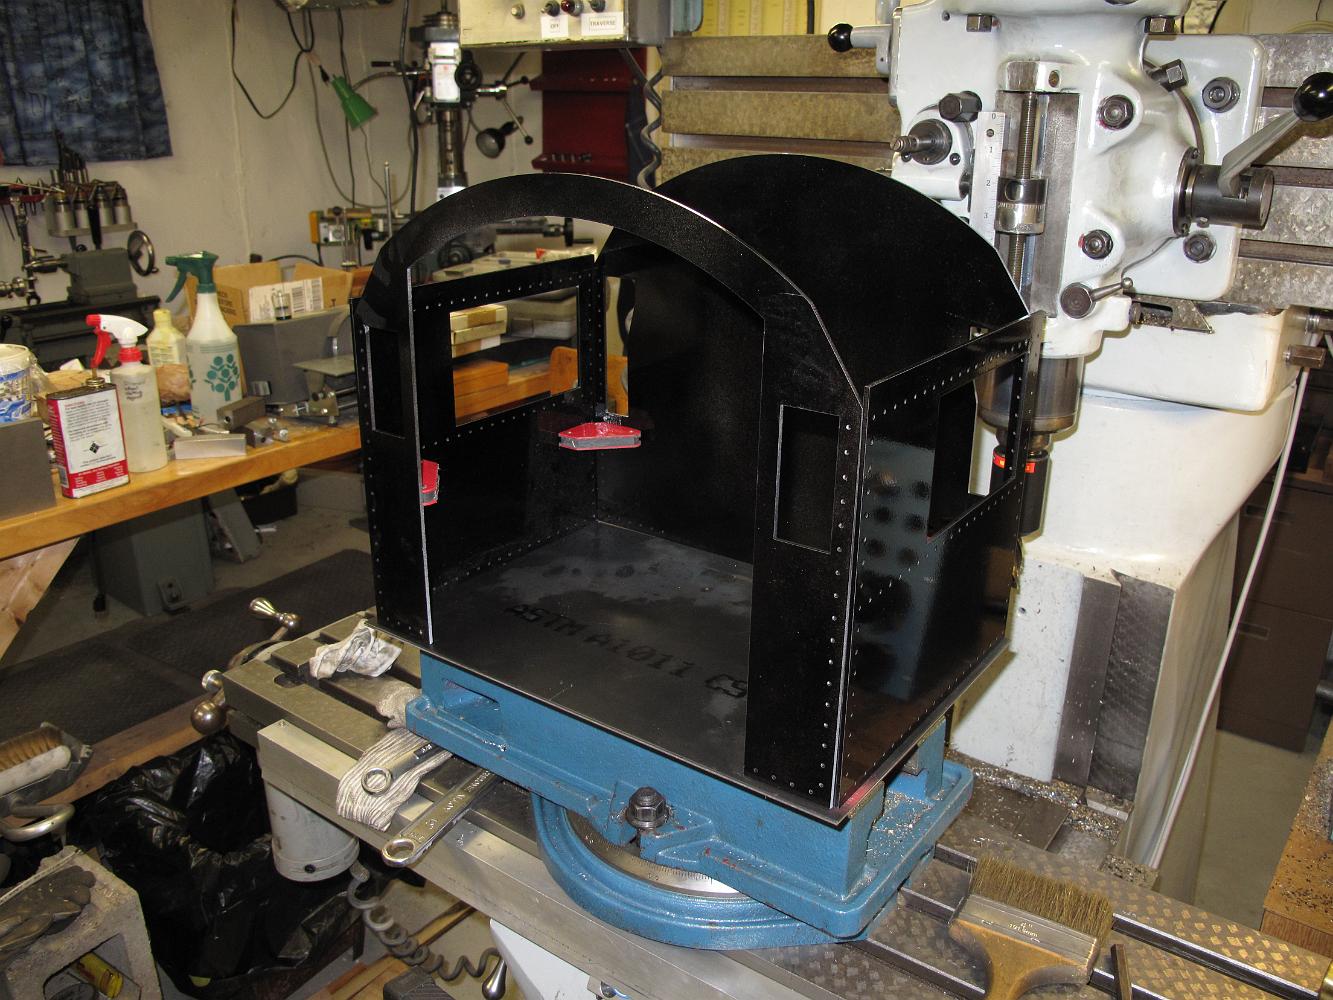
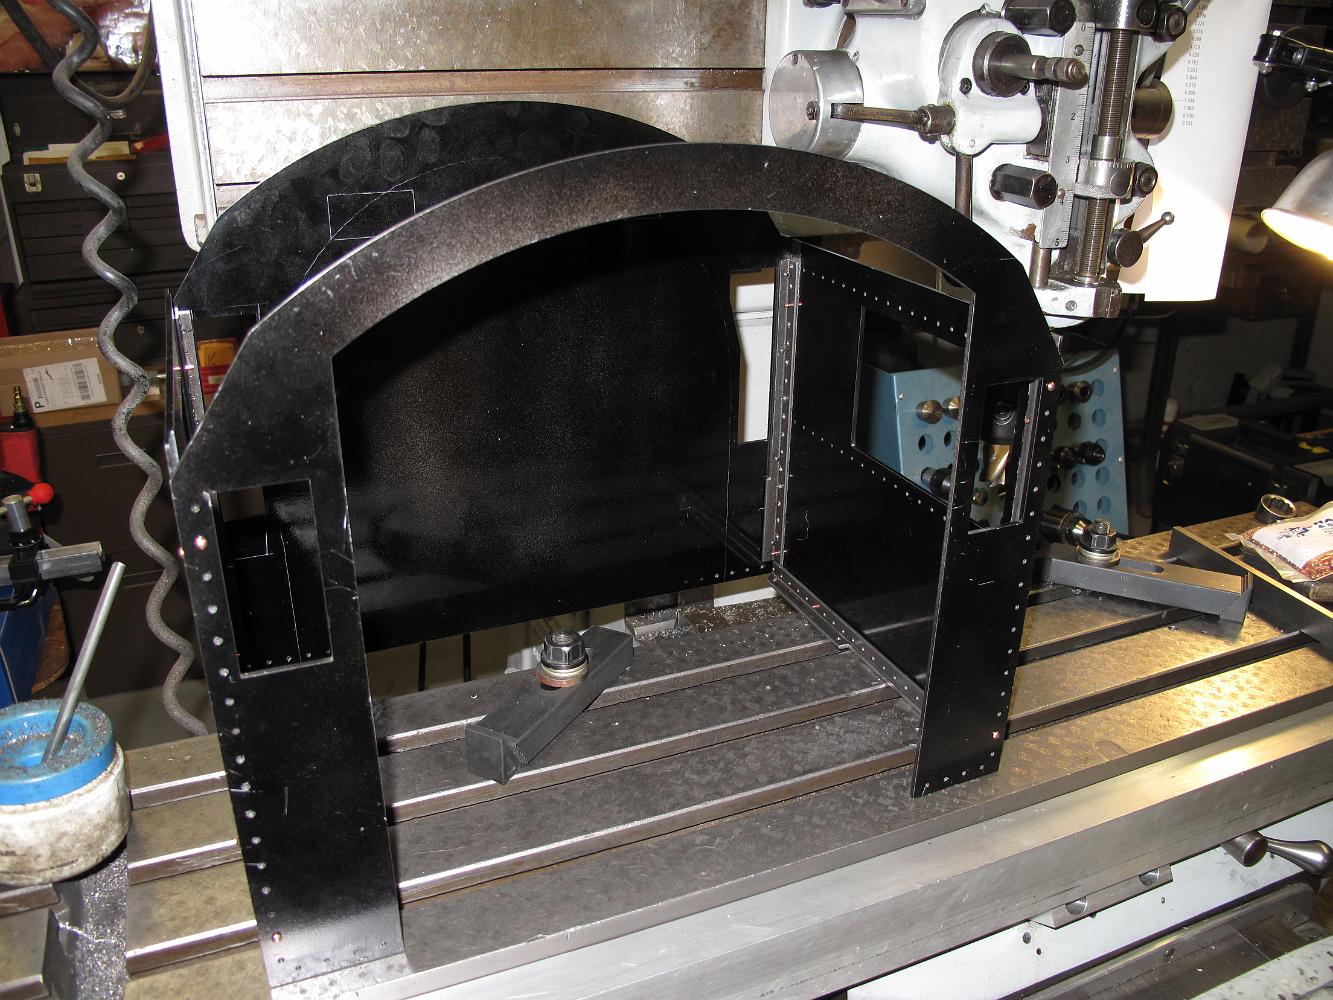
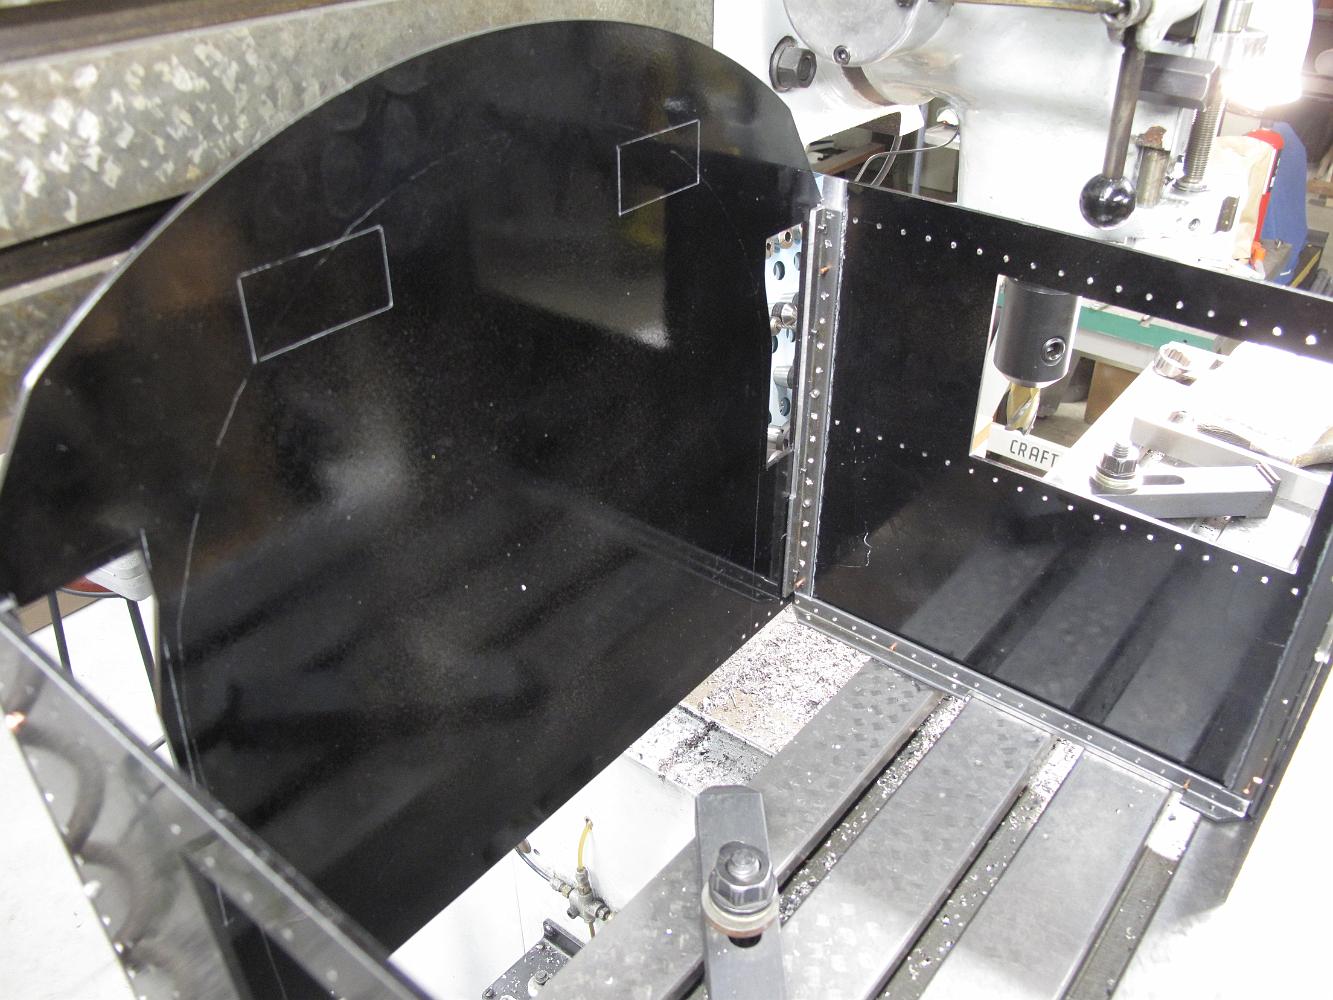
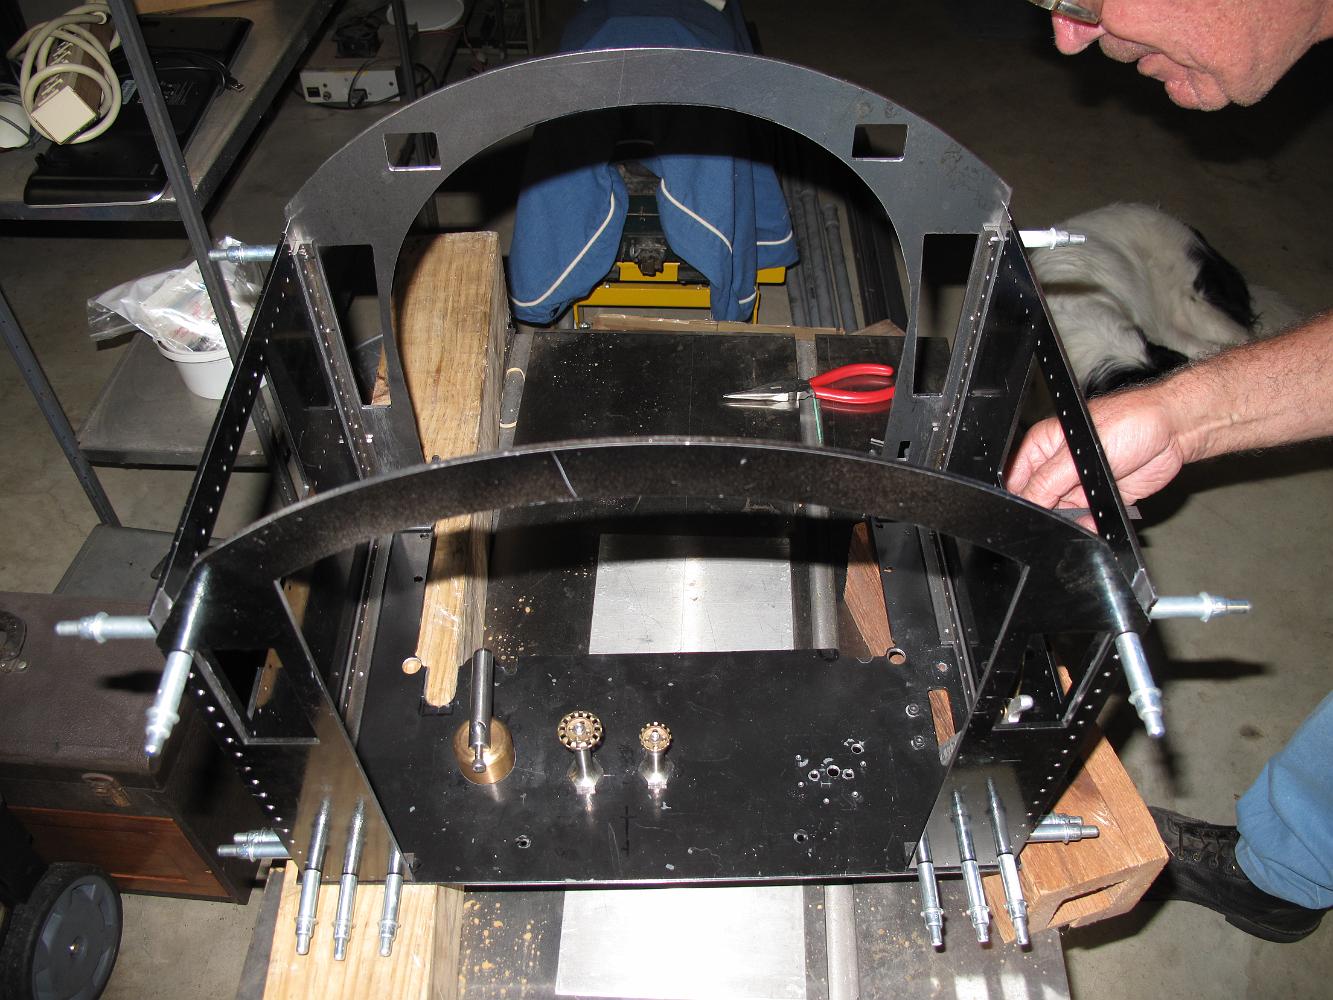
1-Sept-2012 Yet another trial fitting of the cab, this time with all sides and inside brackets held in place with Clecos loaned to me from fellow SLLS member…
1-Sept-2012 Cab trial assembly, checking alignment to the cab floor so we can prick punch the floor bolt locations.
1-Sept-2012 After prick punching the cab floor bolt locations from the cab sides brackets, we drill.
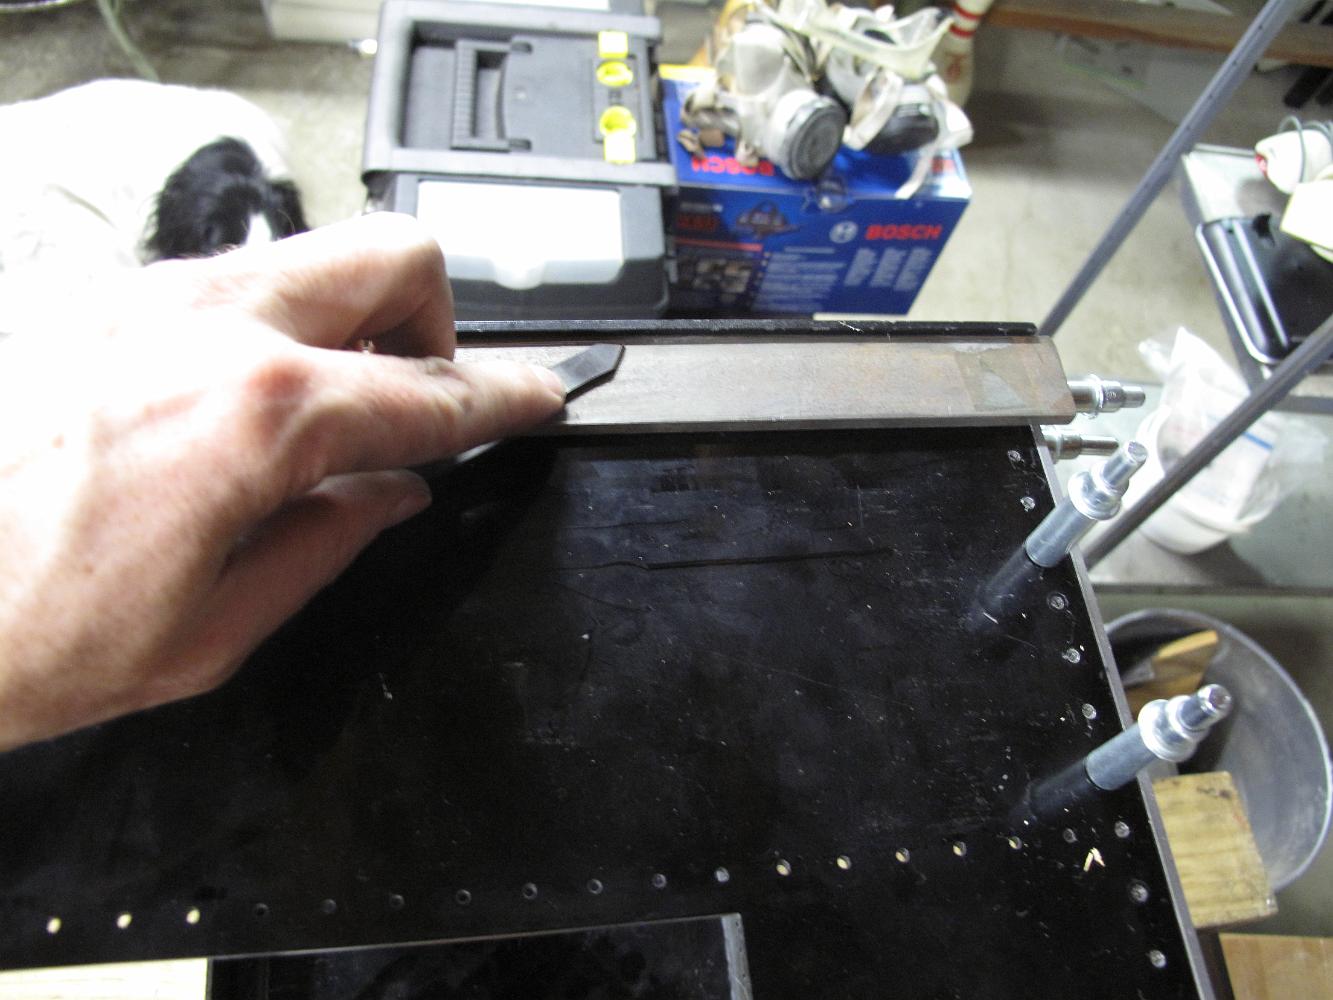
1-Sept-2012 The sides of the cab floor had different amounts of overhang on the left and right. Using the shop made flat scriber, we mark a line on the excess…
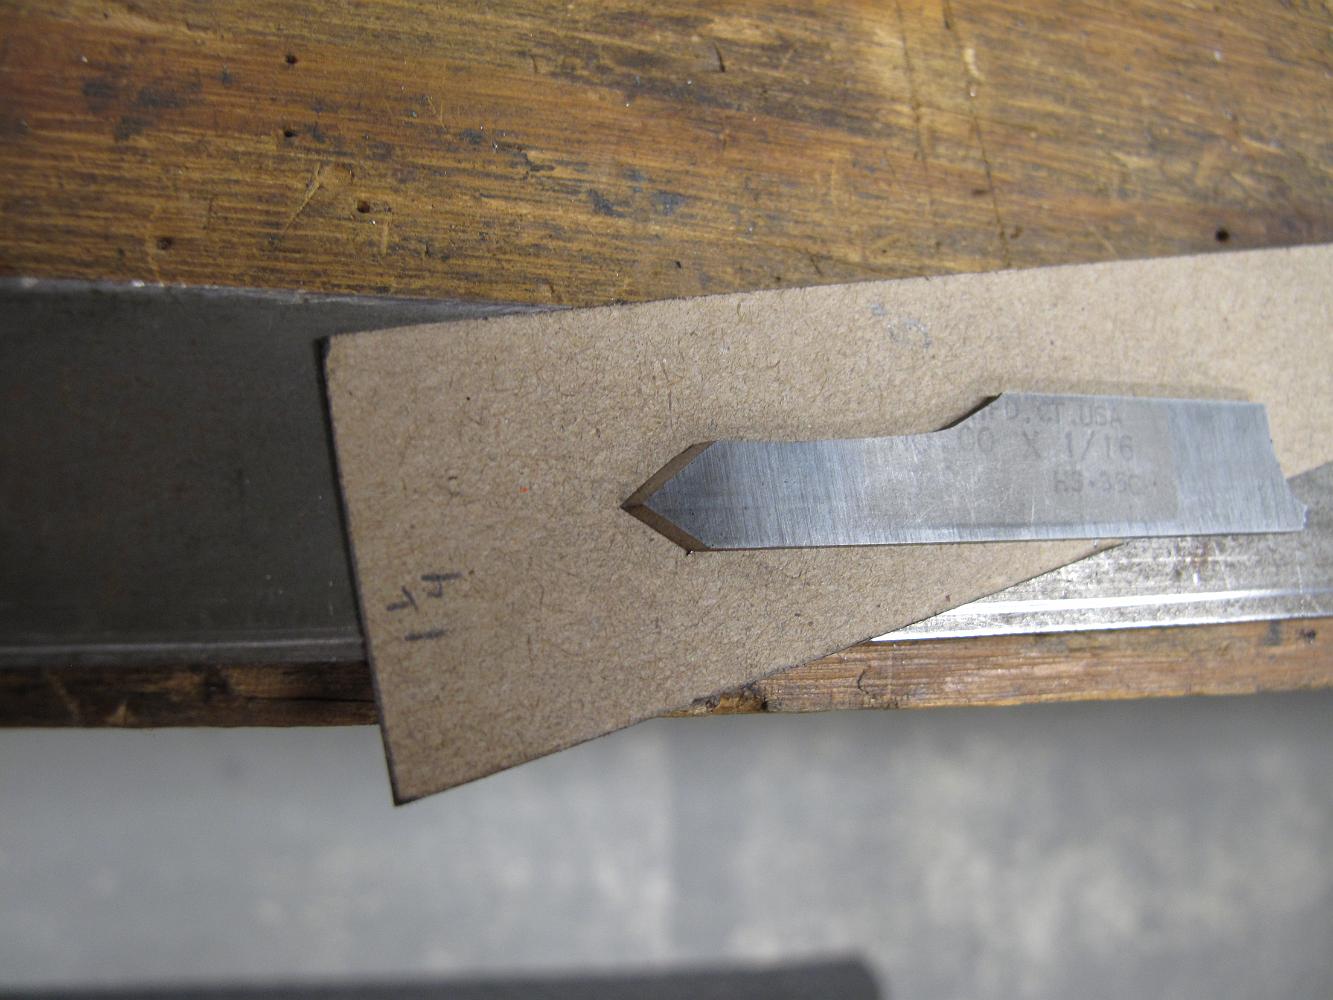
1-Sept-2012 Closeup of the flat scriber. It's made from a broken cutoff tool I shattered. Bill re-ground it to a vee-point, with clearance rake on either side.
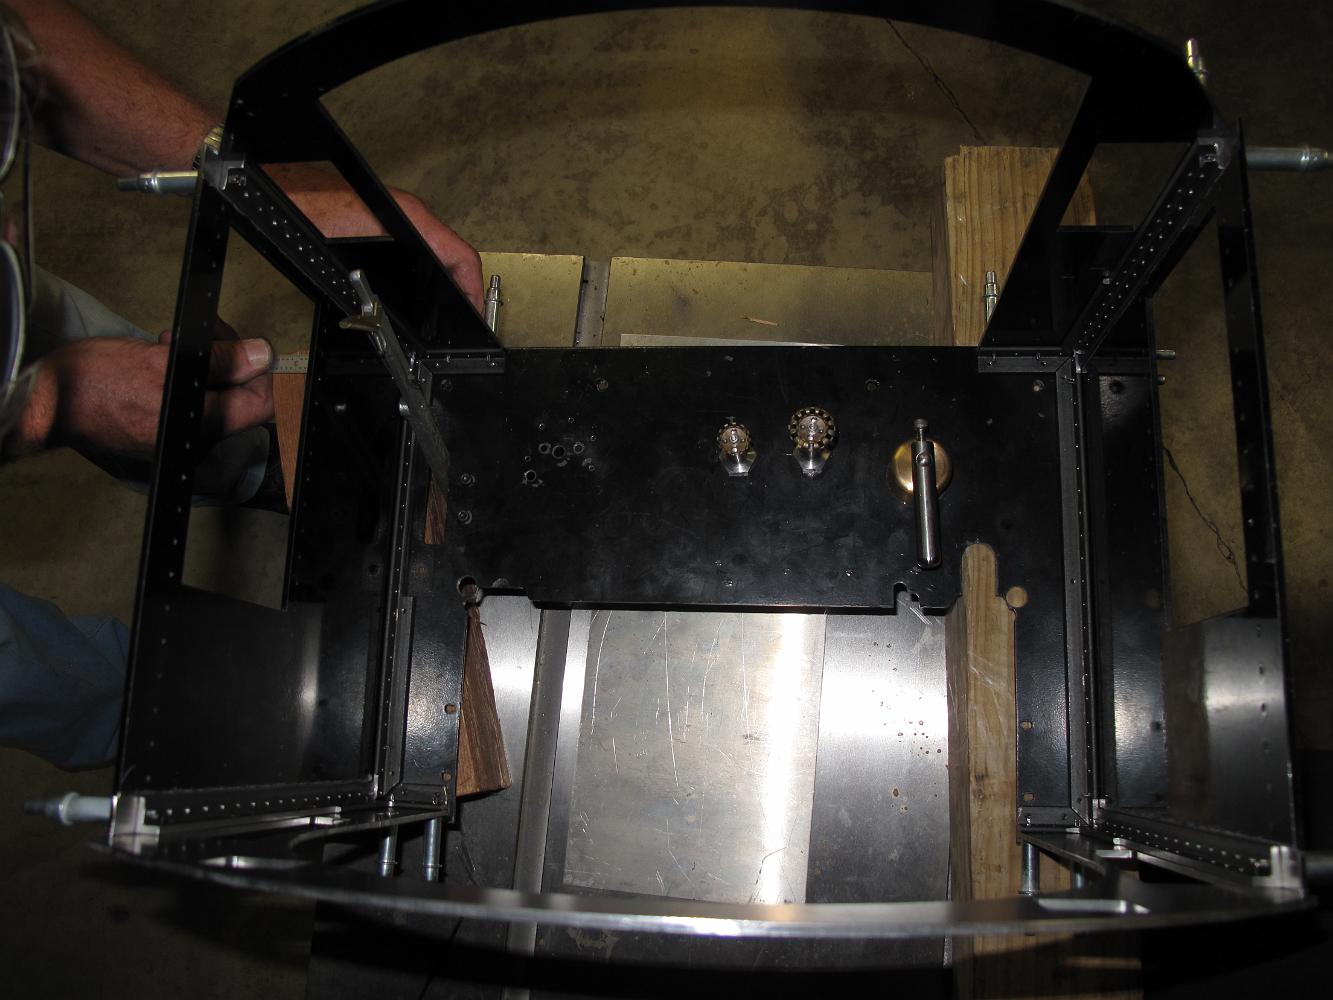
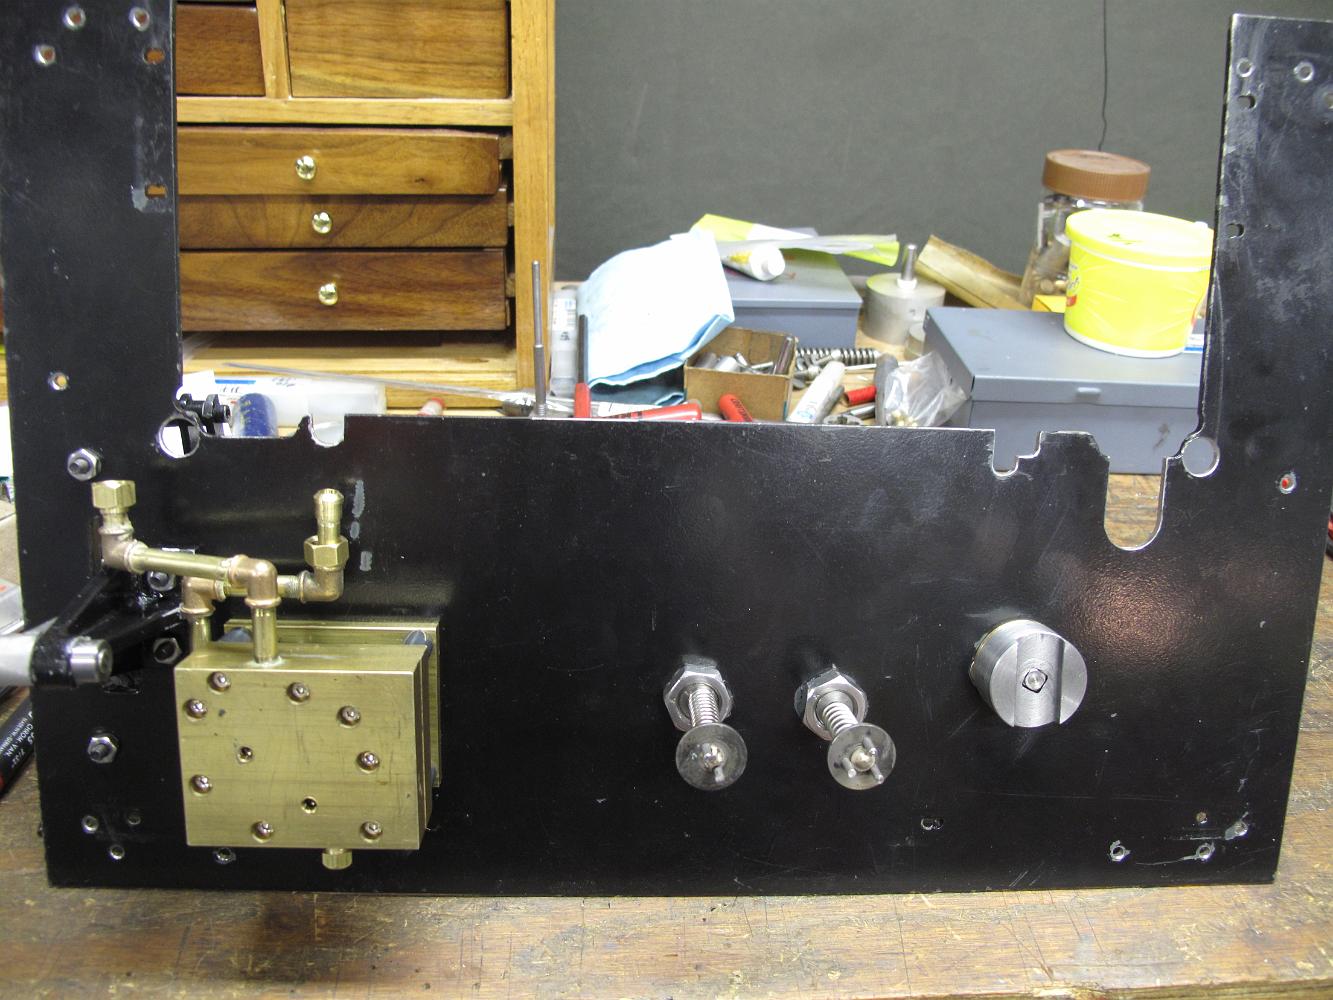
2-Sept-2012 We spent most of the morning working on the brake valve plumbing. Here it is, installed on the cab floor. Right now, only the steam supply and…
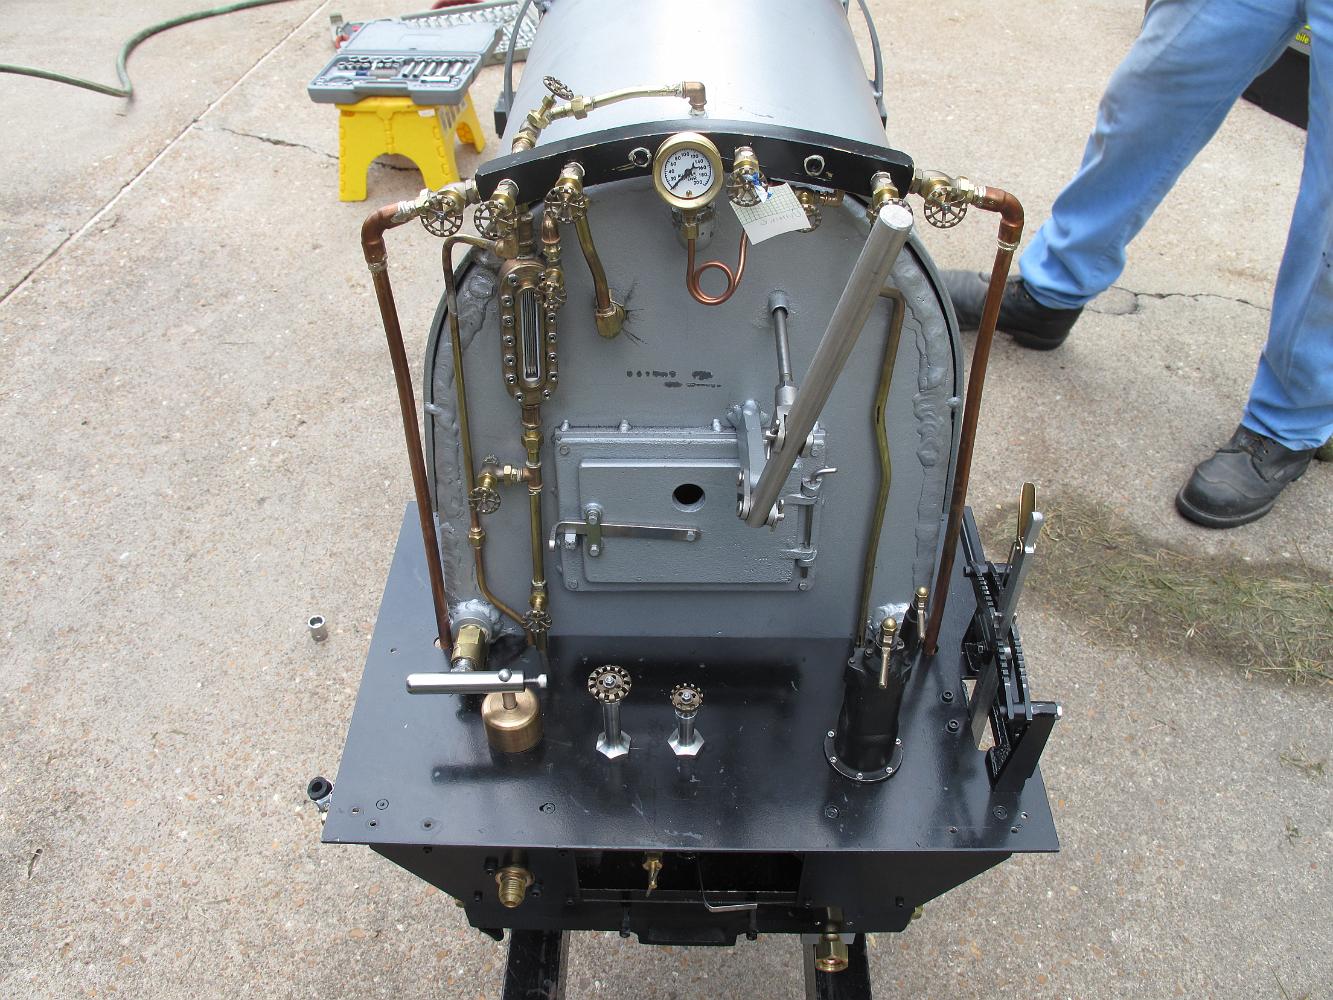
2-Sept-2012 Photo of the cab floor with installed valves. Also, a picture of the locomotive outside for the first time ever!
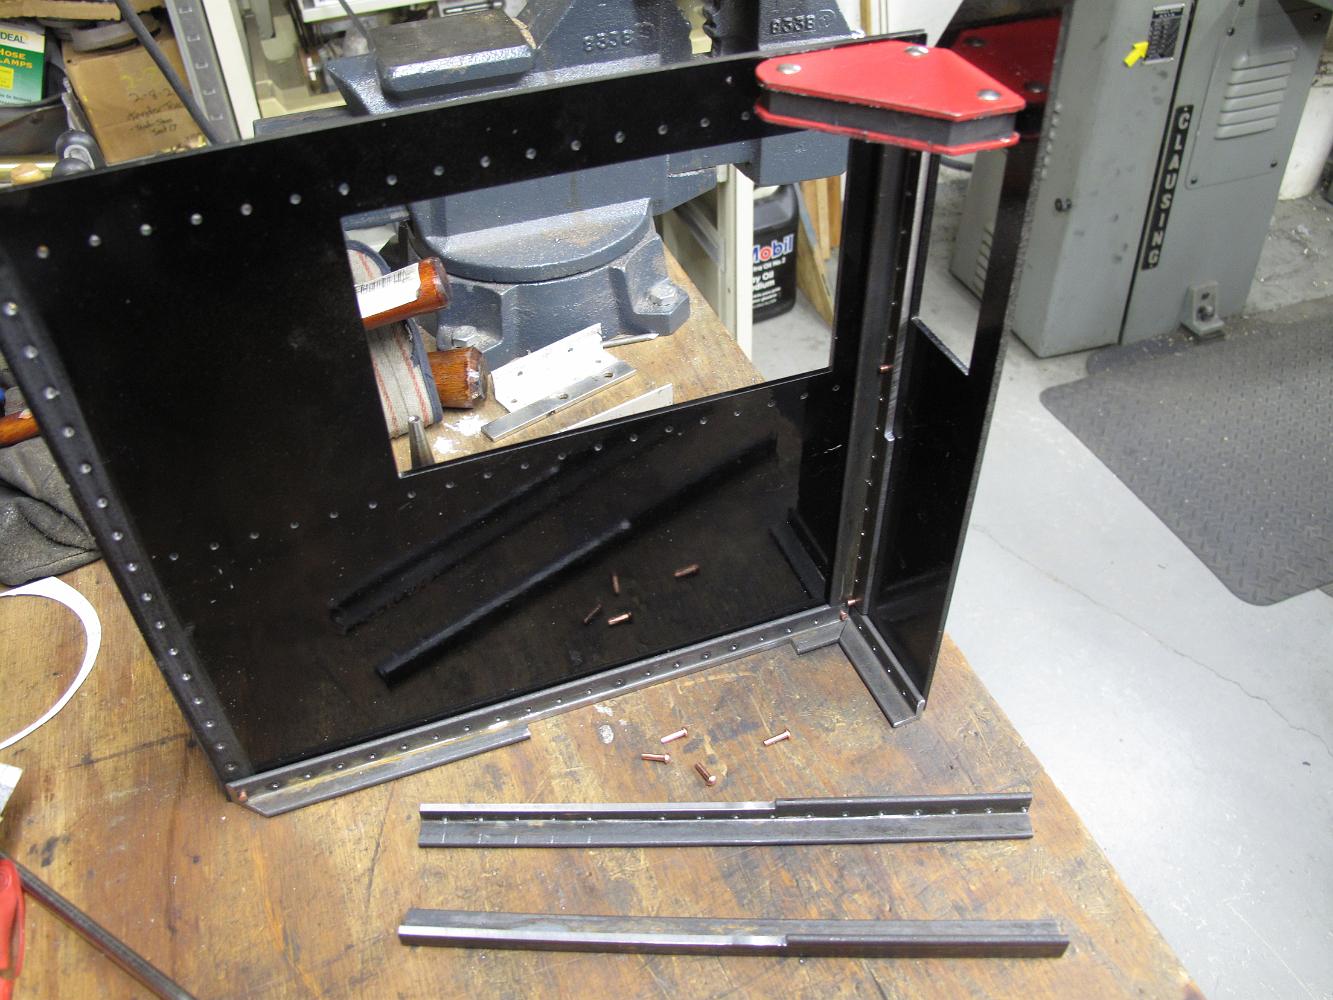
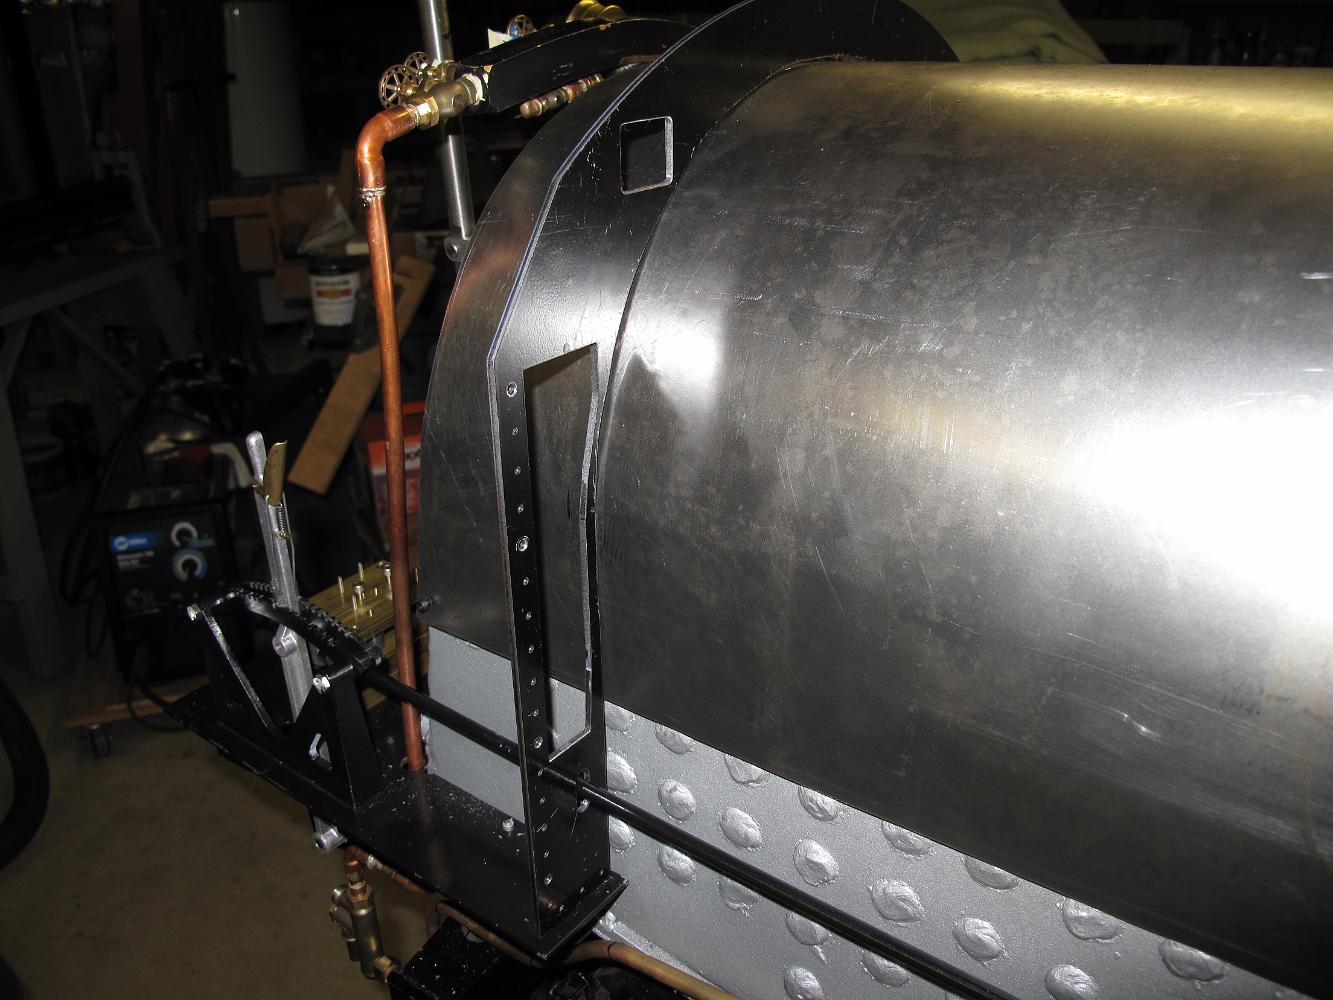
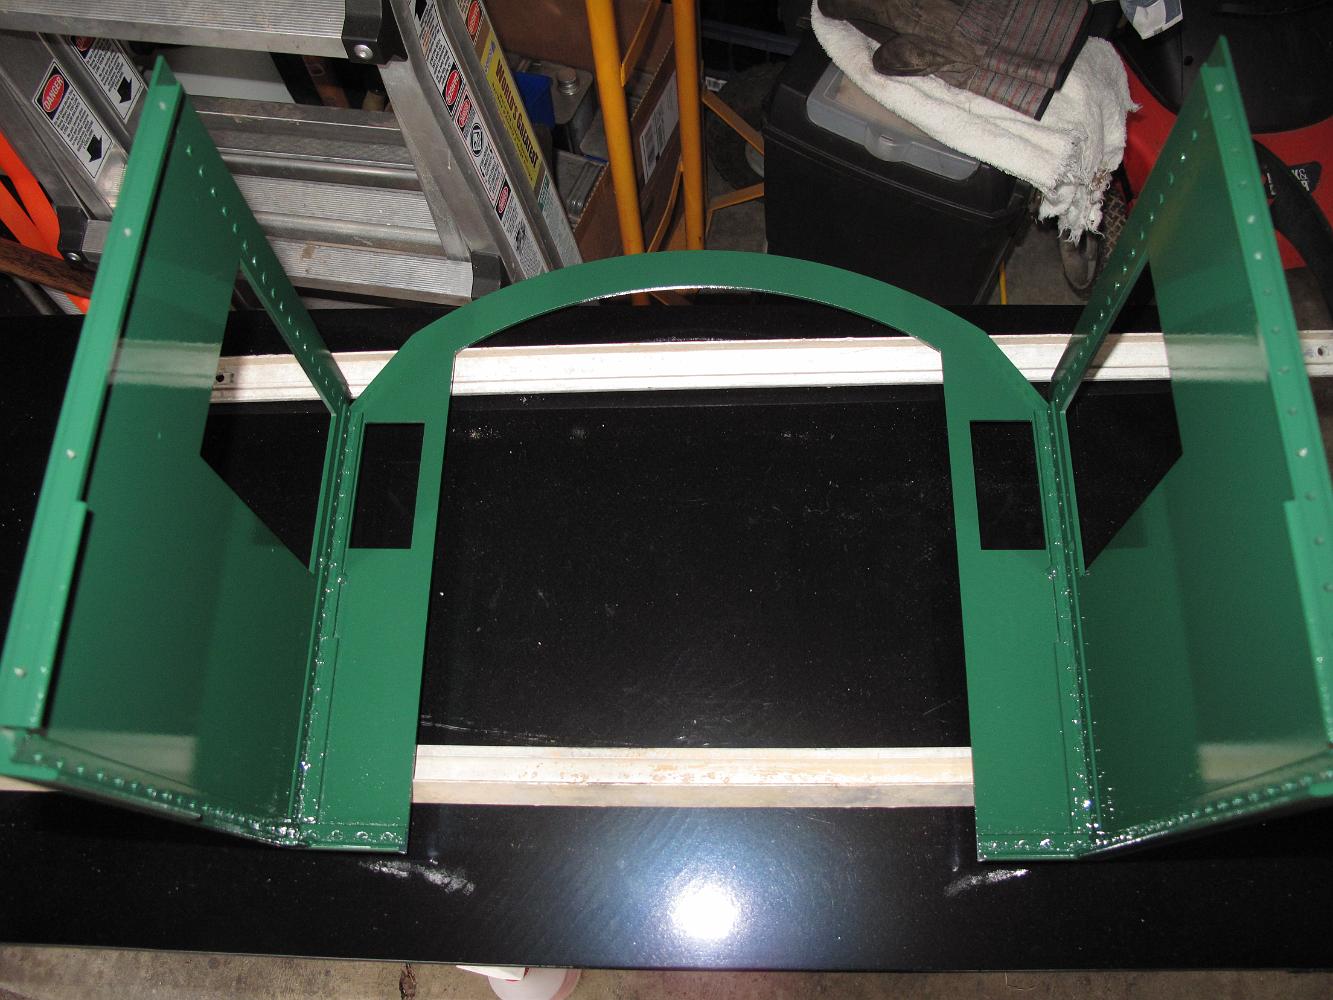
12-Sept-2012 The cab, trial assembly. The angle iron in the corners have been cut, drilled and riveted with 3/32" copper rivets. I used 1/8" HRS steel angle,…
28-July-2014 Setting up a stop on the table which is true to the Y-axis so we can mill the sheet stock for the roof square. The order of operations is 1) butt…
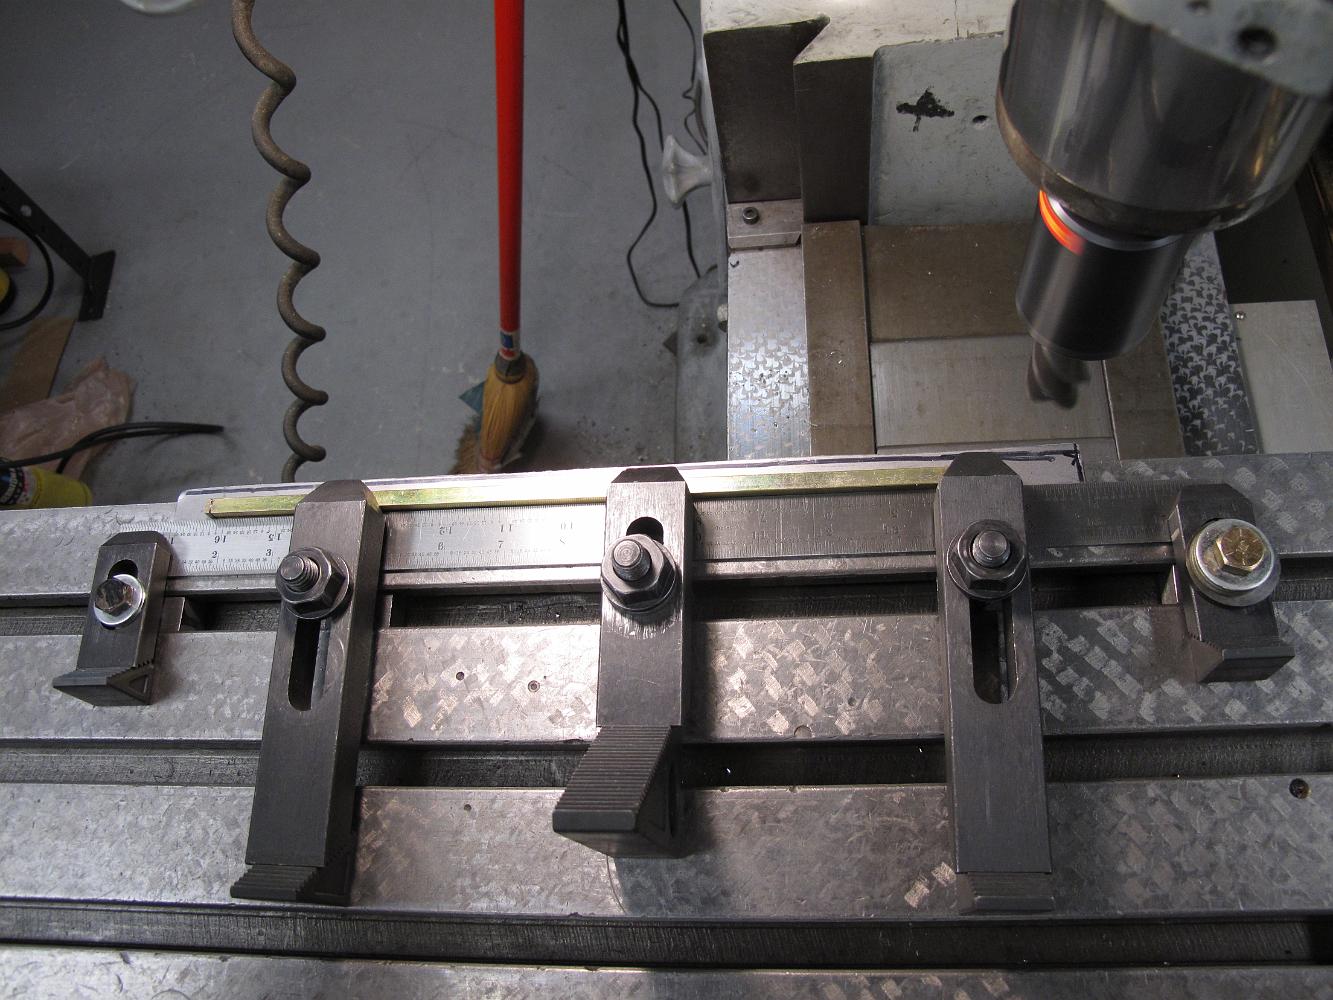
28-July-2014 Large piece of square stock clamped across the sheetmetal to hold it down and against the stop for machining.
28-July-2014 The roof openings, rear overhang and access hole is layed out on the flat metal for machining. We drill two holes for clamping in the roof access…
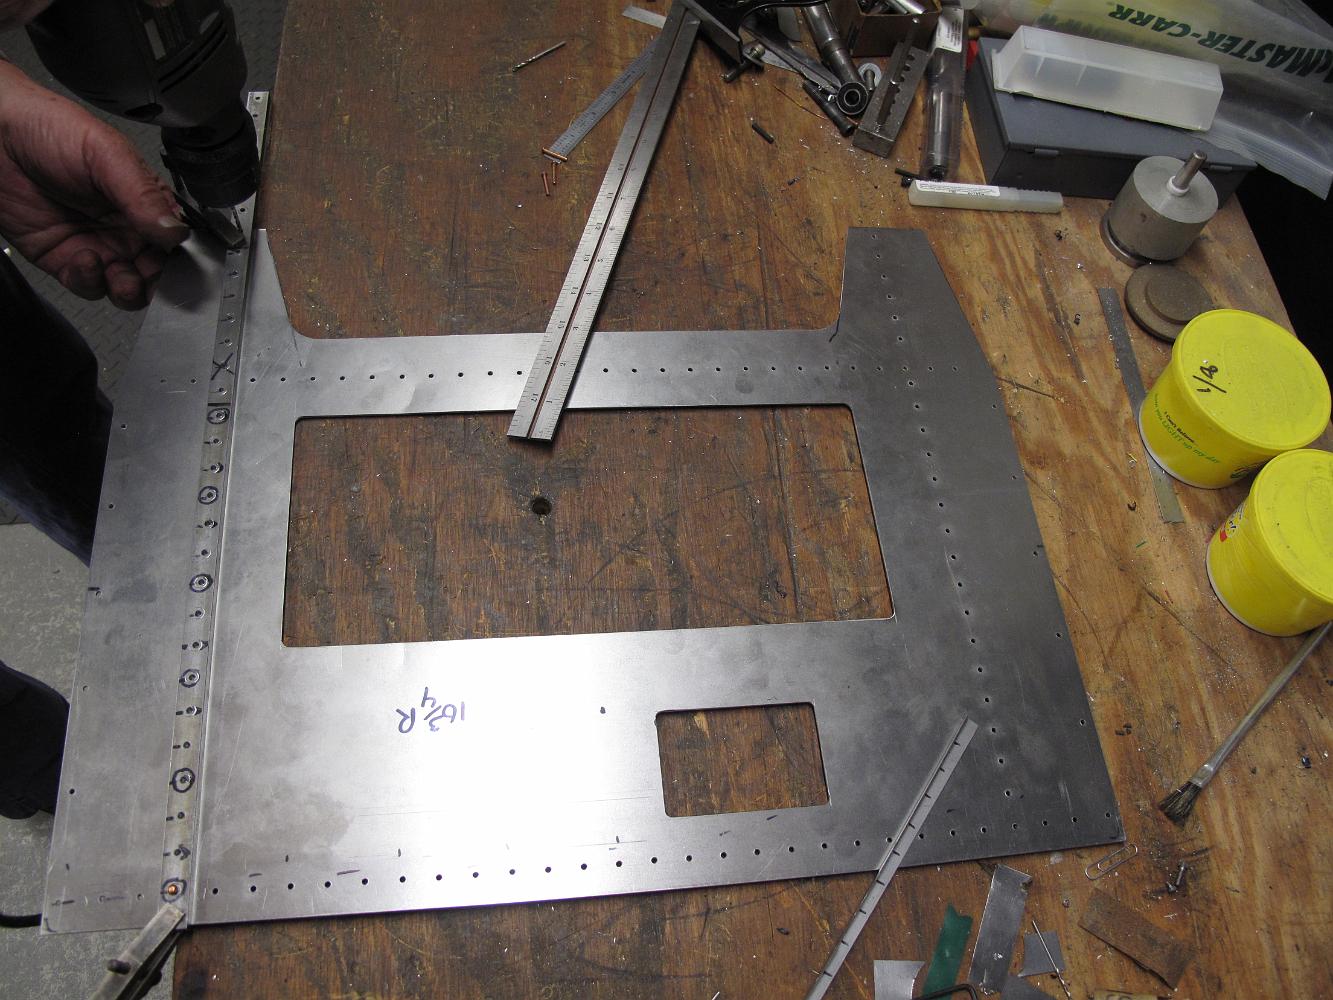
28-July-2014 Half the machining completed. The roof with the access opening (larger) to the cab interior, and waterglass valve access opening (smaller, top).…
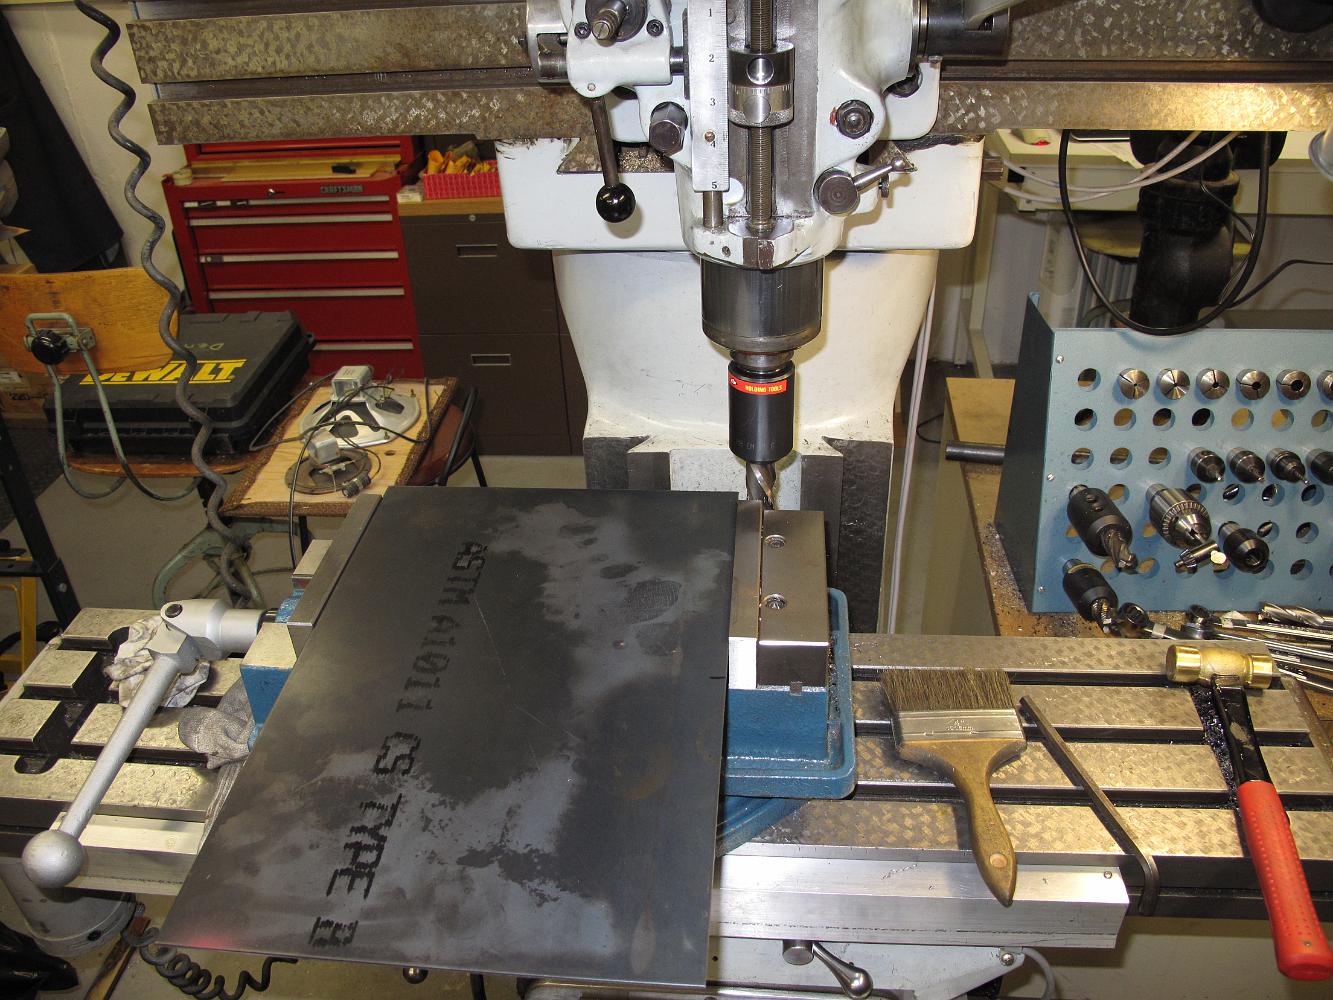
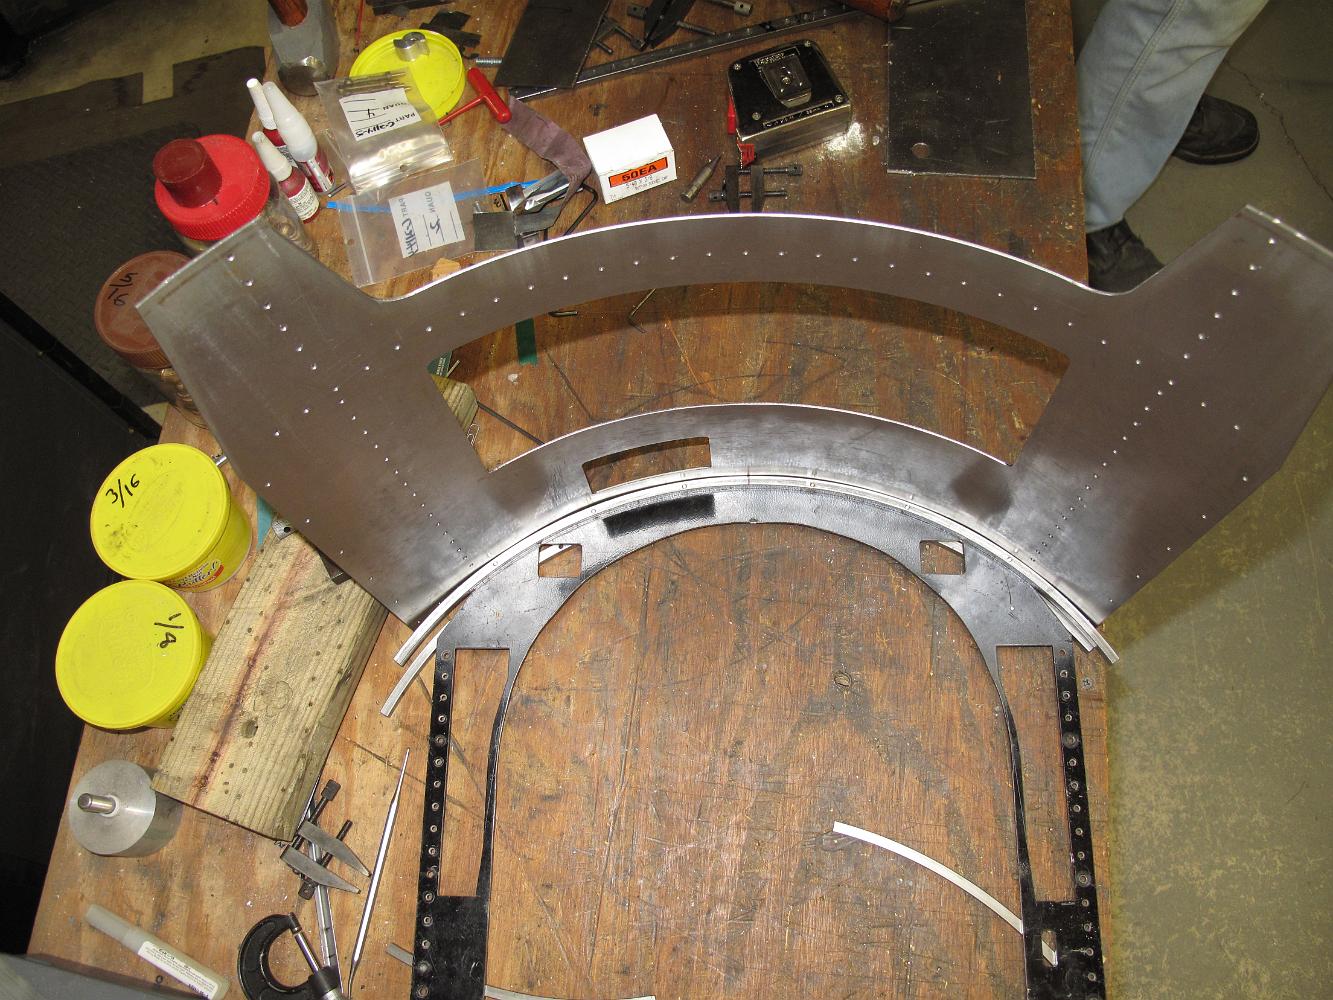
9-Aug-2014 Since I do not have a foot shear to quickly cut sheet metal, I have to resort to machining it. Using hand tin snips bend the metal which was not…
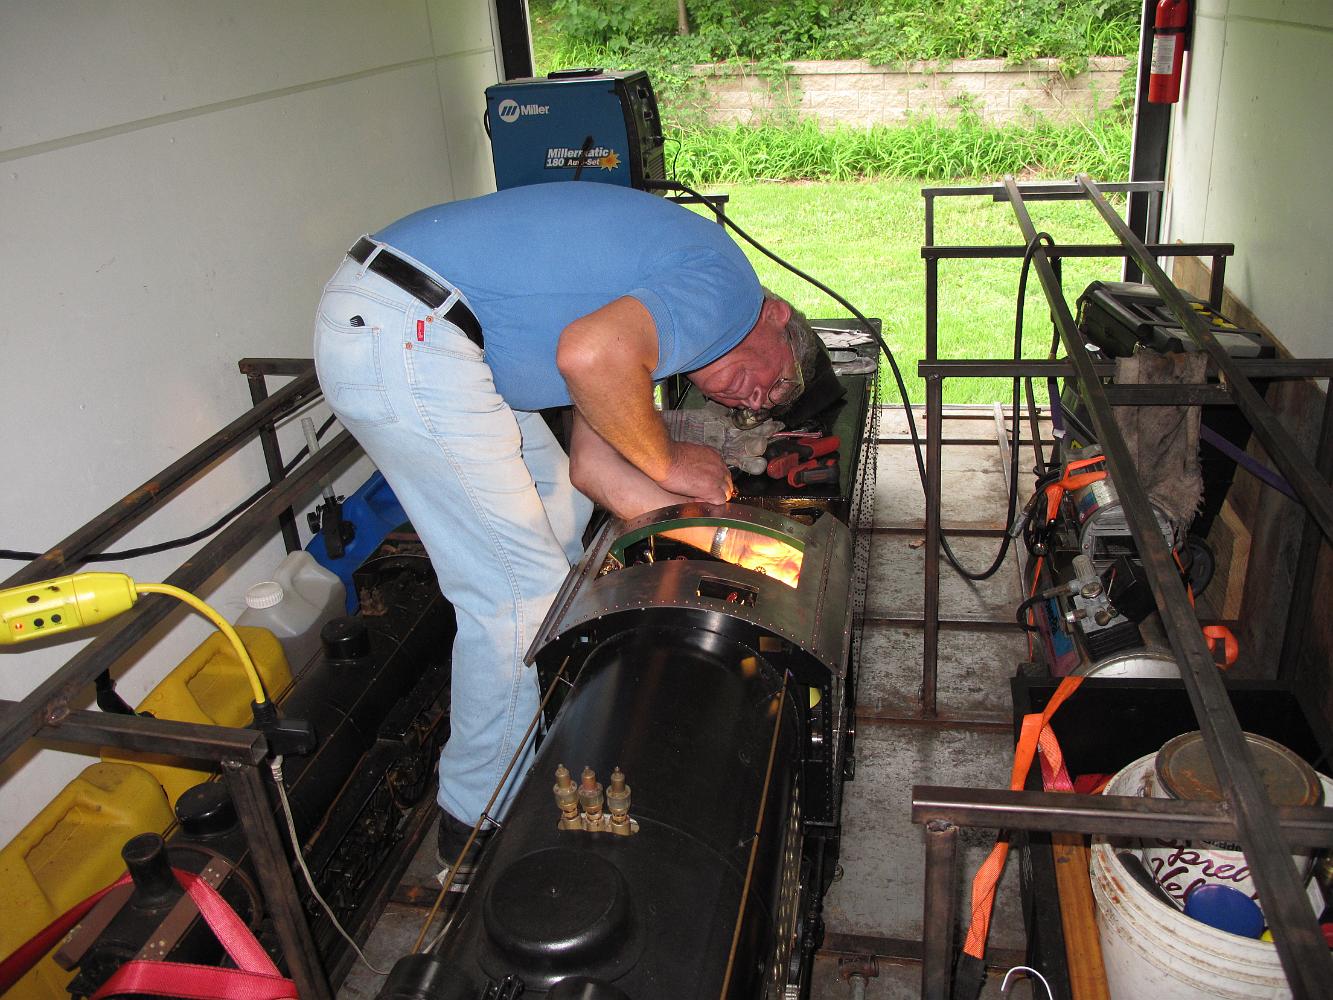
11-Aug-2014 We faced a serious dilemma mounting the cab roof to the cab. 1) We did not have any cab roof prints to help us design brackets to mount the roof,…
11-Aug-2014 Using a drill gauge to put the rivet holes in the sheet metal. We used the mill to make the gauge and a hand drill to drill the holes.
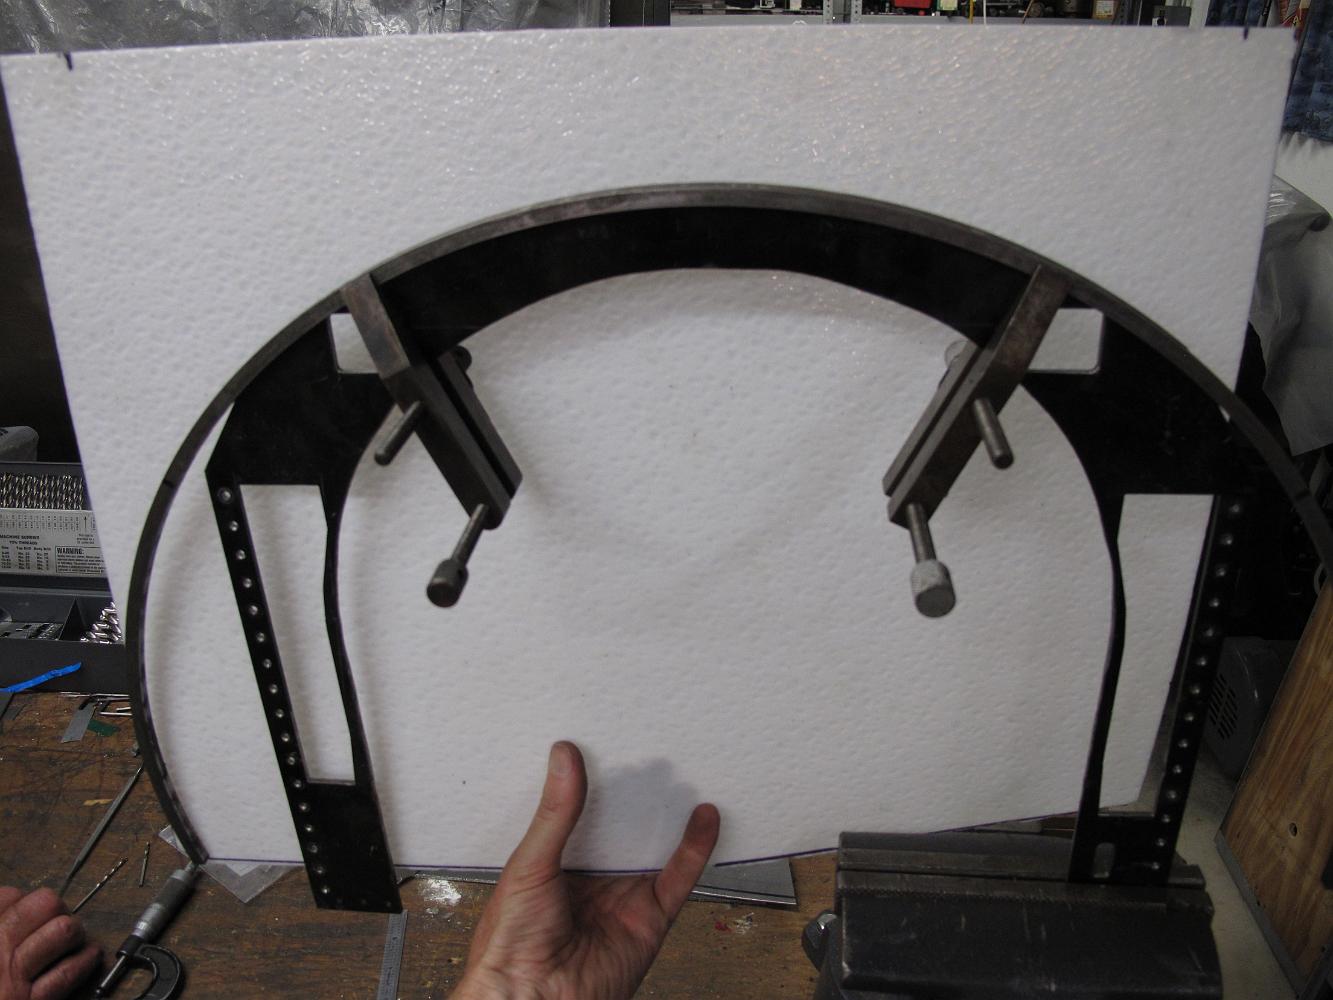
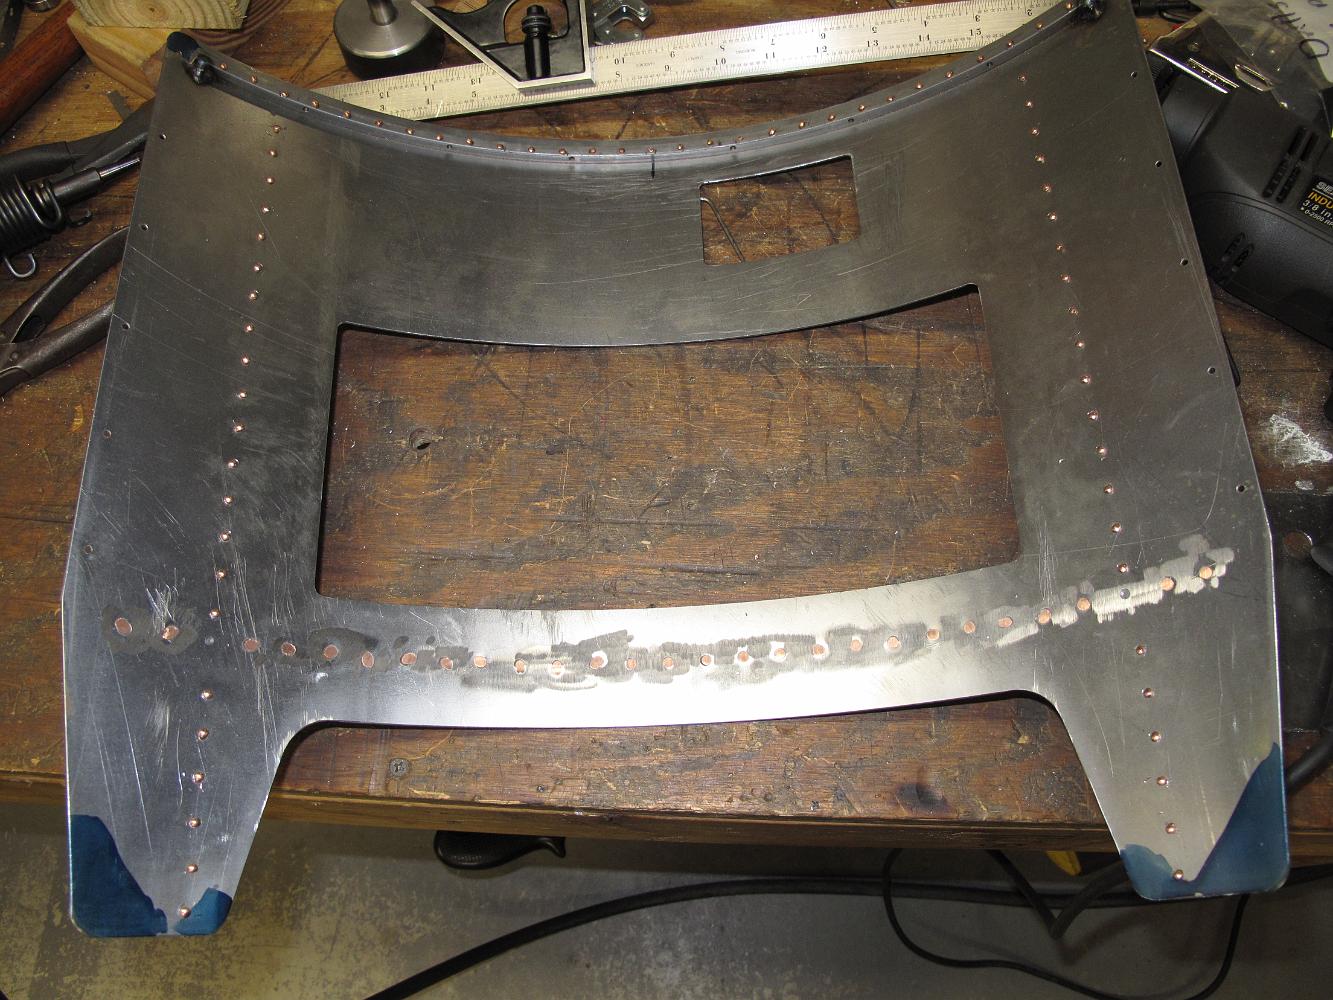
16-Aug-2014 We bend the roof with the old hand cranked roller, doing our best to keep things even and consistently bent. Hard to see, but we have also used the…
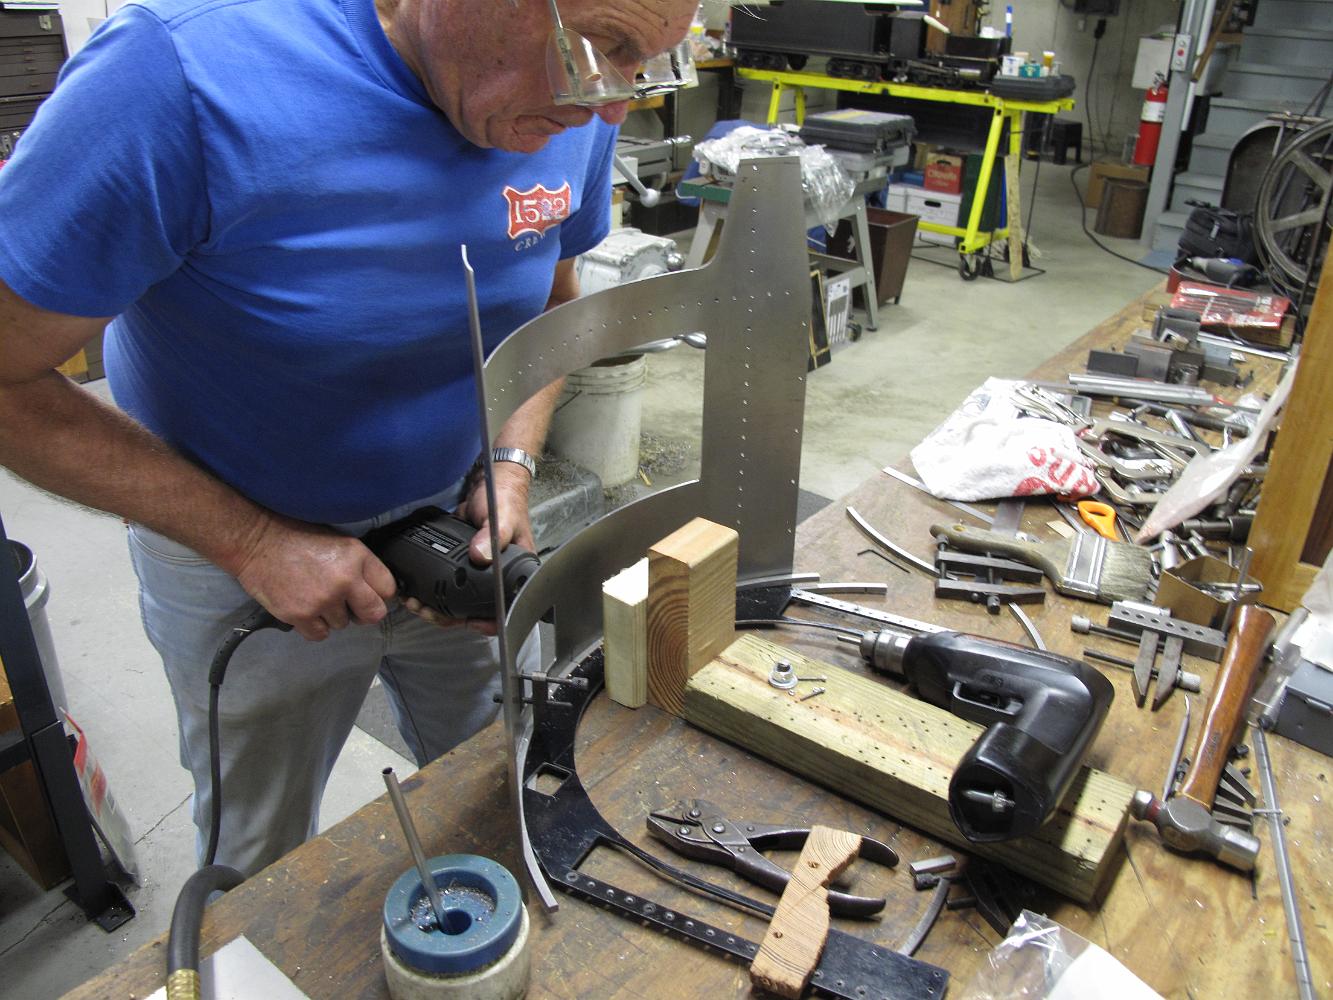
18-Aug-2014 Match drilling the square stock with the rolled cab roof for the rivets. We have bolted a 2x4 to the bench to anchor the cab roof and cab side. We…
23-Aug-2014 The dangers of working nights in the shop and without blueprints - a miscalculation on rivet placement by 1/8". Instead of being able to rivet the…
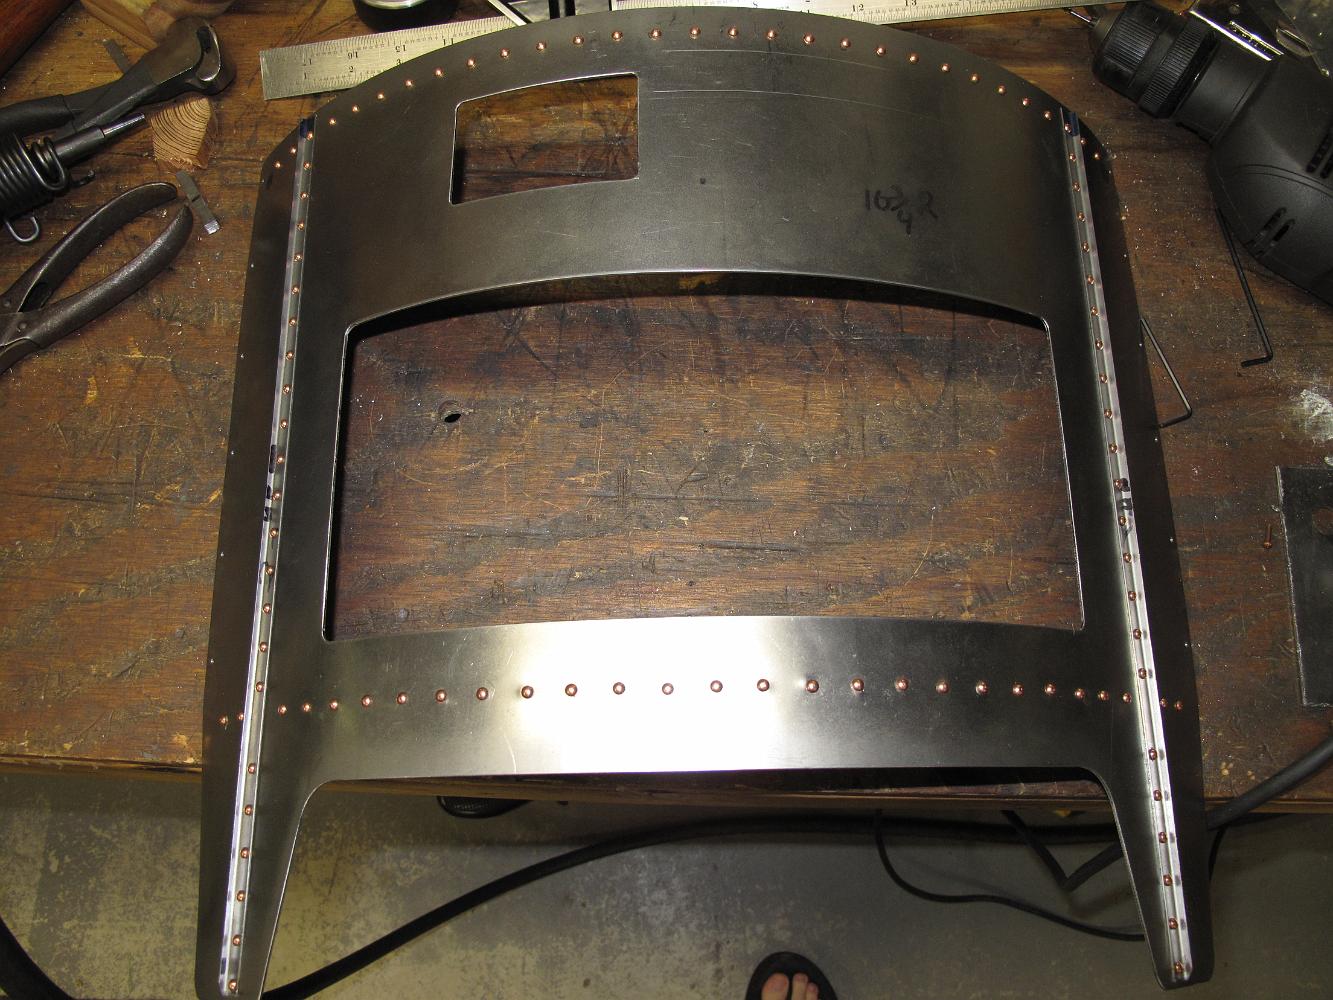
23-Aug-2014 The roof braces have been cut to size (I went to my friend Joel's shop and used his shear), bent using my rehabilitated finger brake and riveted on.