
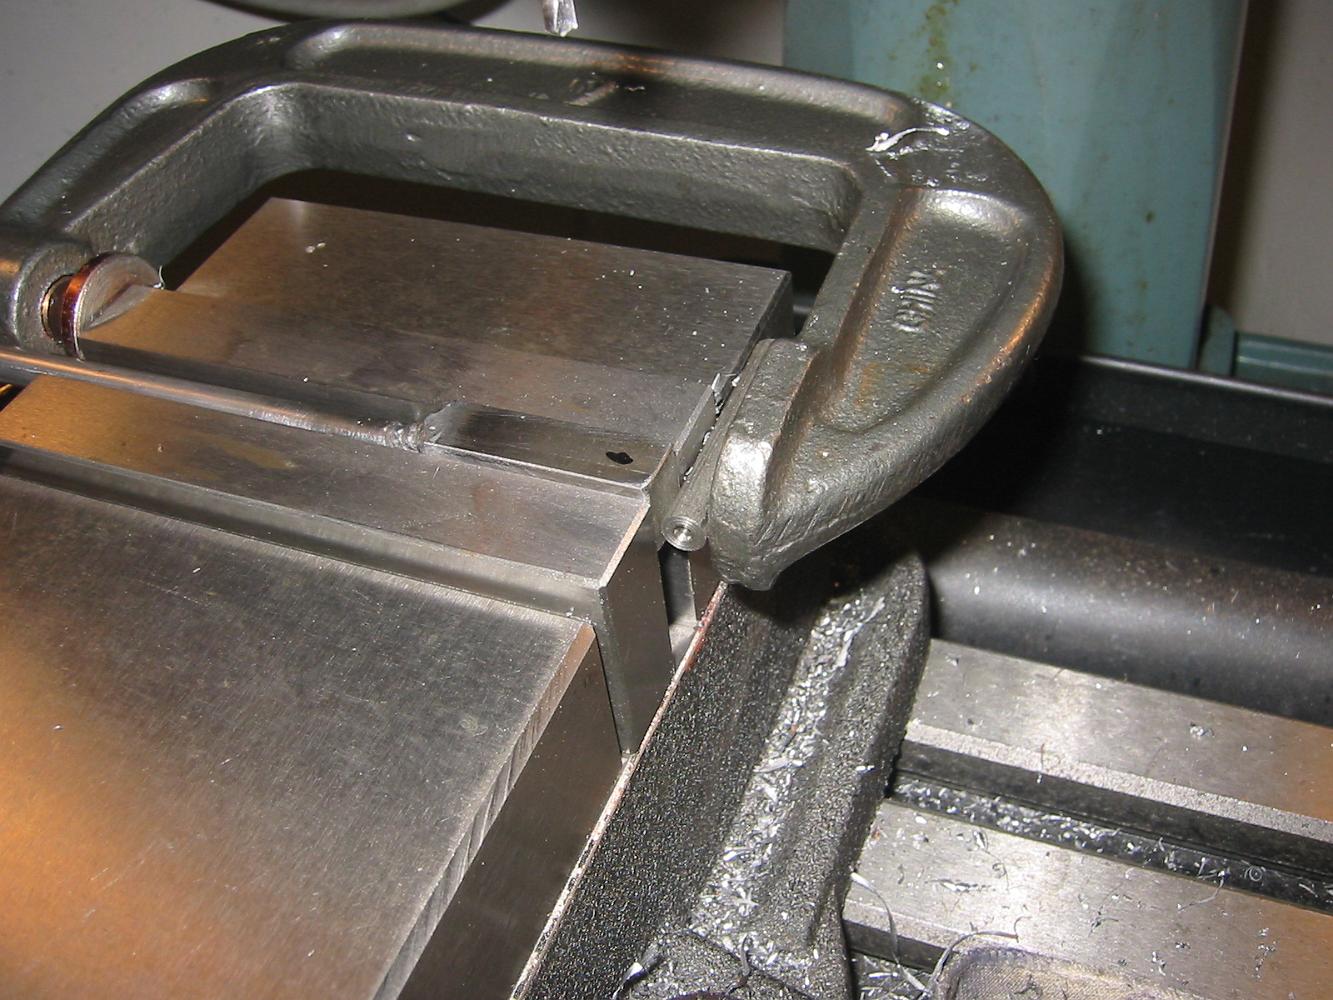
After seeing the angle plate set up, you may wonder why the cylinder is in the vise. After finishing the mounting boss, we started drilling the four mounting…
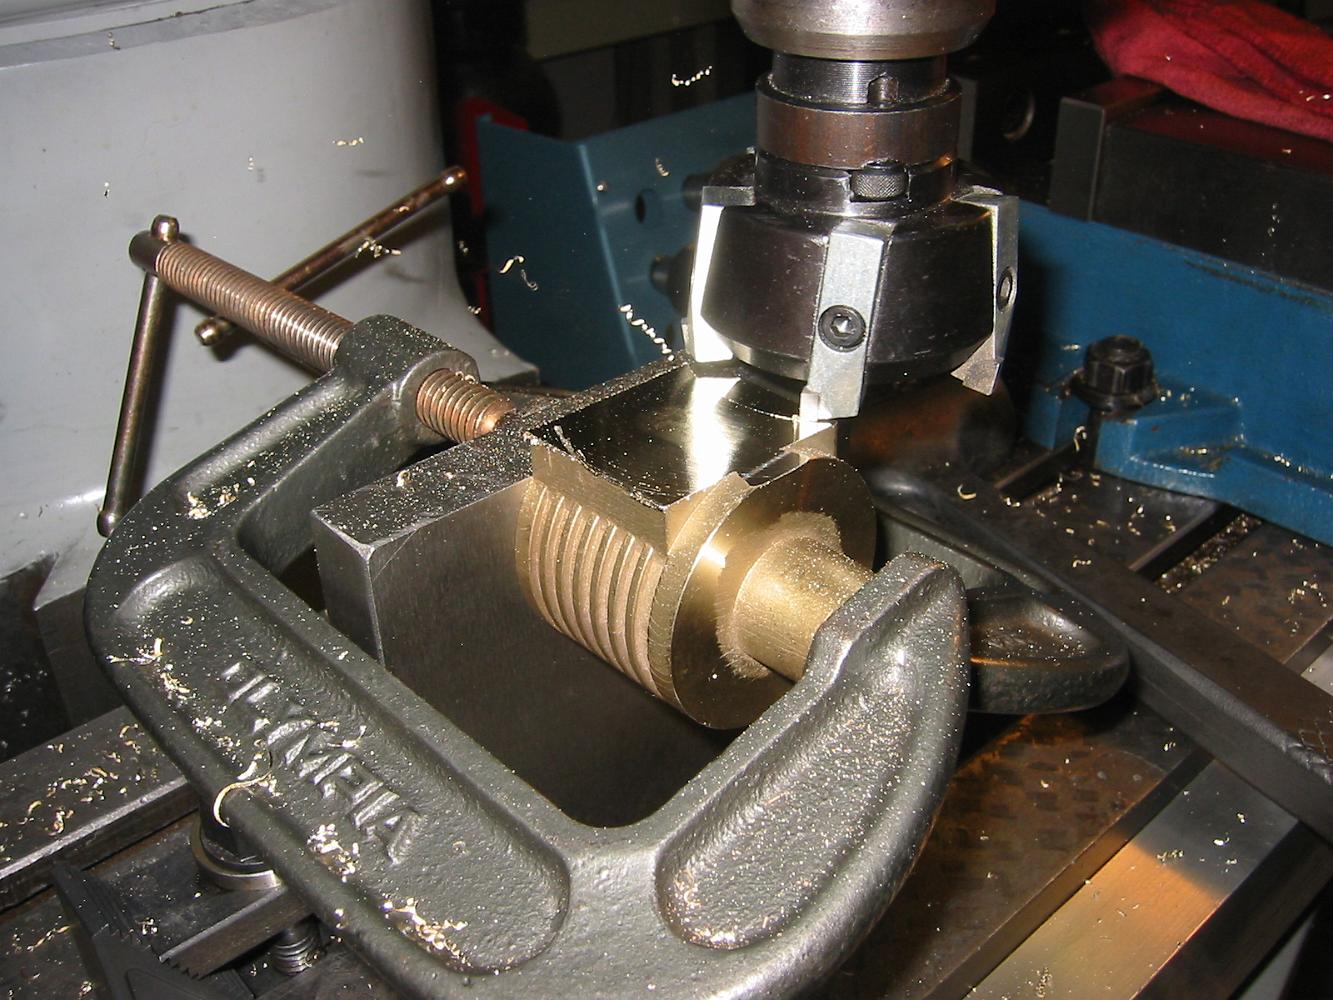
23-Jan-08 Cutting the mounting boss on the brake cylinder using the angle plate and c-clamp setup. The finished height of the boss was based on the centerline…
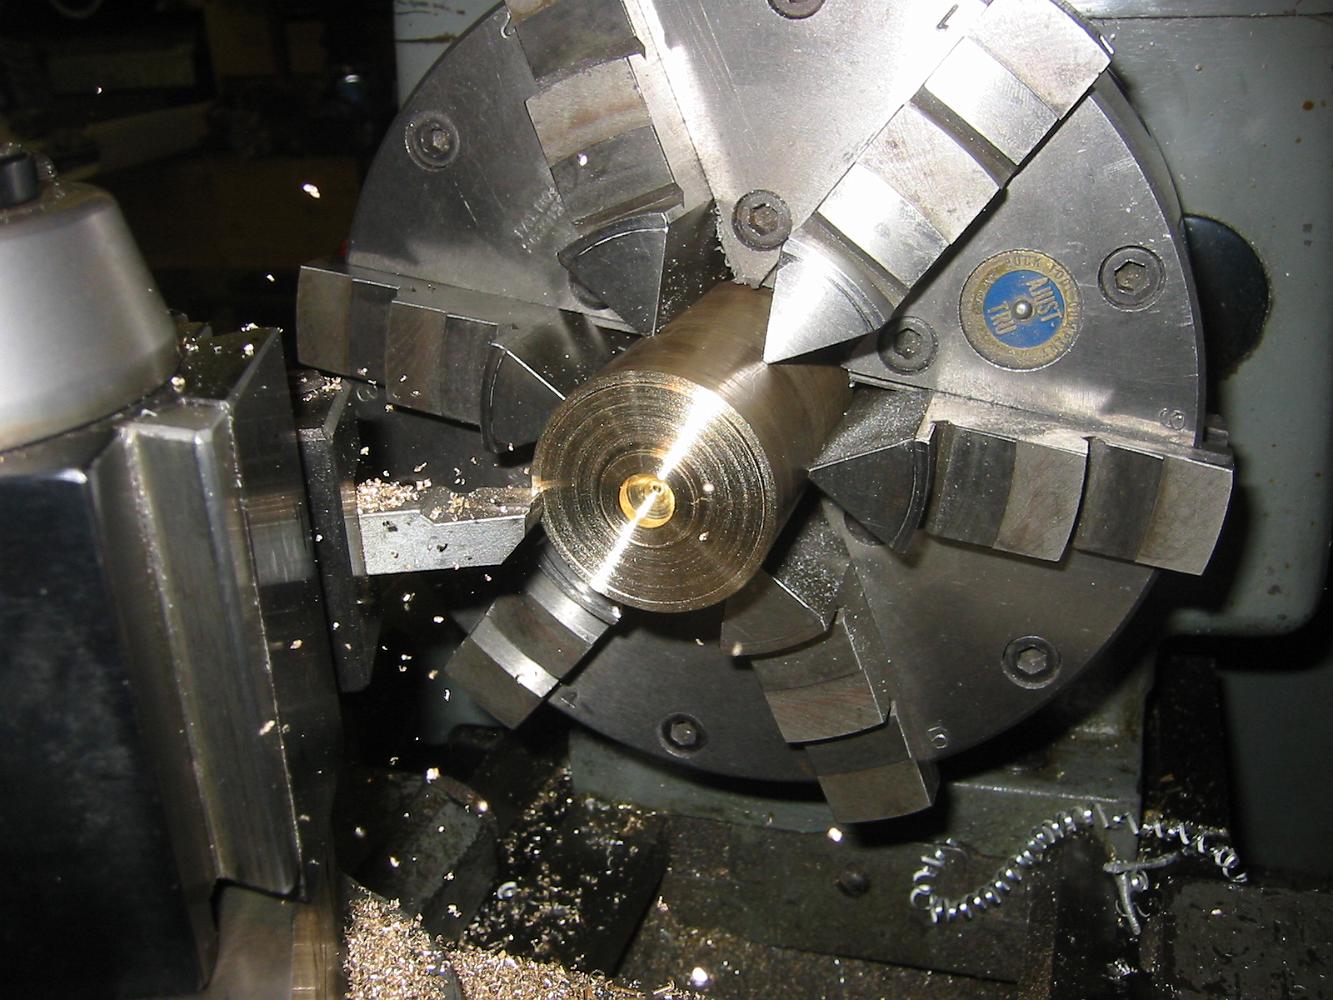
30-Jan-08 Turning the Piston.
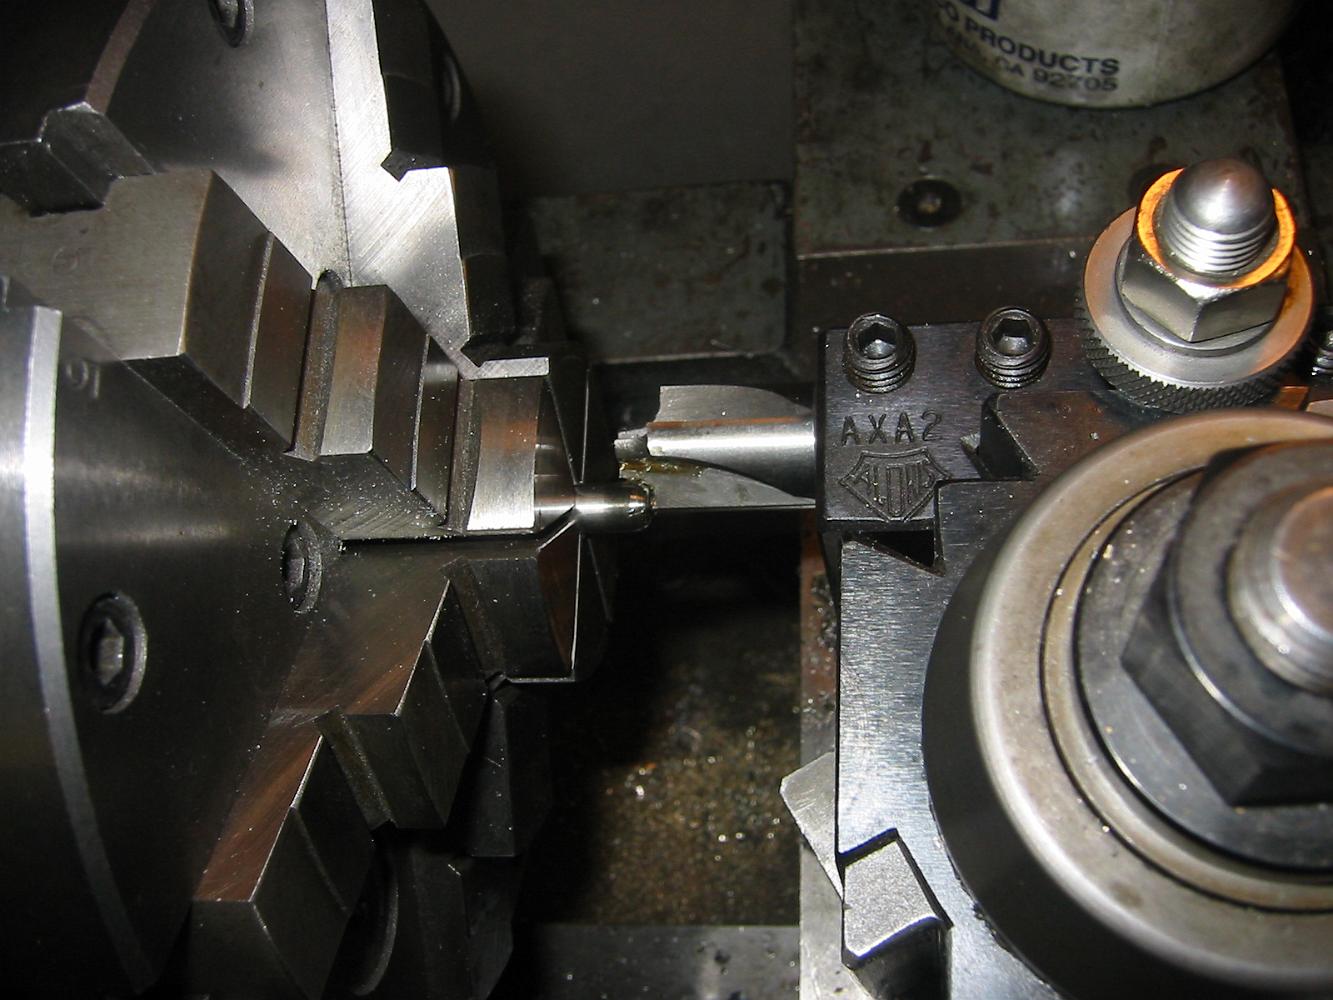
Need to turn a 1/4" radius on the end of a rod? Here's a tip: Put a rounding bit in the holder, run the lathe in reverse and advance the carriage. Much better…
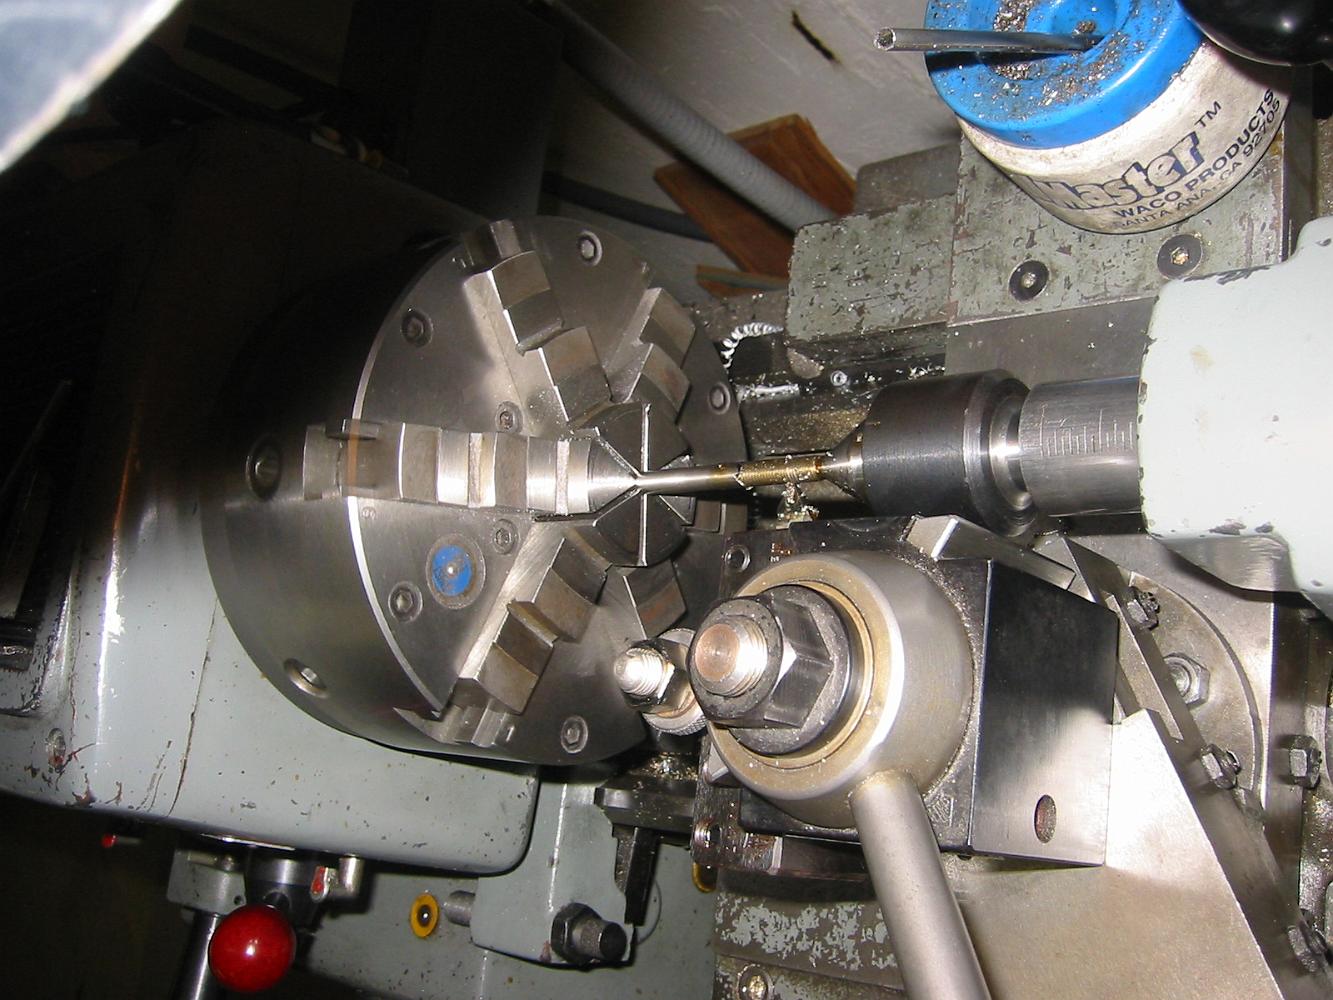
30-Jan-08 Well, this picture is a really odd perspective, but I couldn't move the camera closer since Bill was in the middle of threading the stainless steel…

Finishing the cylinder - drilling, then tapping the cover holes. Not pictured was drilling the cover through holes.
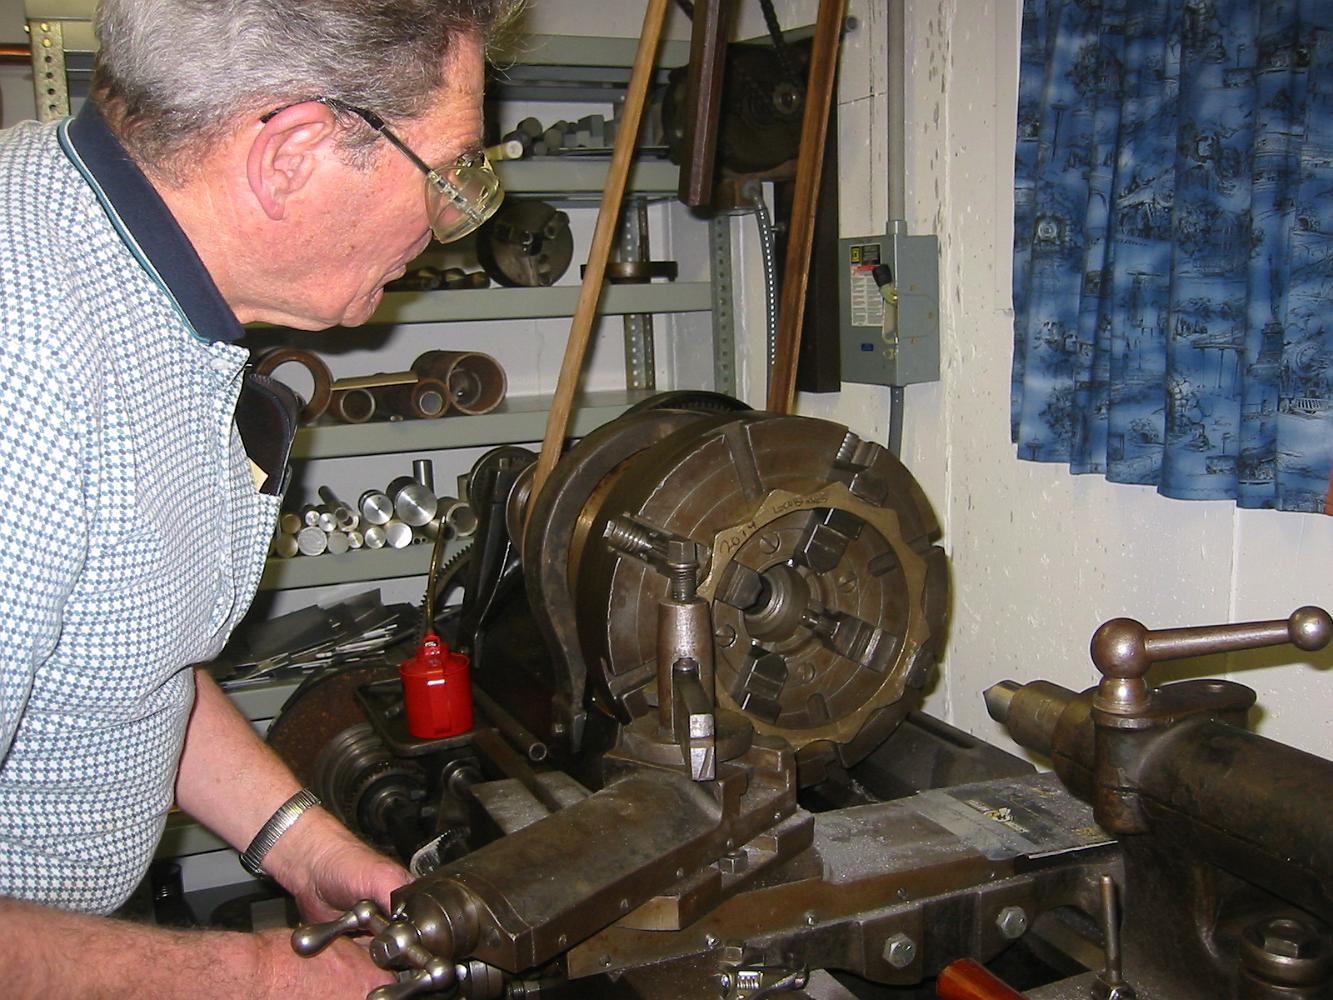
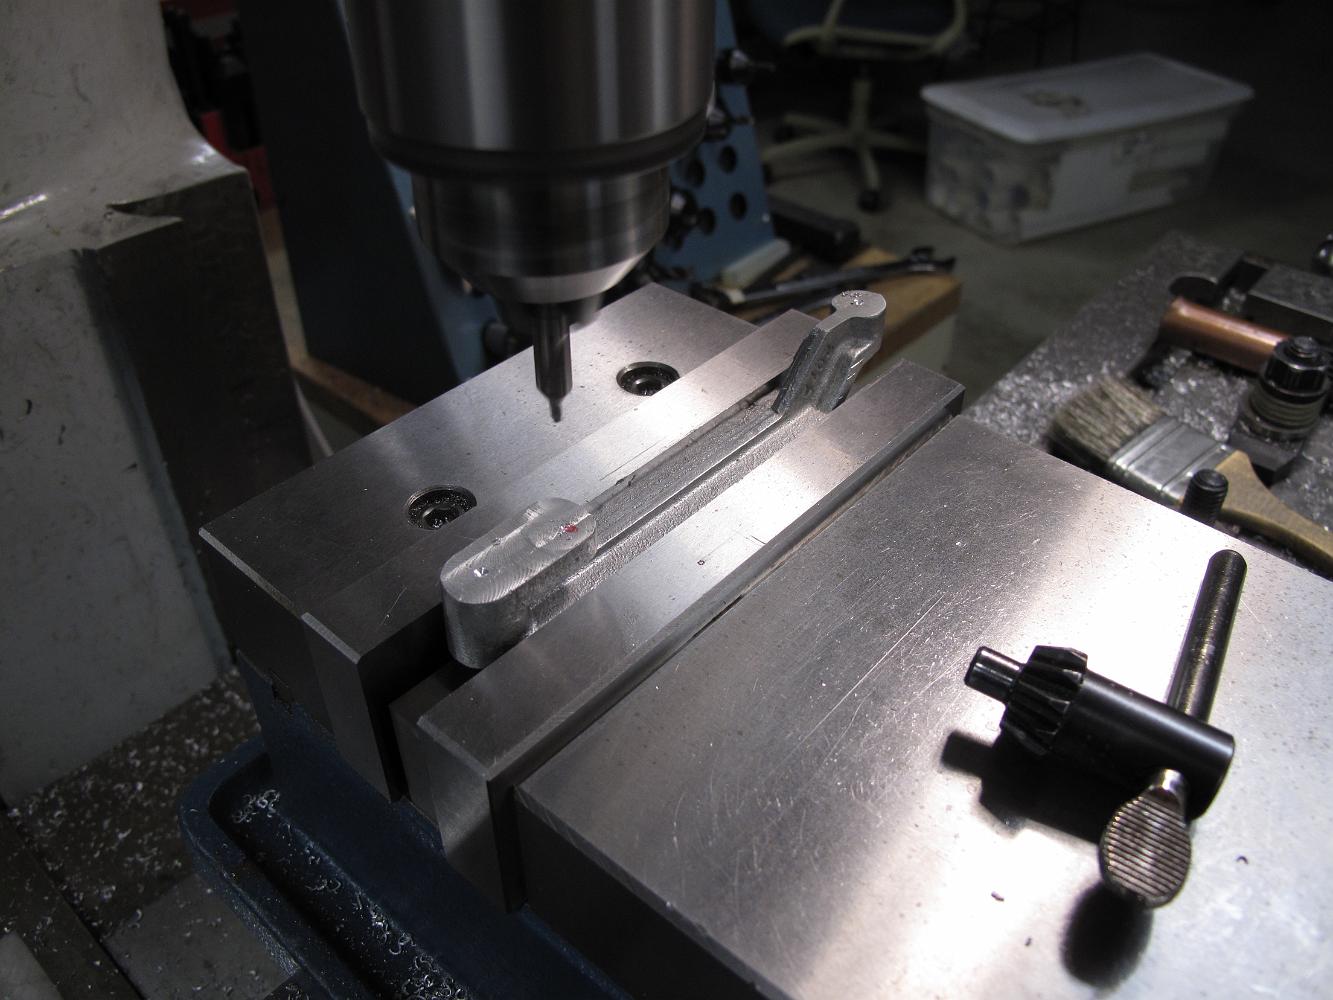
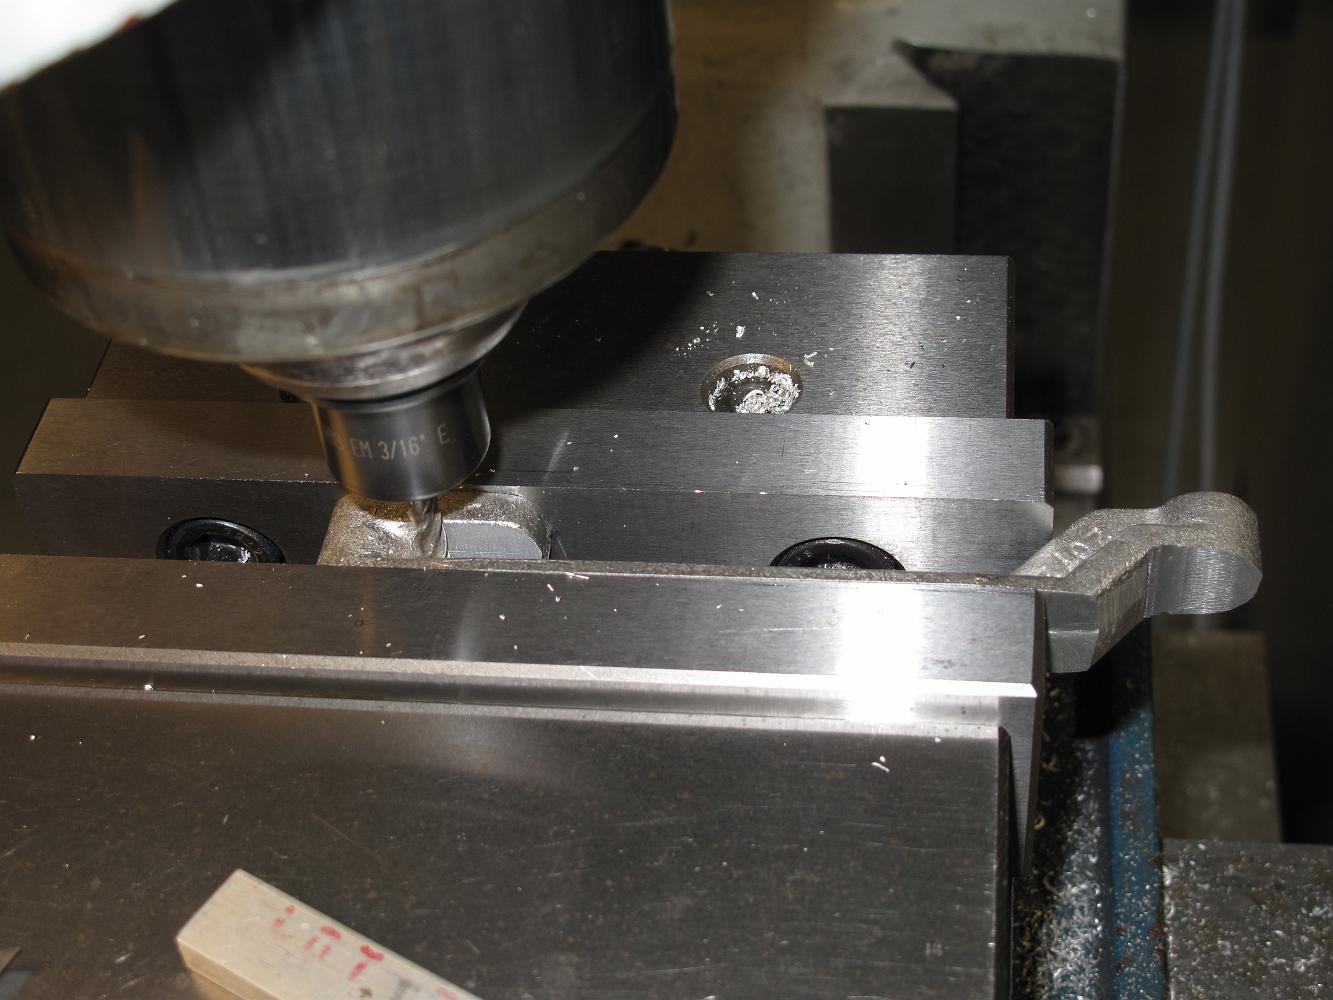
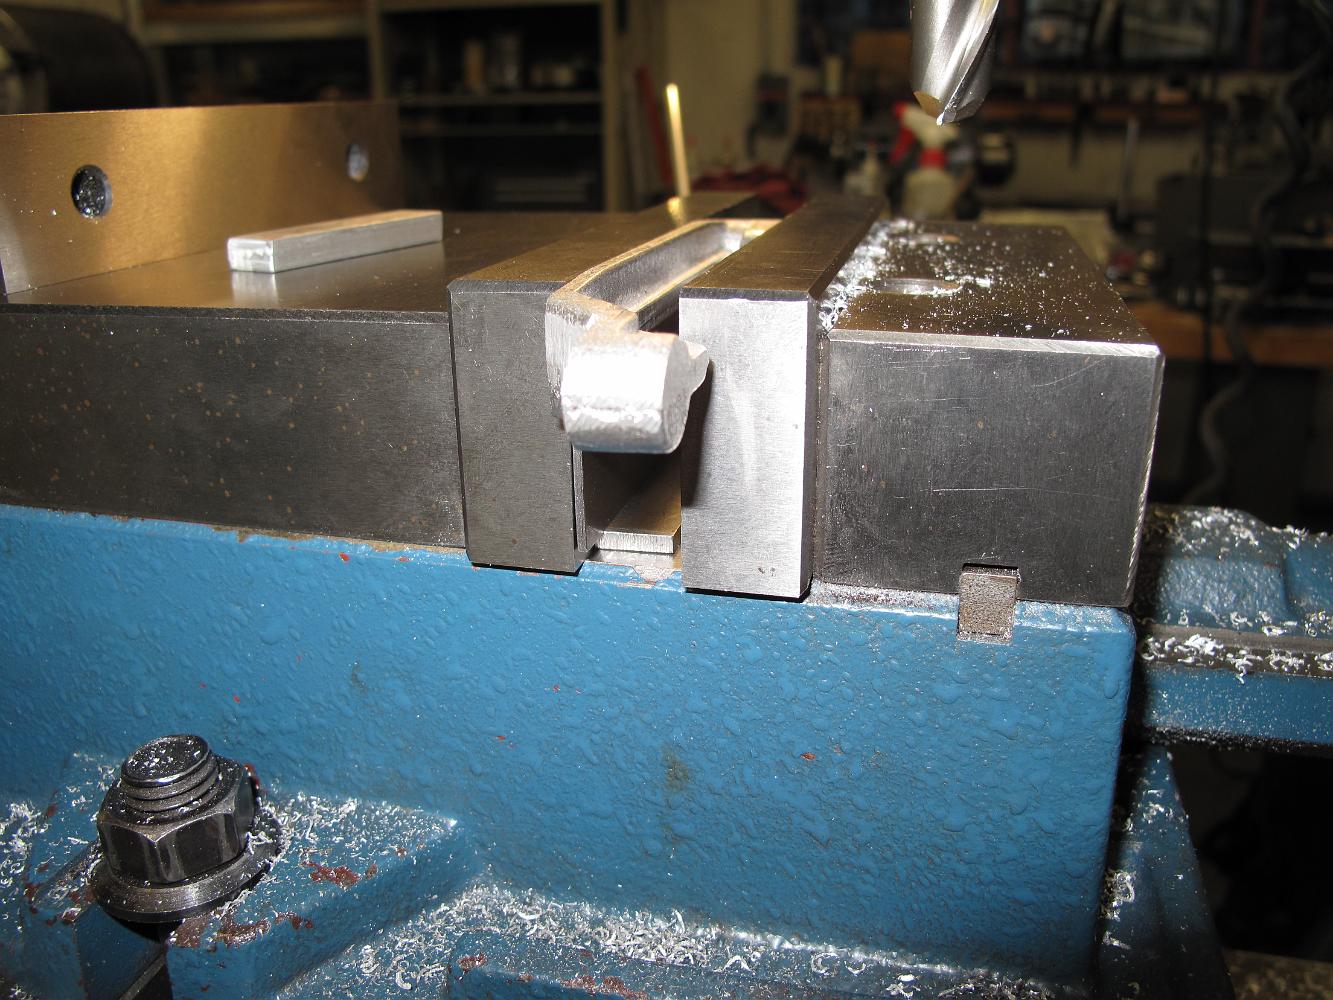
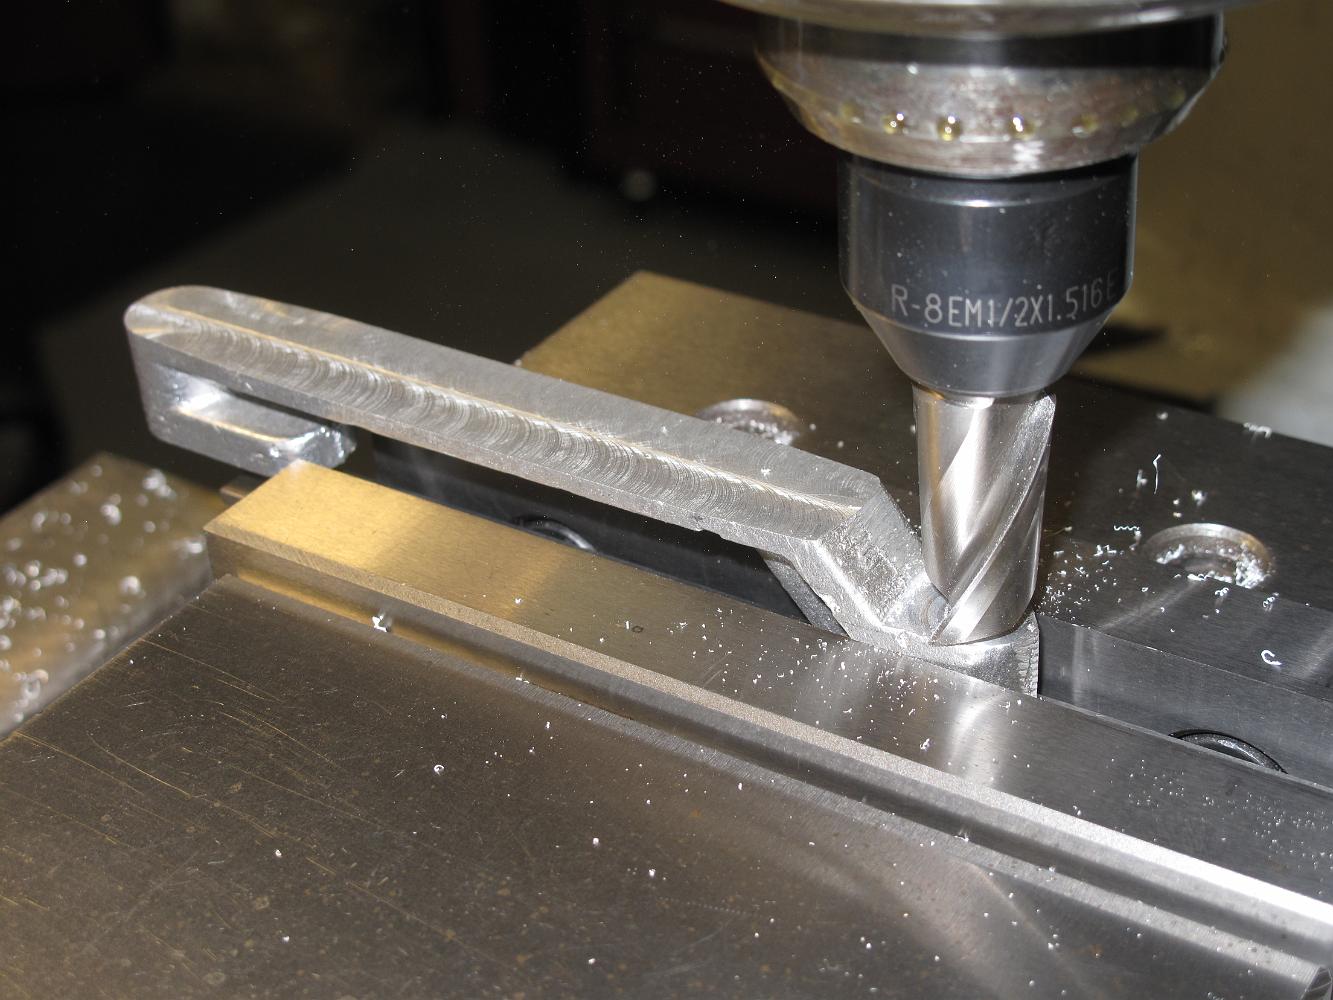
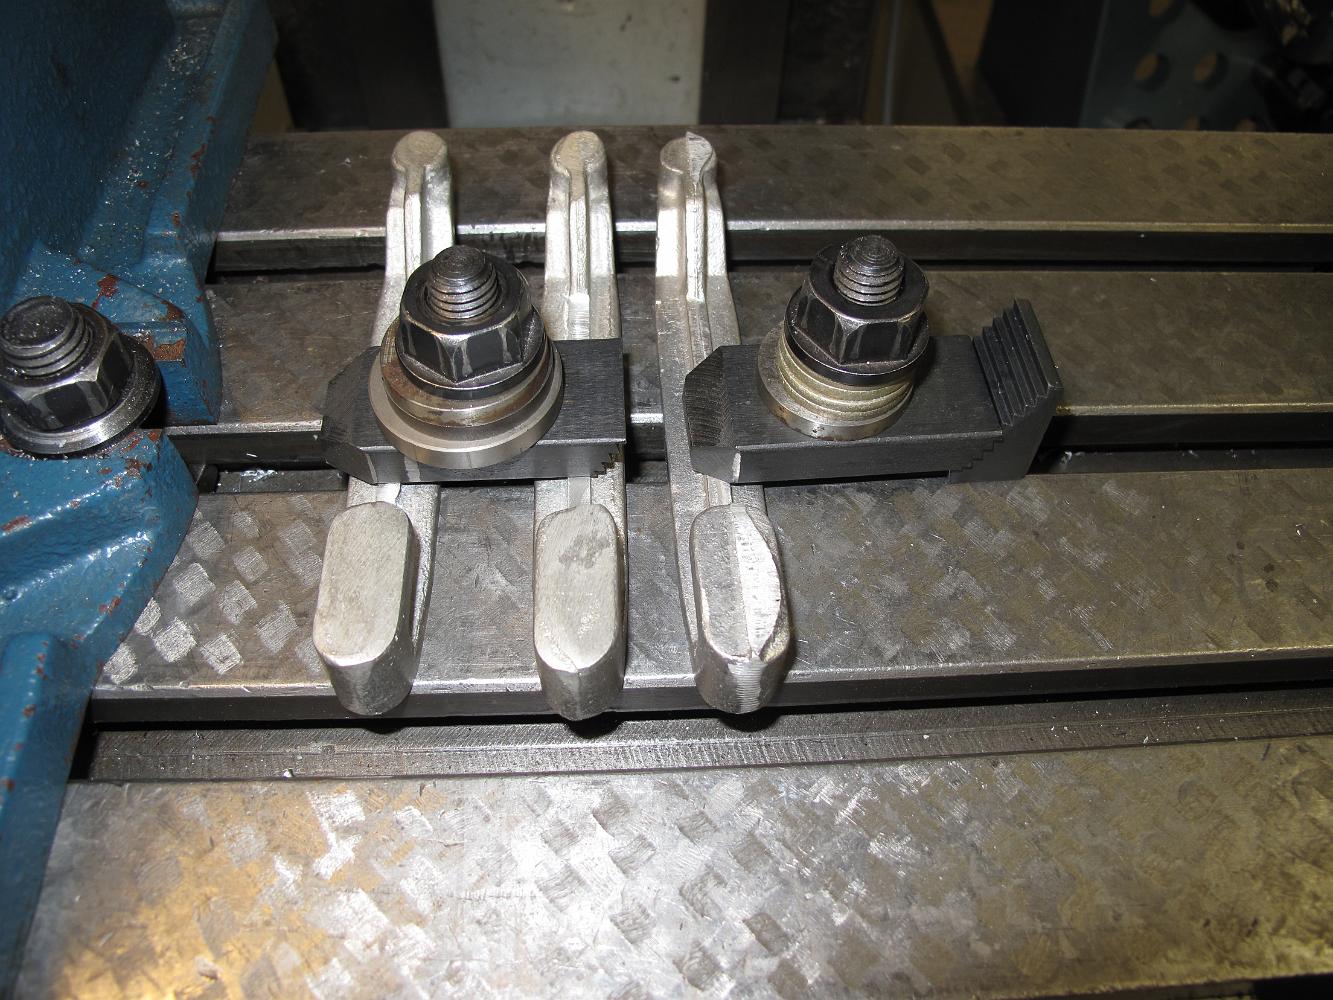
4-Mar-08 The setup for machining all the brake shoes - A vice stop in the center, a black line on the fixed and movable jaw to line the edges up, and using the…
2-Feb-08 My usual Saturday work session at the club track got snowed out, so we worked on brake hangers down in the shop instead.
16-Jan-08 Time to turn the brake cylinder cover.
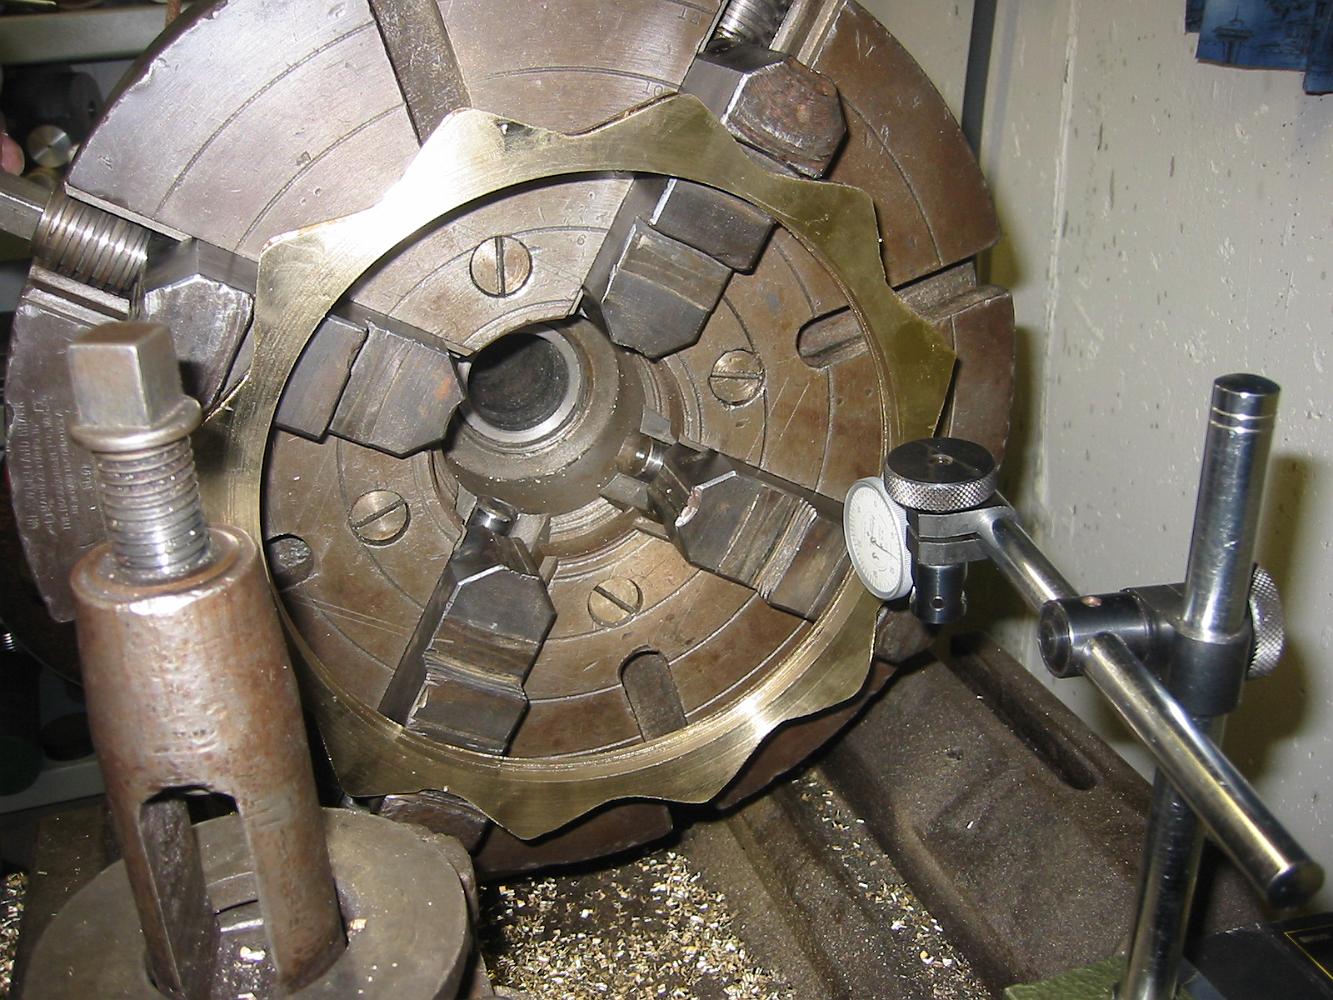
After boring the cylinder to finished size, we drill and bore the guide cylinder at the bottom. measuring the diameter is tricky since the bore is at the bottom…
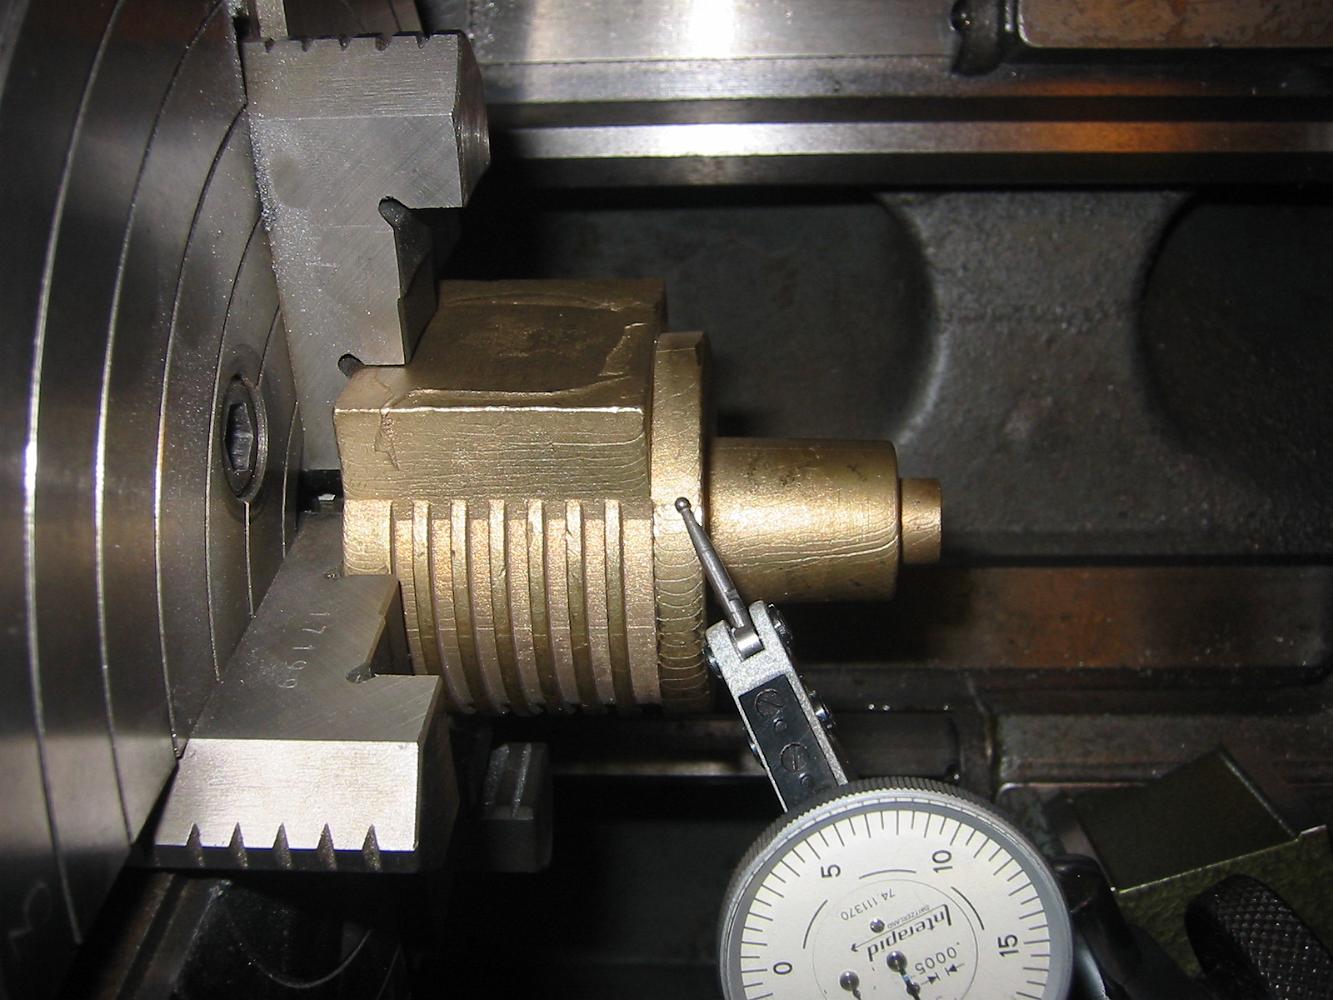
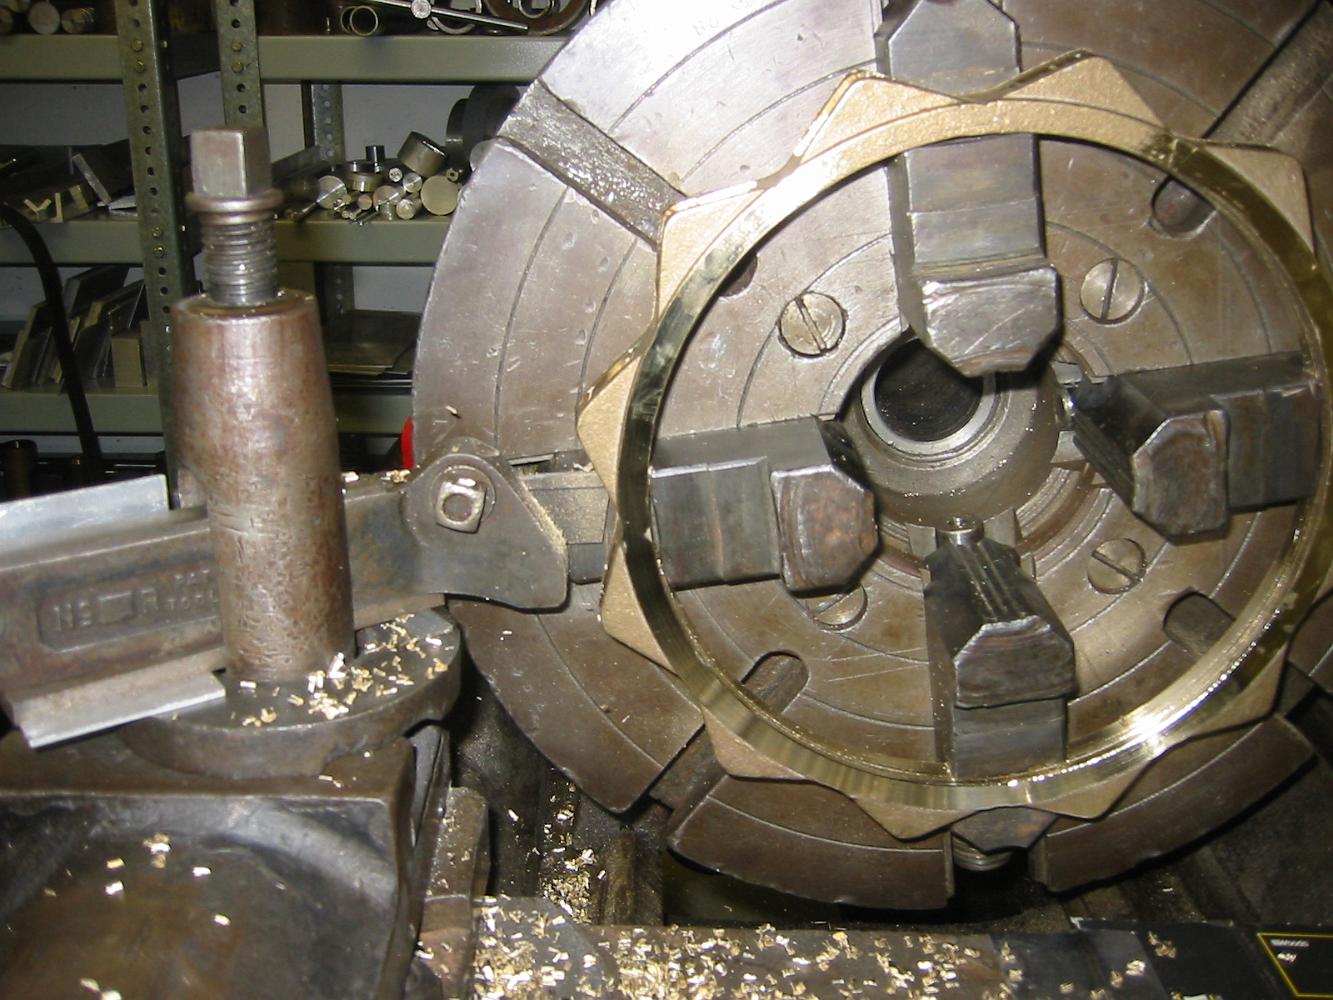
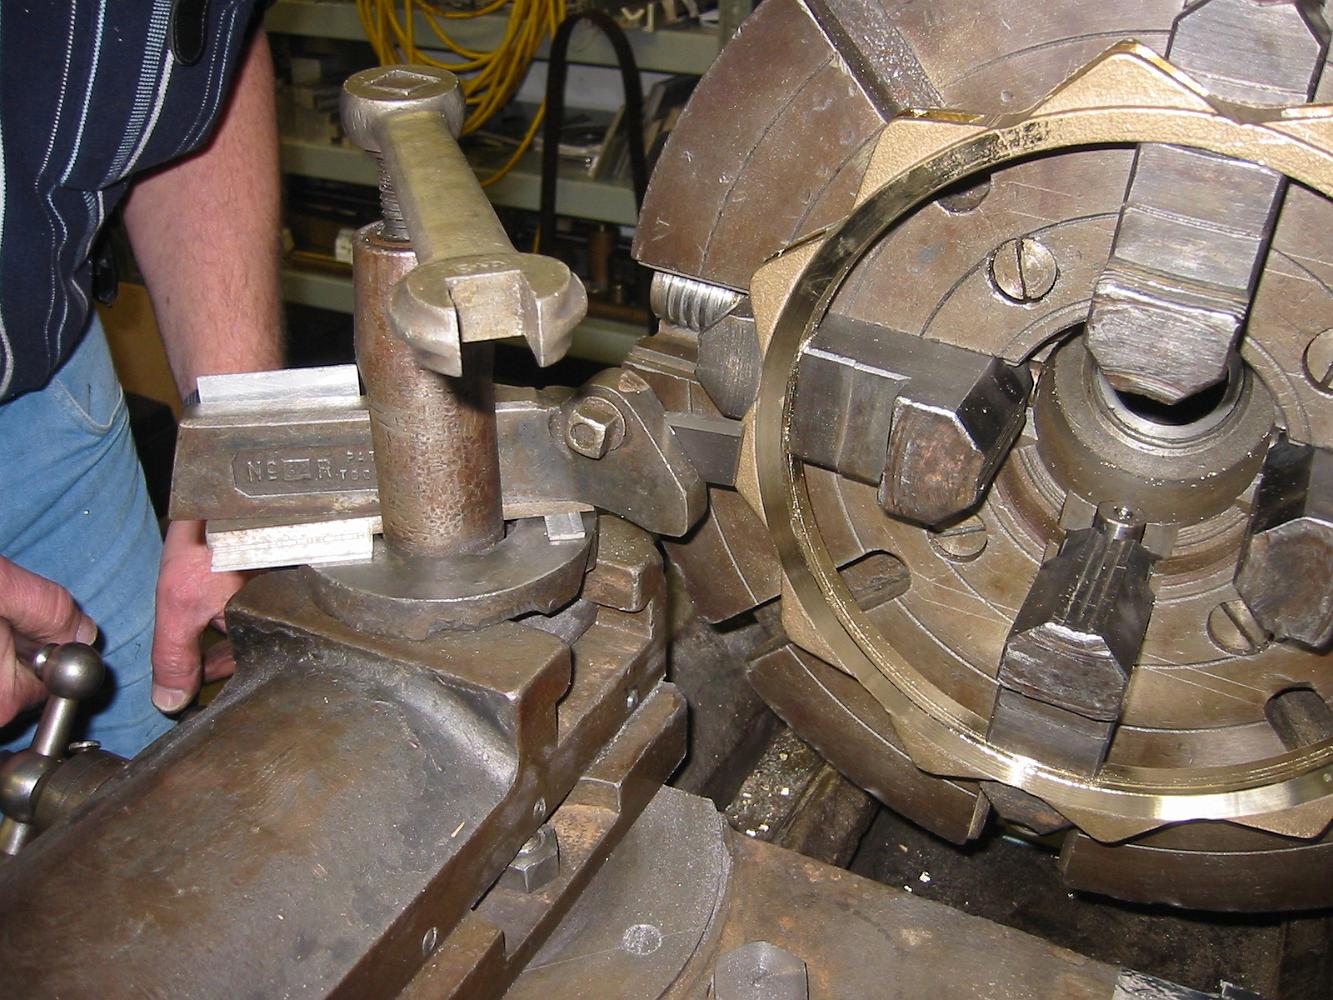
Turning the cylinder around and re-chucking in the 4-jaw, we complete facing the cylinder to size and prepare to bore the inside.
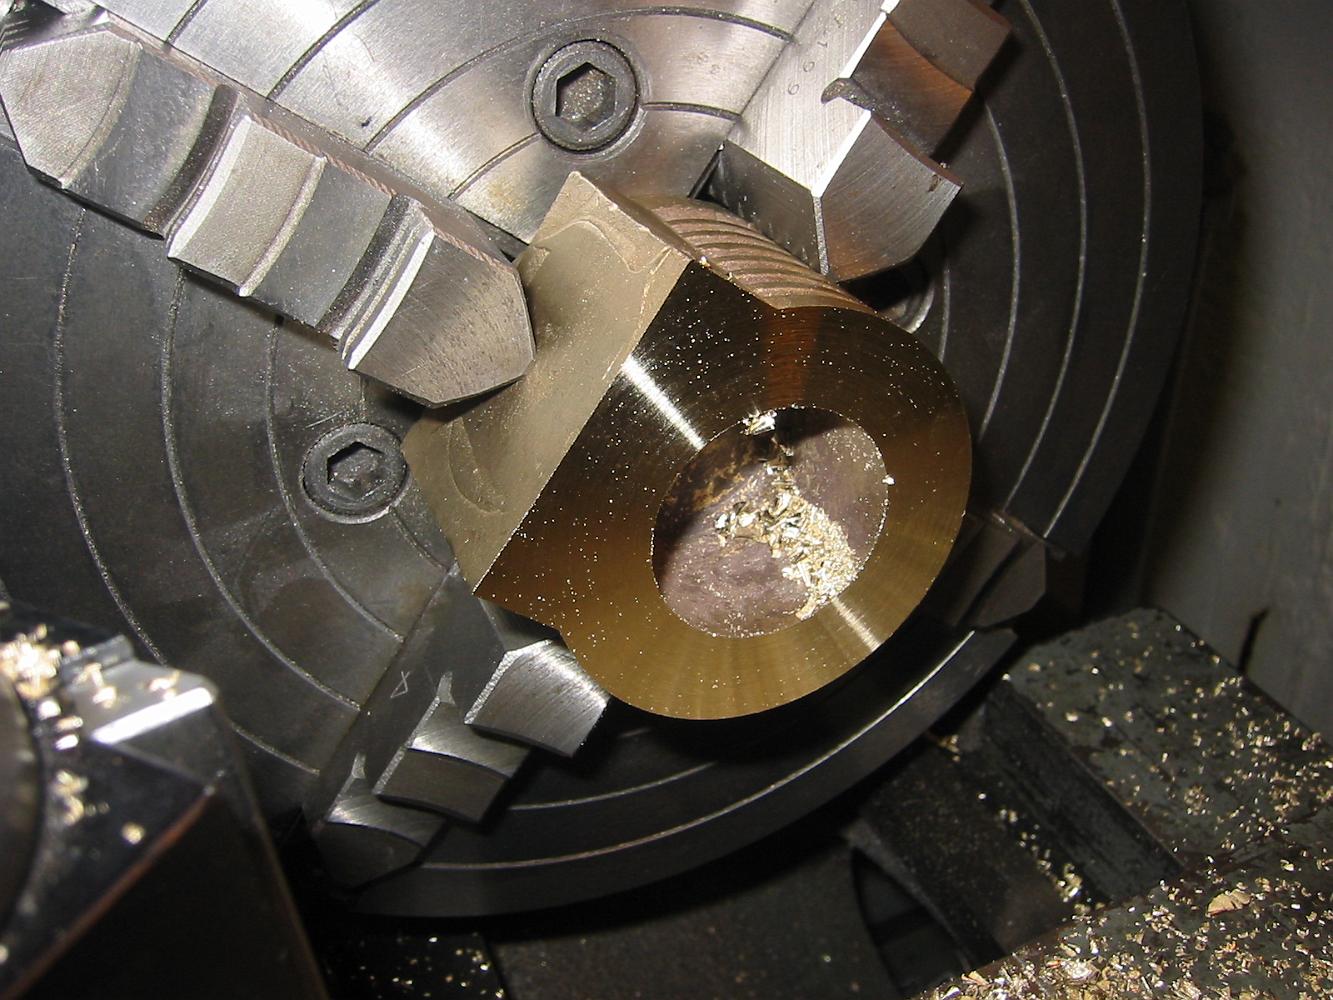
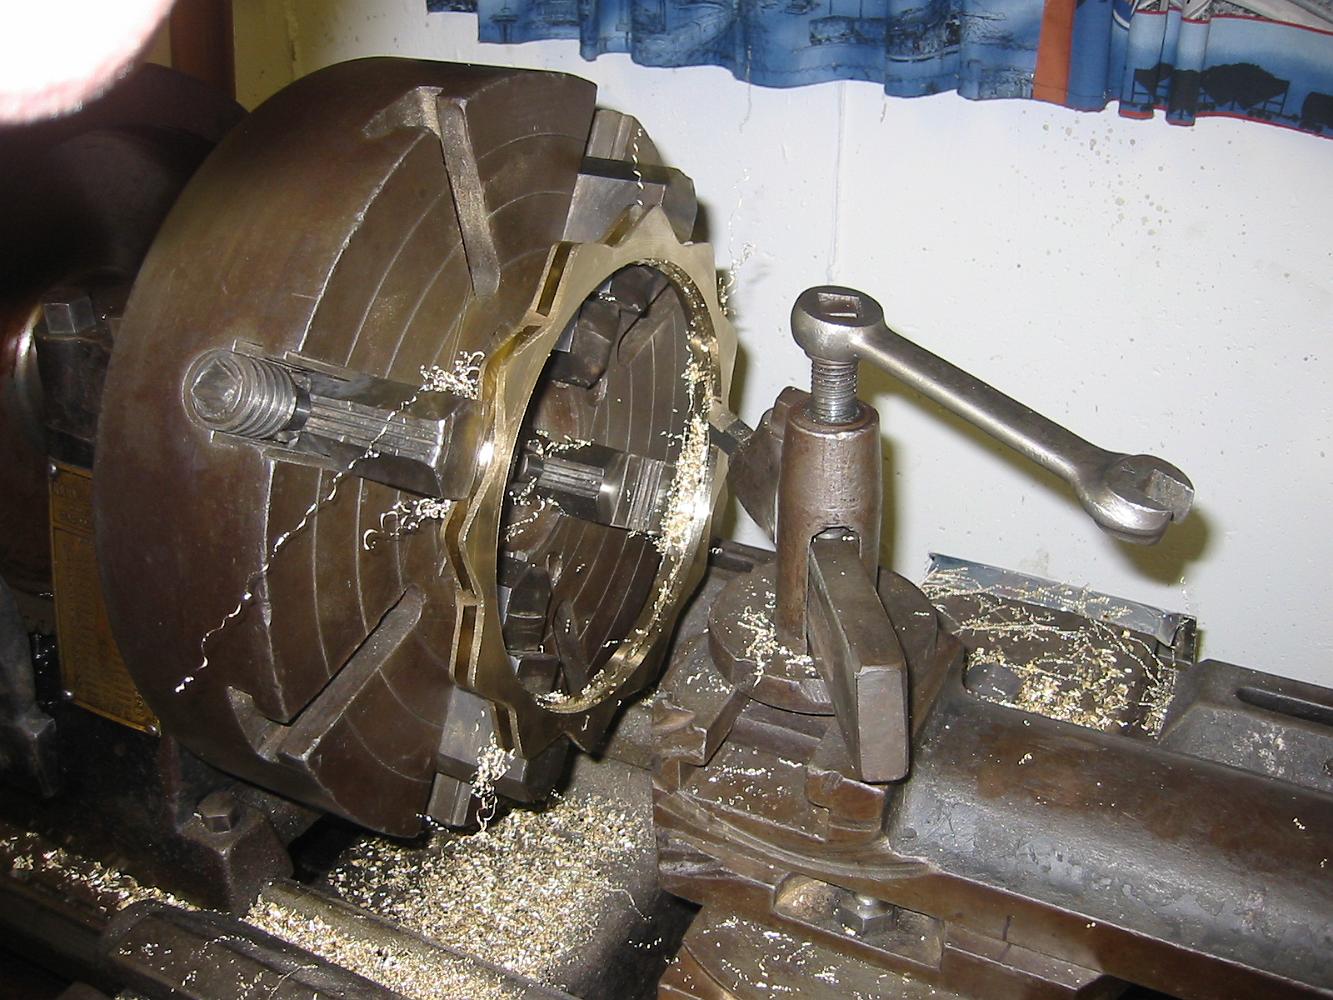
16-Jan-08 A new year and a new Section to start! Chucking the Brake Cylinder casting up in the 4-jaw, rough indicating center on the casting body to start…
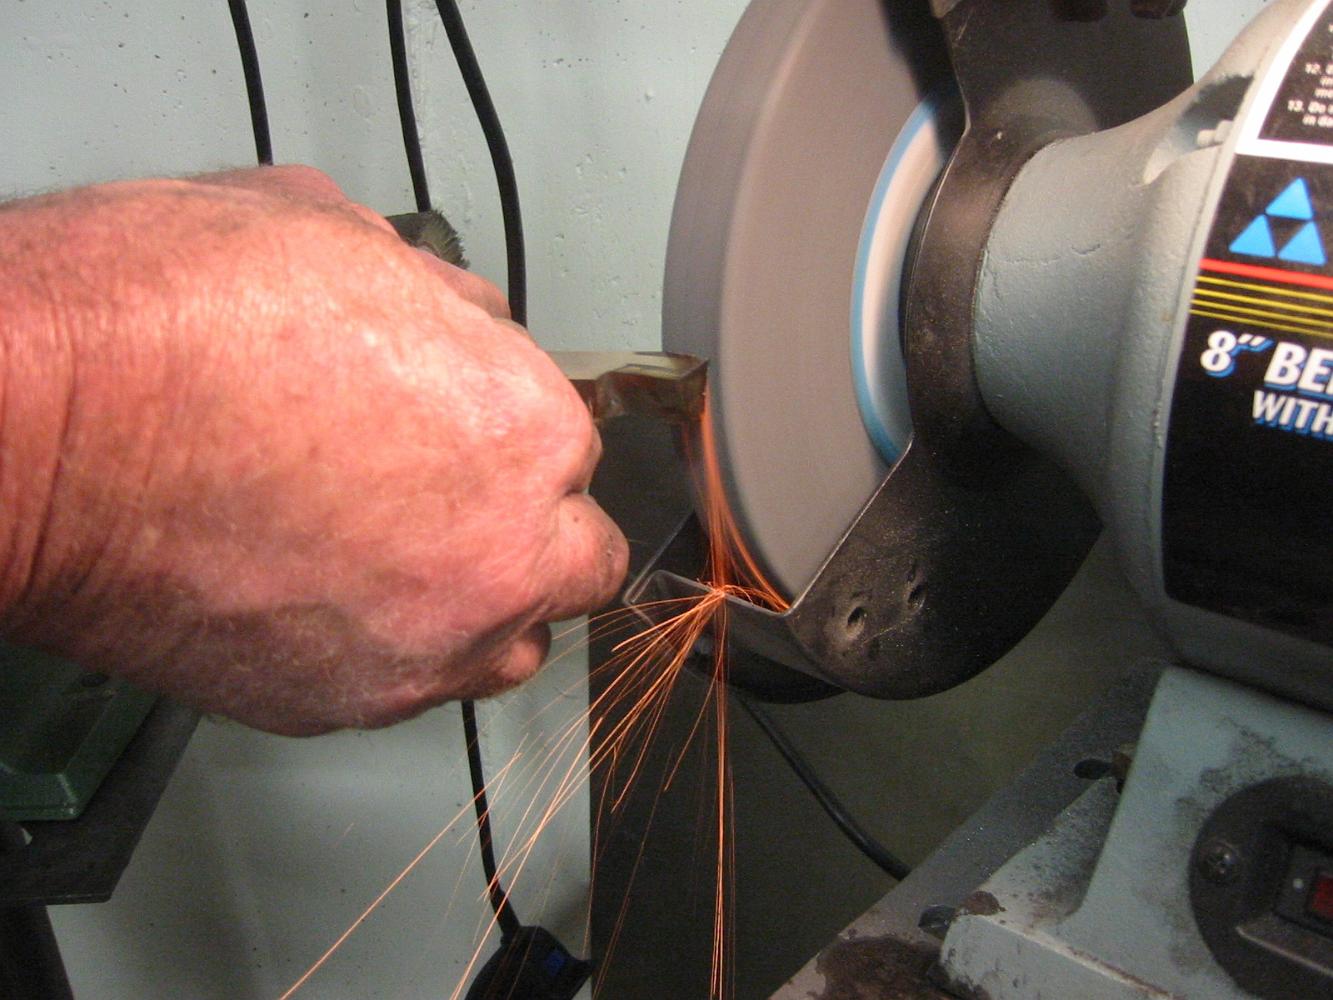
With the inside and front ground, a lot of grinding remains to narrow the tool to a width of .250. The bucket of water is nearby, and we spend an hour grinding…
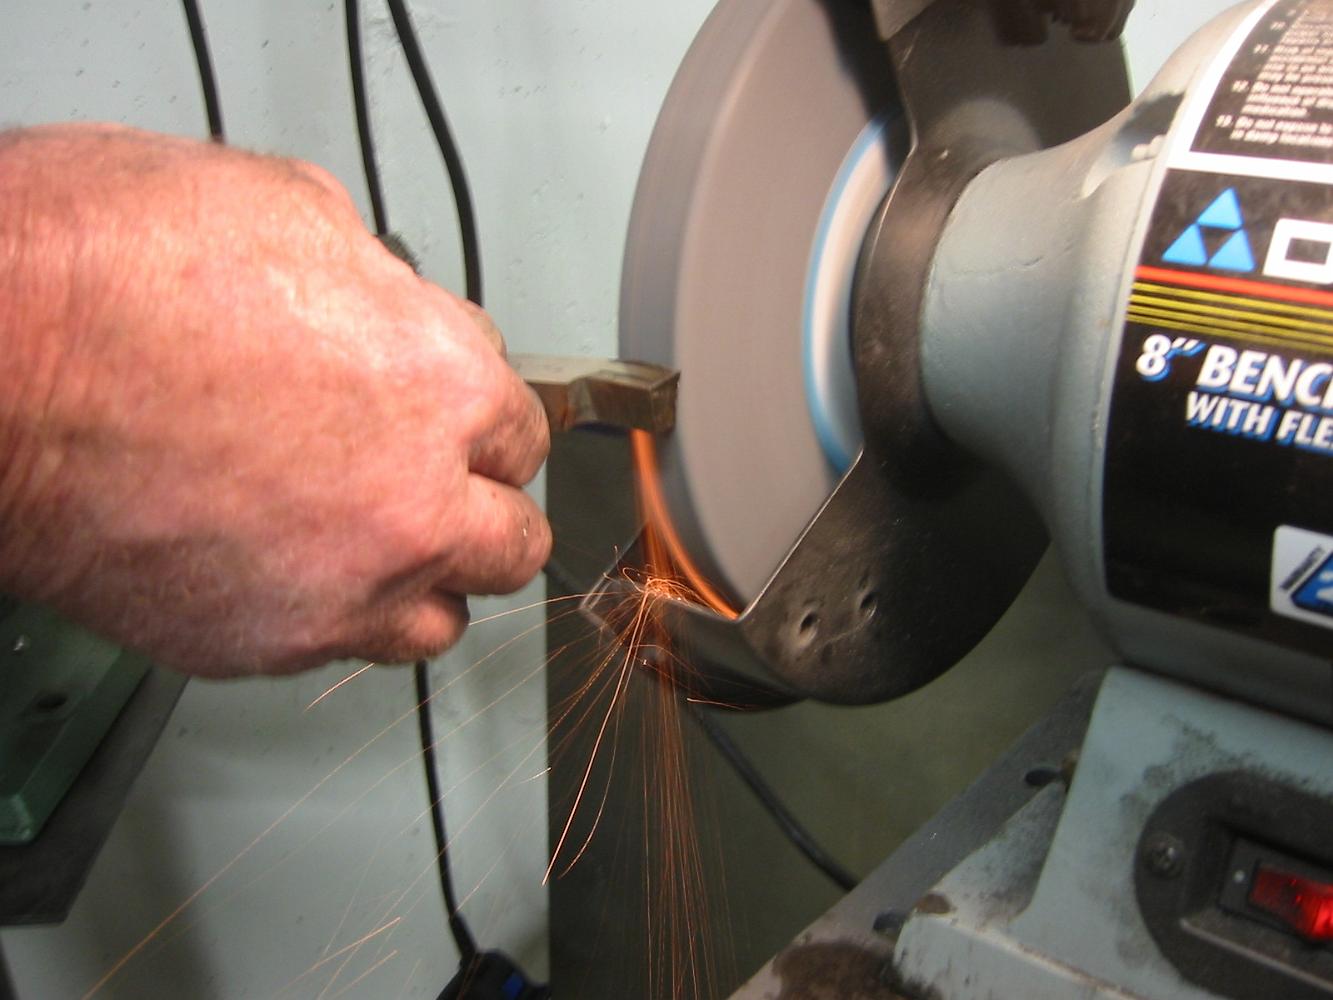
Look at those dark red sparks coming off that hard High Speed Steel tool steel. So much different from the bright yellow mild steel with sparks like a fourth of…
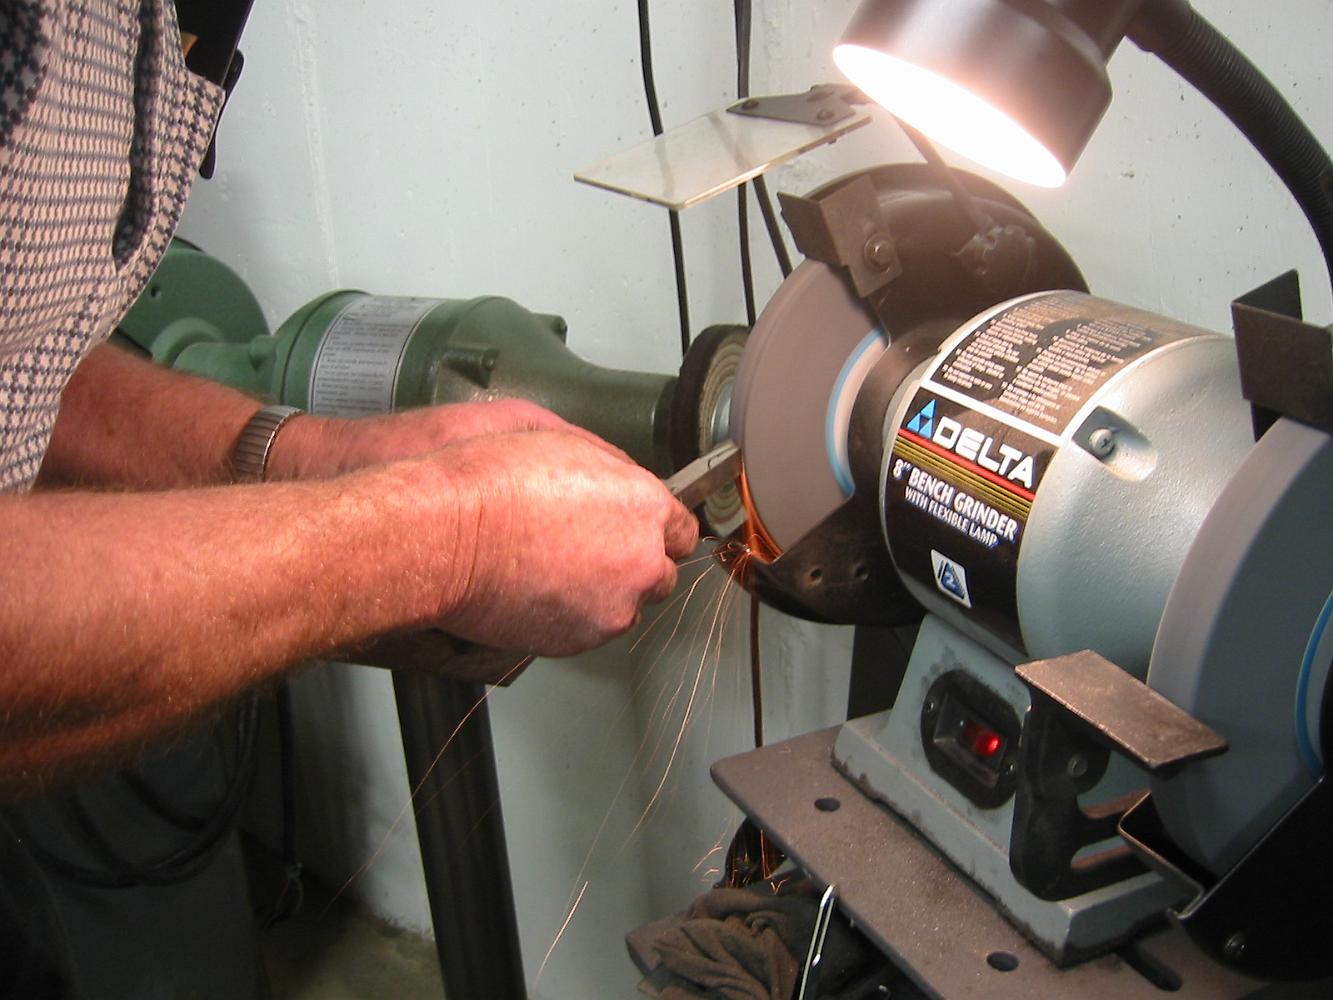
20-Feb-08 Grinding a custom lathe tool.
27-Feb-08 Using a ground form tool to put the 1/8" radius on the inside of the brake shoe.
Cutting the taper - a lot of cross compound handle turning!
Shop Tip: How do you know when you are at the finished diameter on a taper? We previously bored the diameter to the smallest portion of the taper, so by marking…
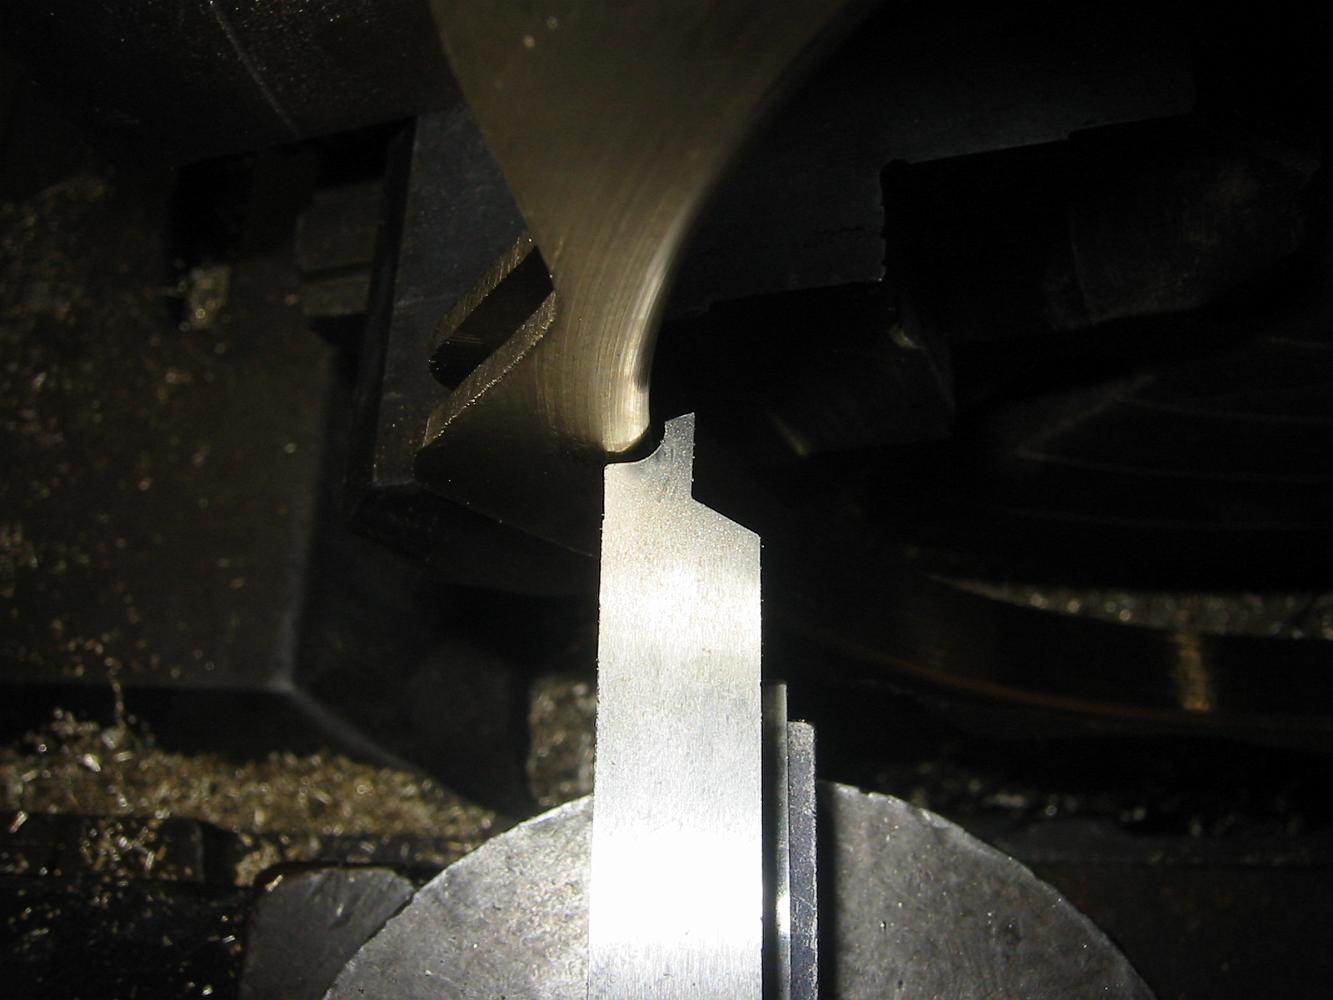
27-Feb-08 Running the lathe in reverse, we use a sharp tool to cut the taper on the inside of the brake shoes.
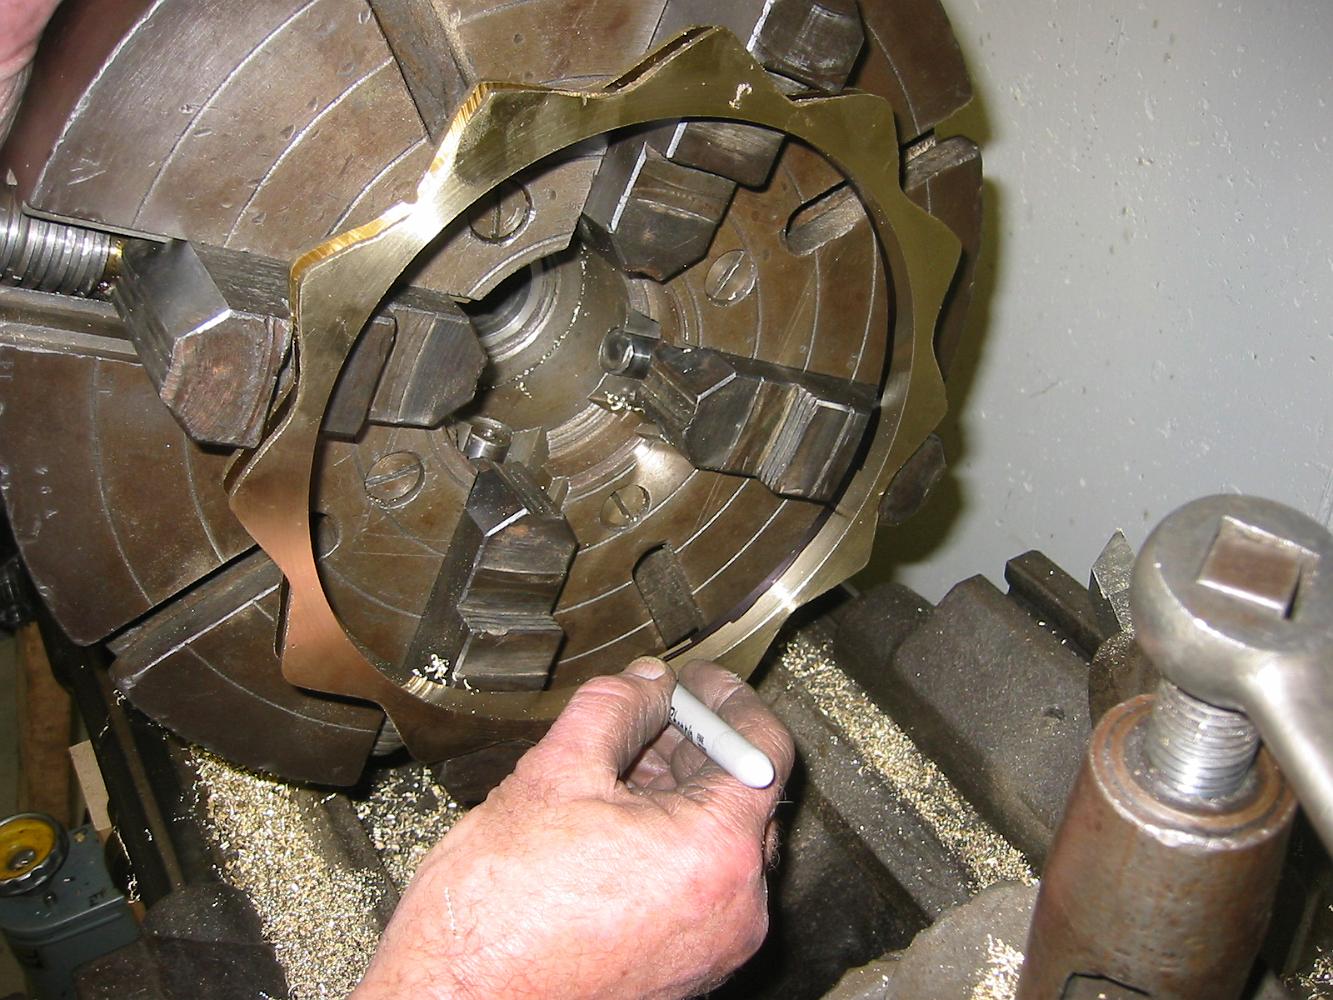
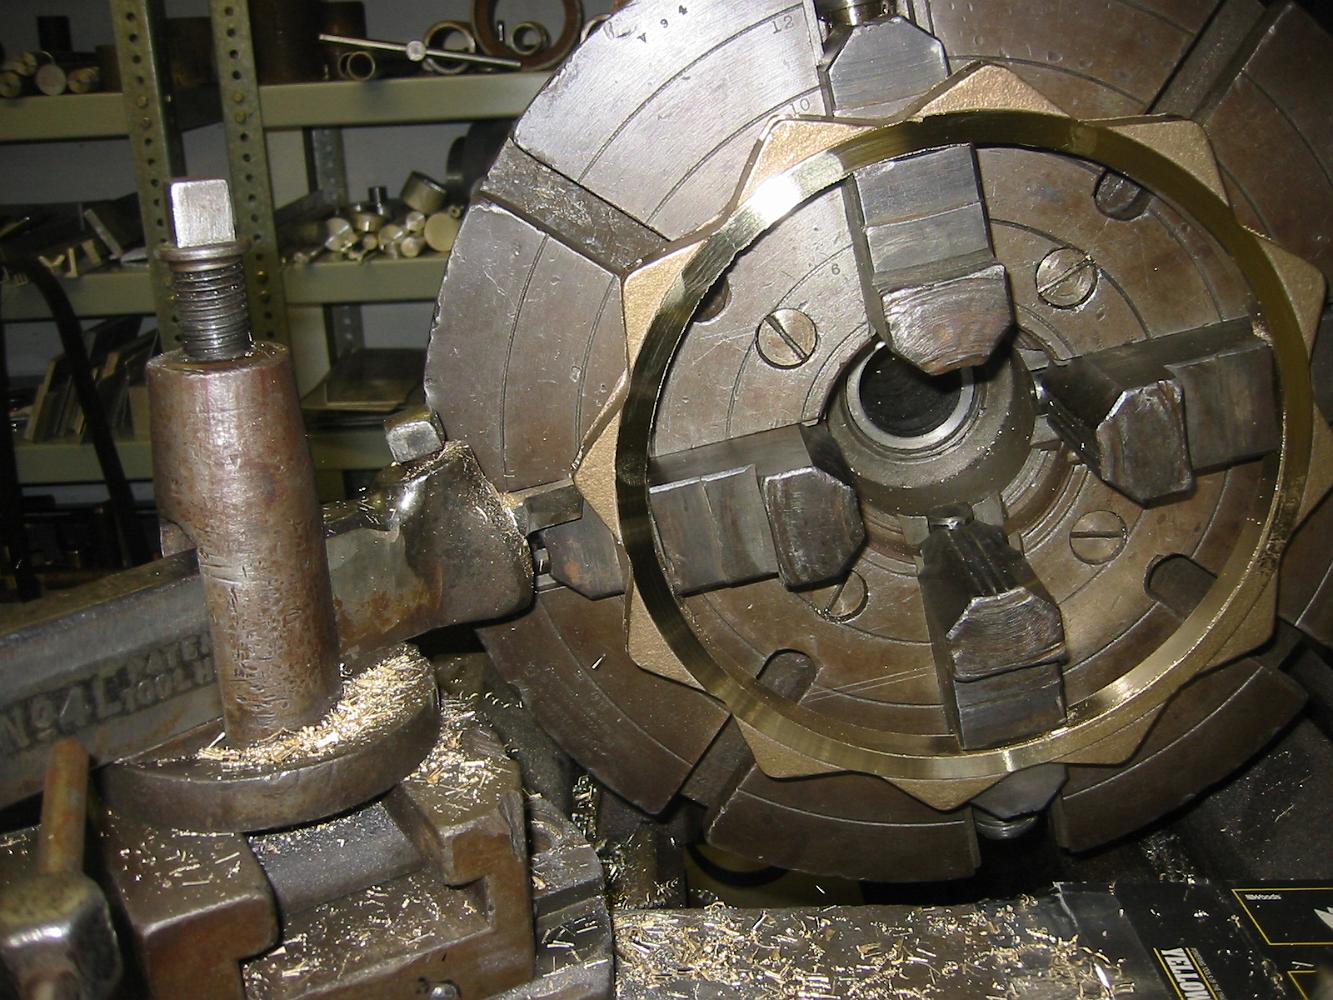
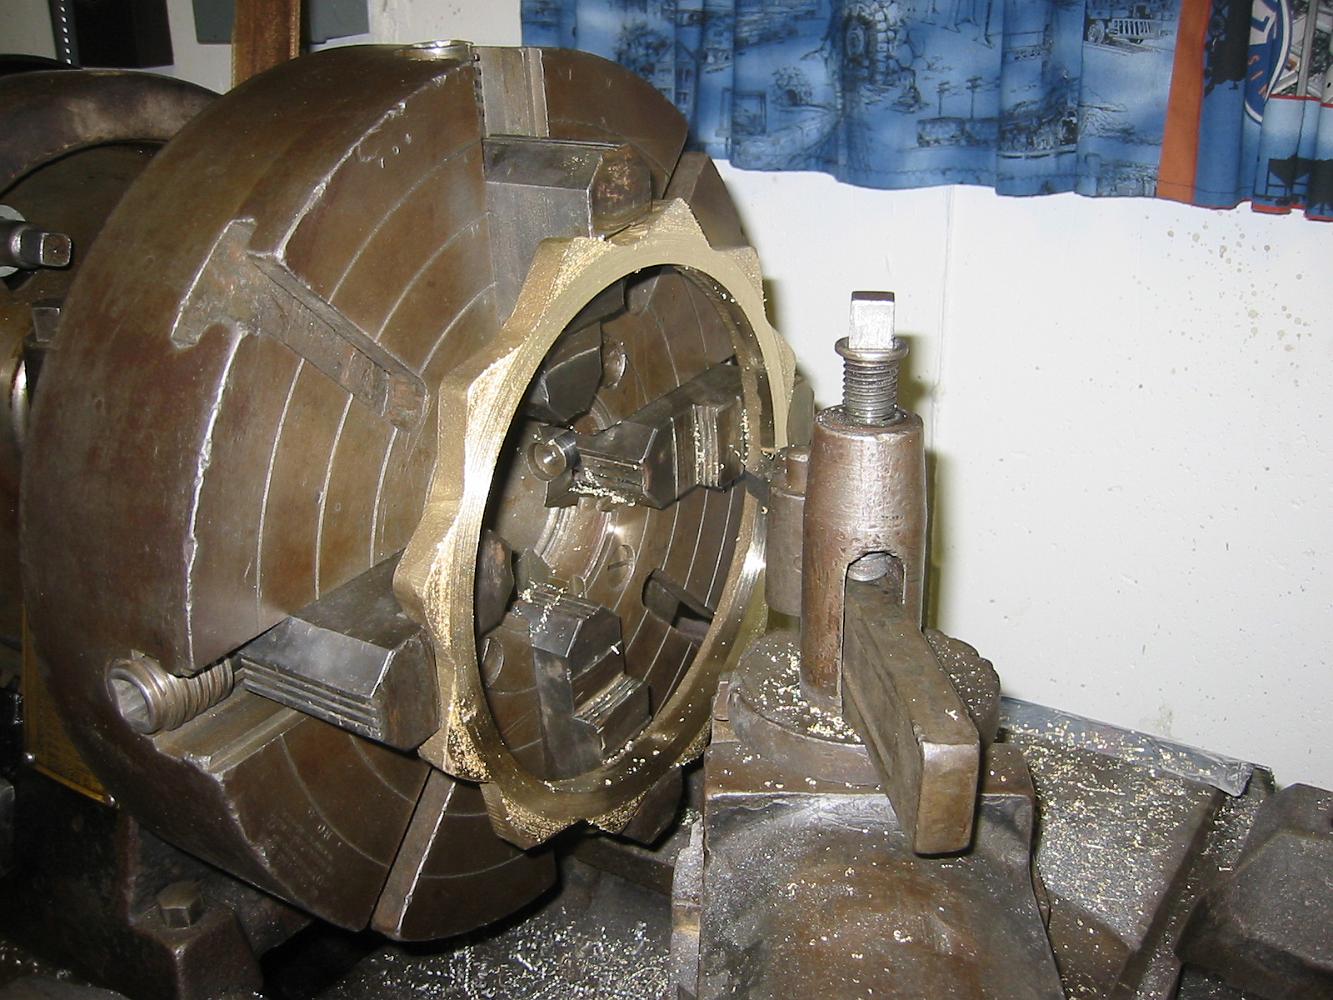
27-Feb-08 With the outside grove successfully cut using the 1/8" cutoff tool, we re-chuck the ring on the outside to turn the taper to match the wheel tread…
27-Feb-08 The cutoff tool in action - working MUCH better! The chips are coming off in little curls, not digging into the work and cutting cleanly. Yeah!
27-Feb-08 After having so much trouble with the custom ground 1/4" wide square nose tool, we change our method of attack. Searching through the misc. tool, we…
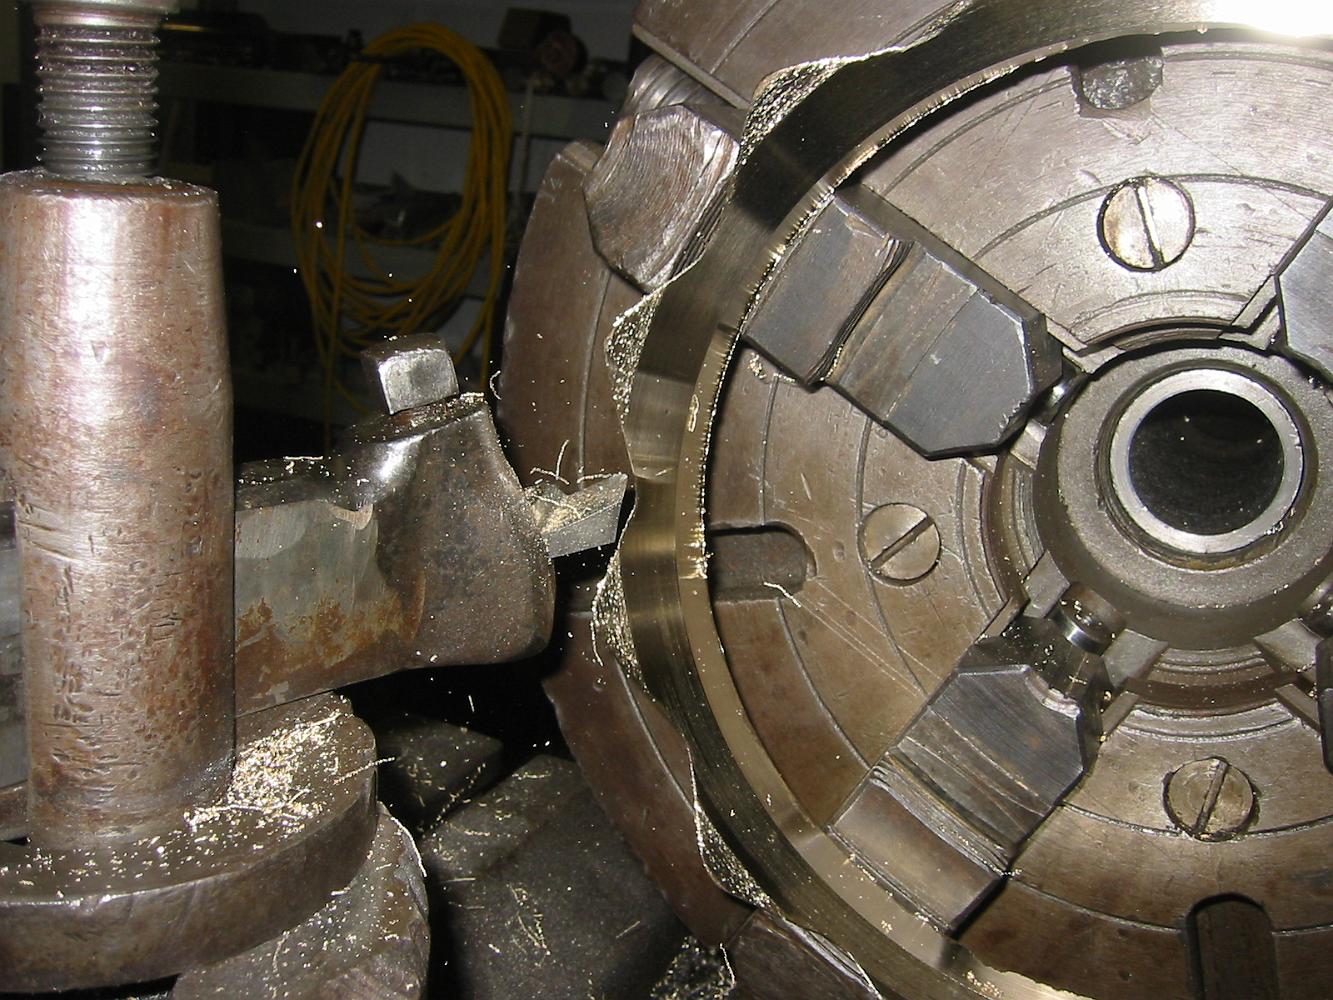
End view of the slot we are cutting in the brake shoe ring with the custom tool. Several times the cutter dug in and stalled the lathe, causing the belt to slip…
With the custom tool mounted in the left-hand tool holder, gibs tightened down on the compound and cross-compound, we plunge into the end of the ring of shoes…
A different rake on the tool, and cutting while backing out from the inside to outside produces a better finish we find.
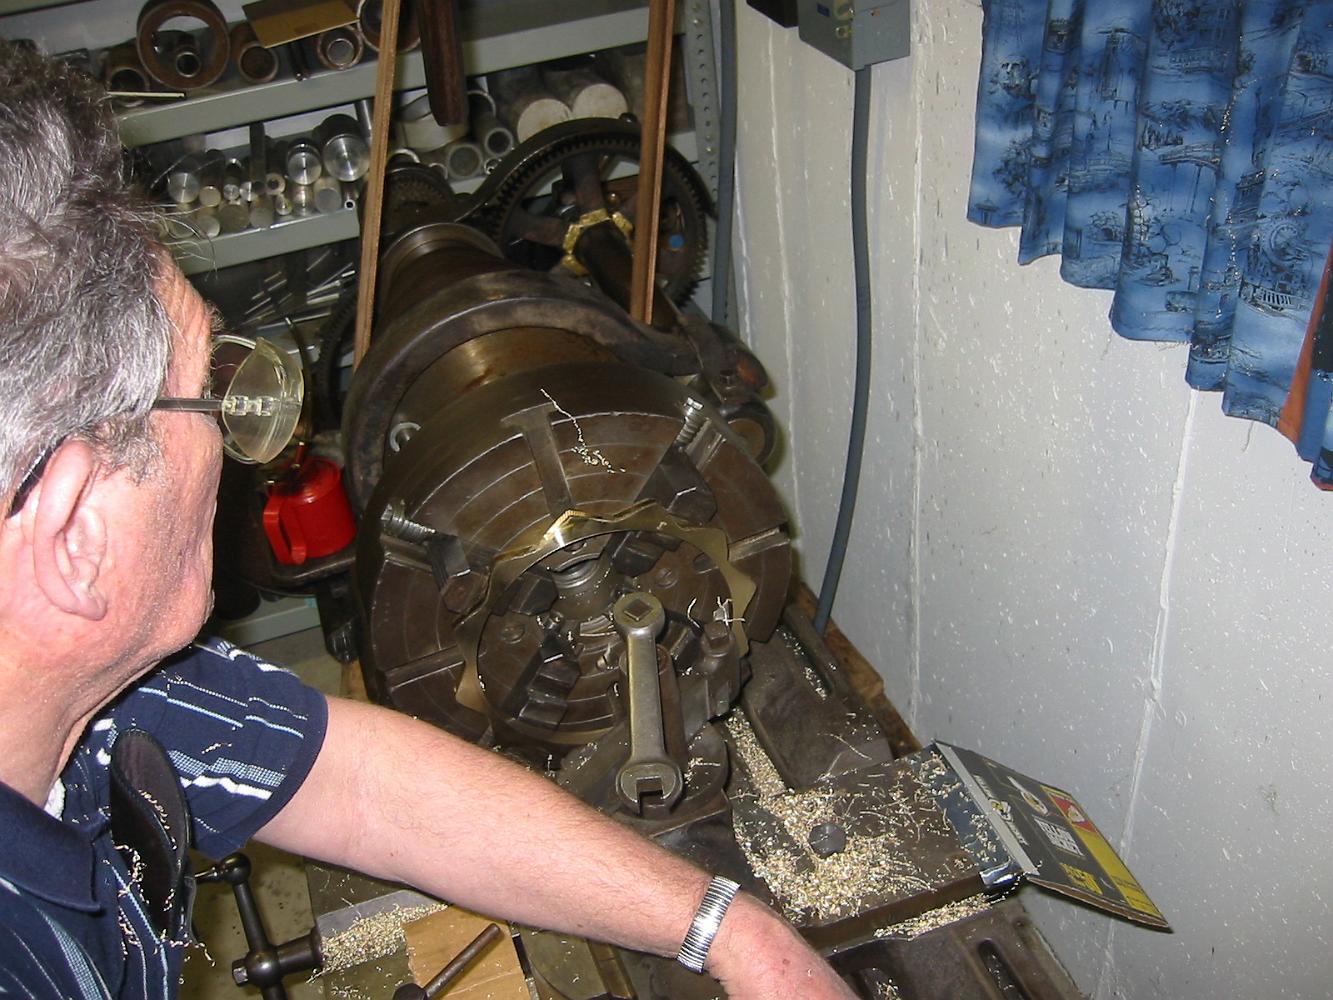
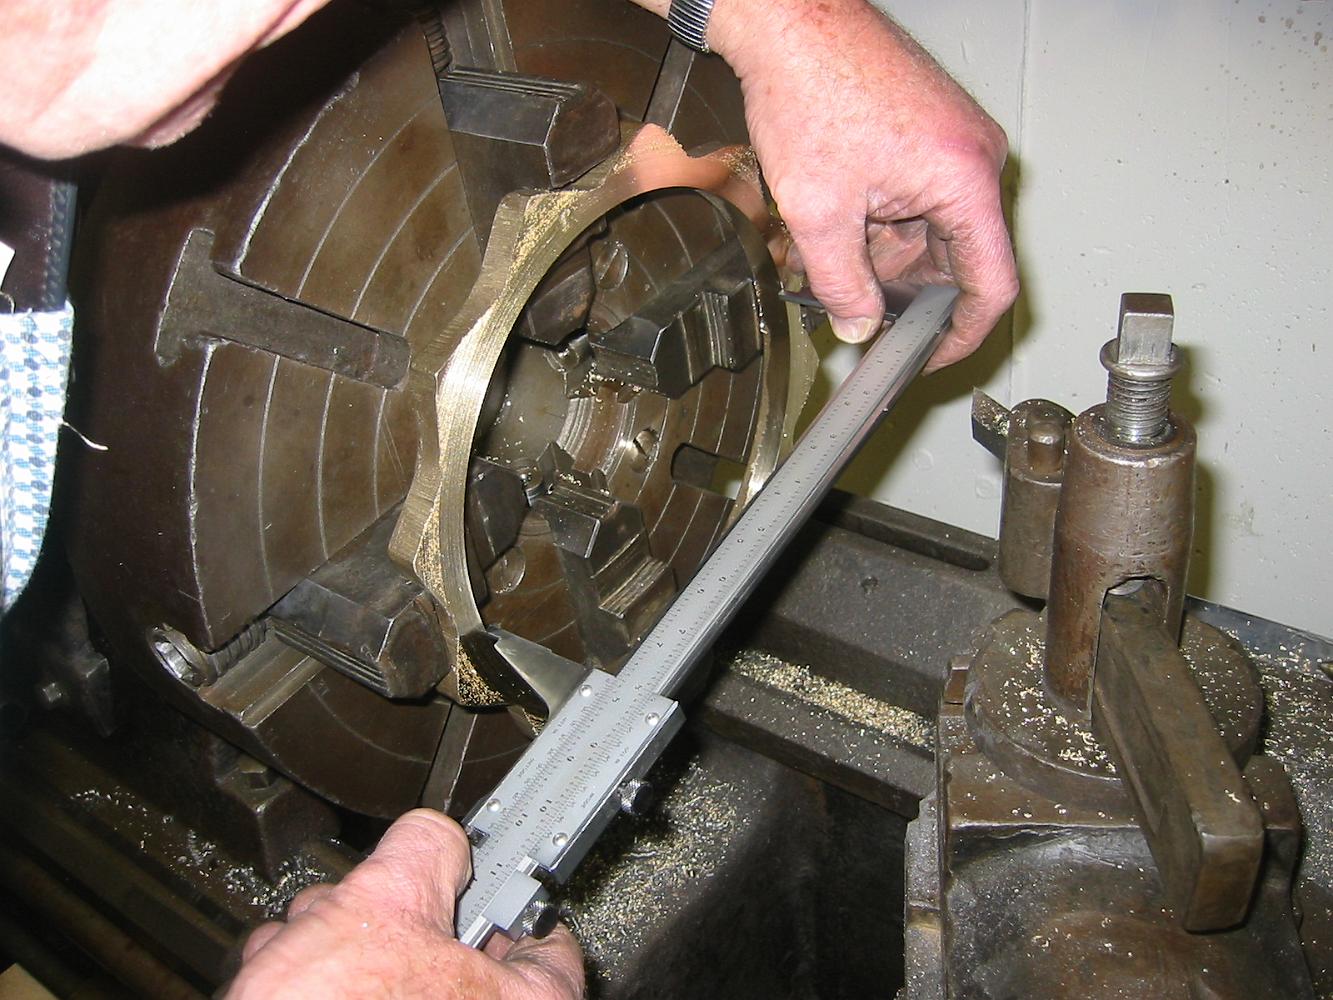
We have rough turned the inside smooth so we can chuck on it in for the next operation. Here we are using a large vernier I borrowed to measure it.
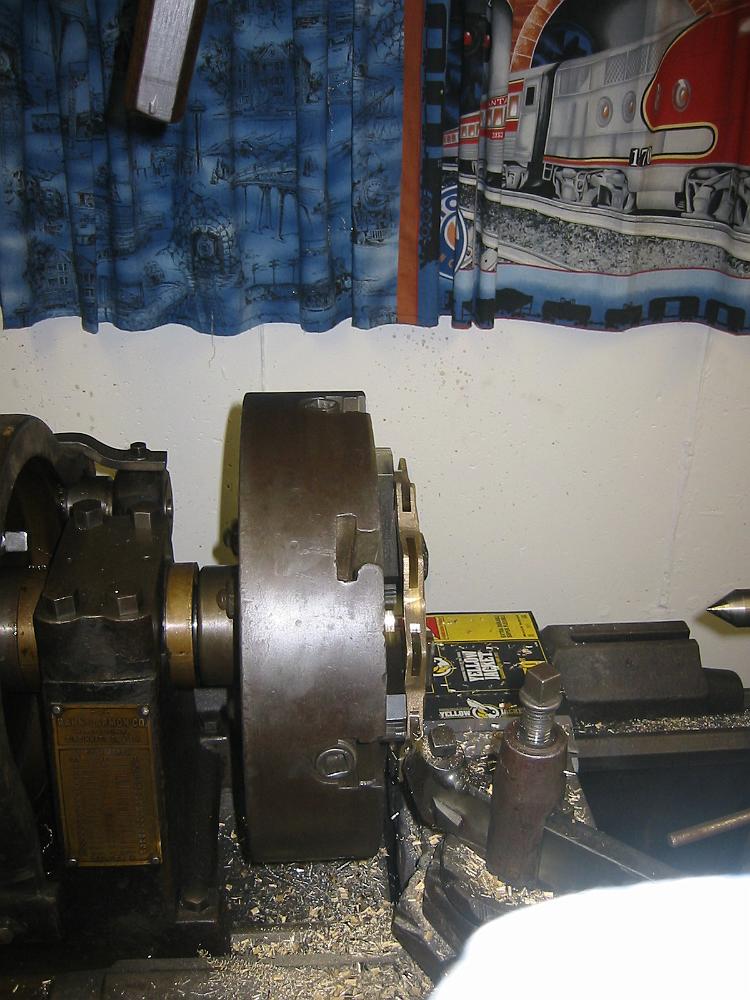
20-Feb-08 We start work on the engine brake shoes, using the big lathe since it can swing the 8.5" radius.
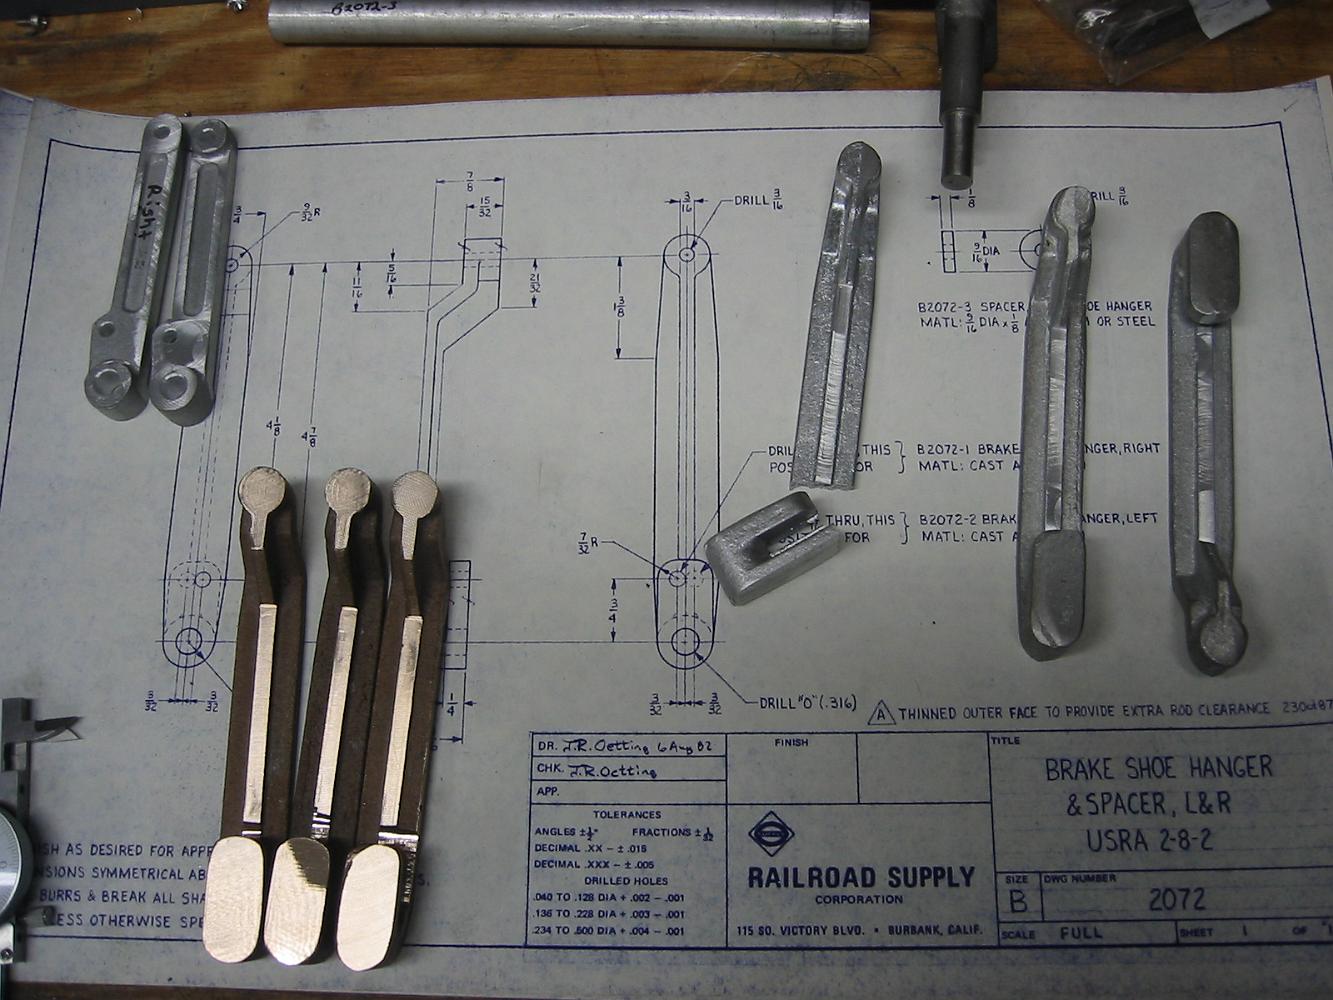
The rear brake hangers in the upper left are finished, the rest are partly machined. And one got broke during one machining operation. Not everything goes to…
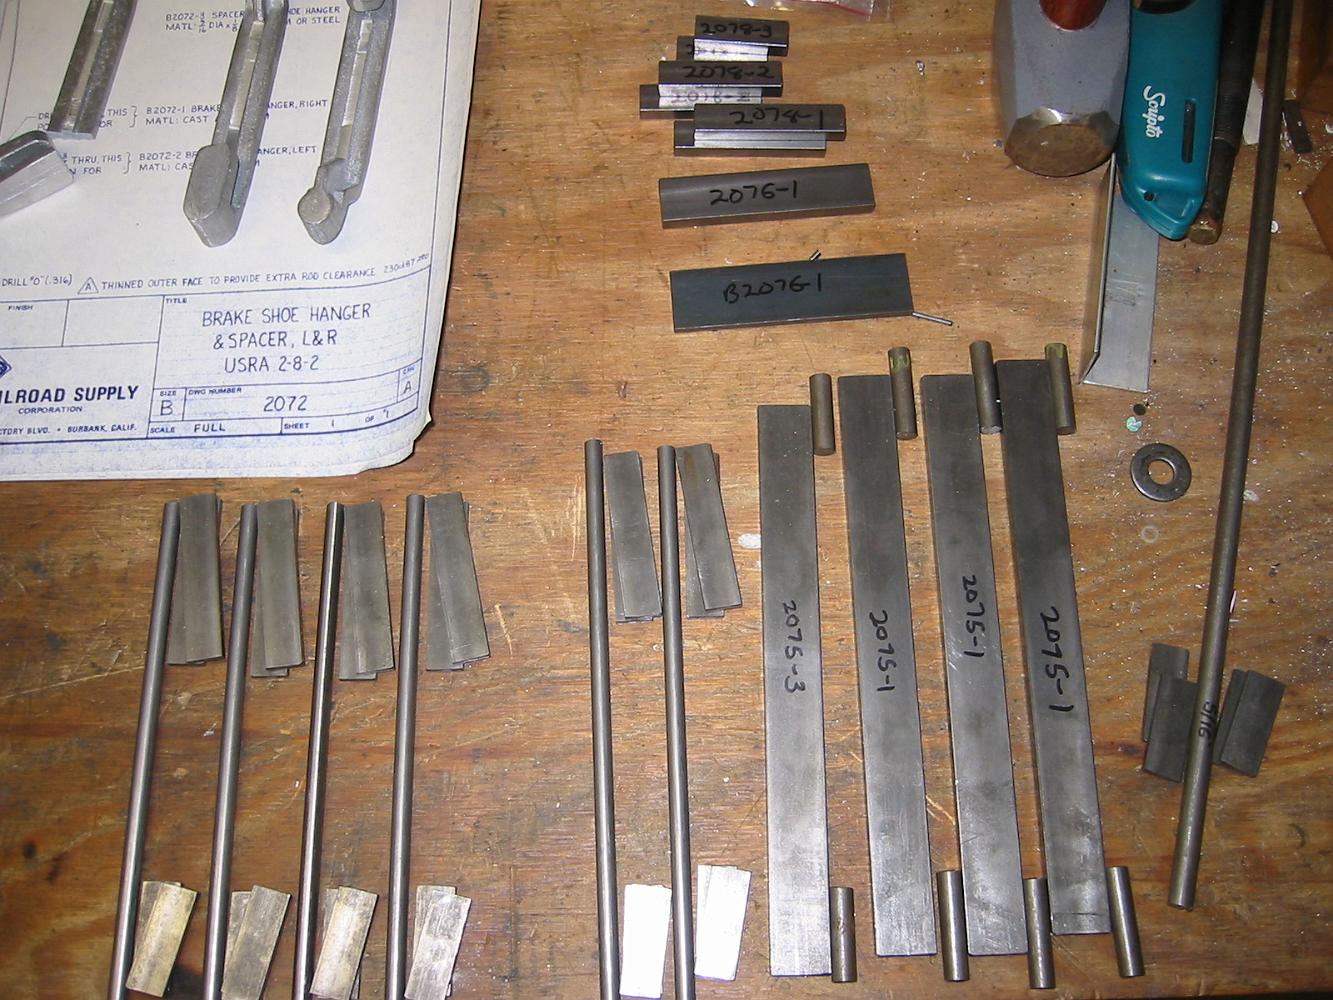
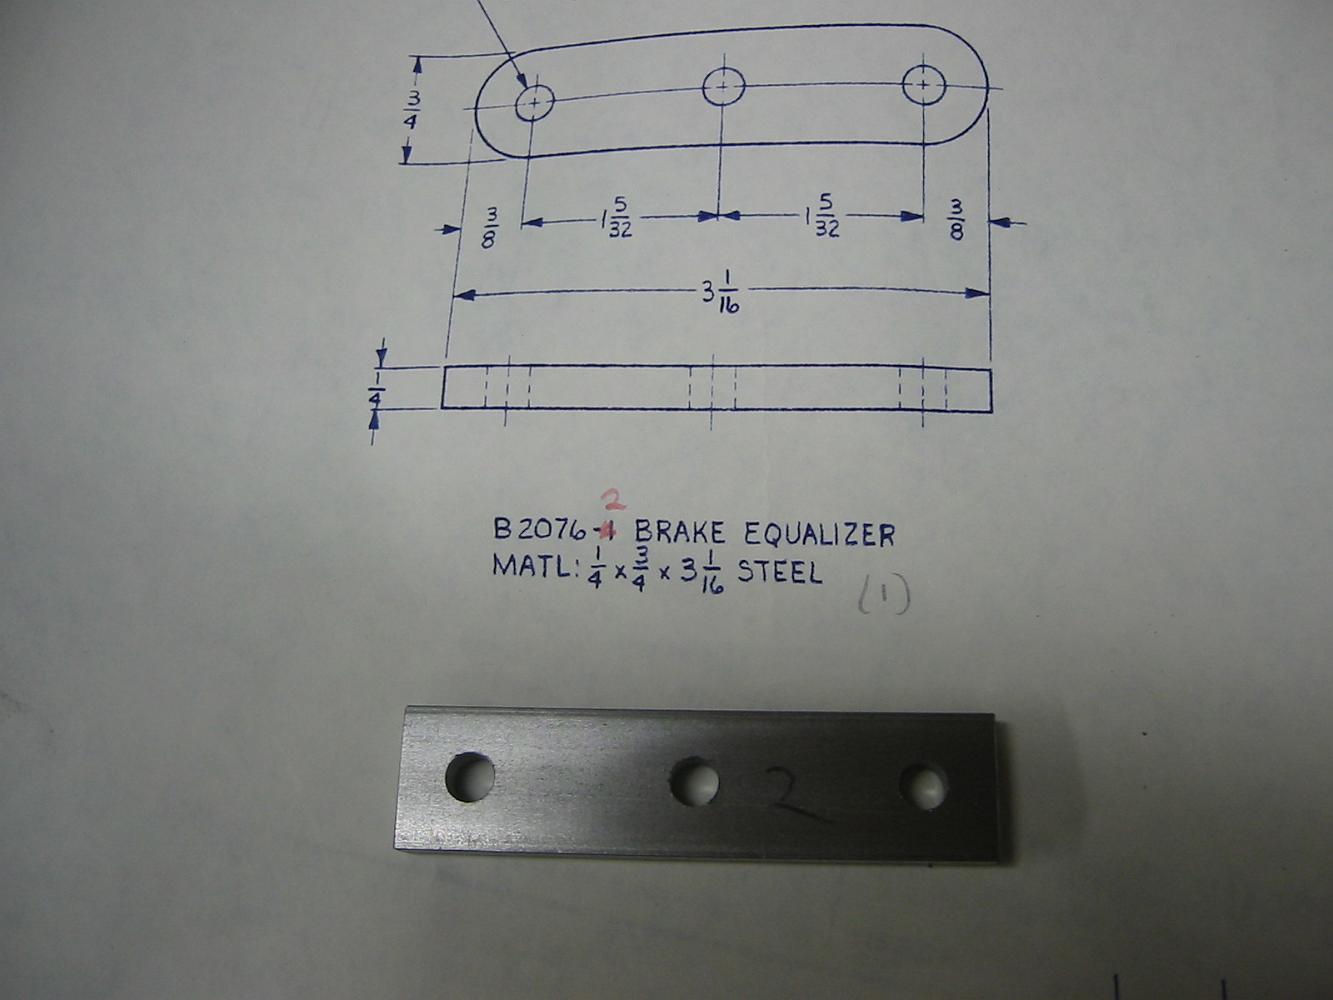
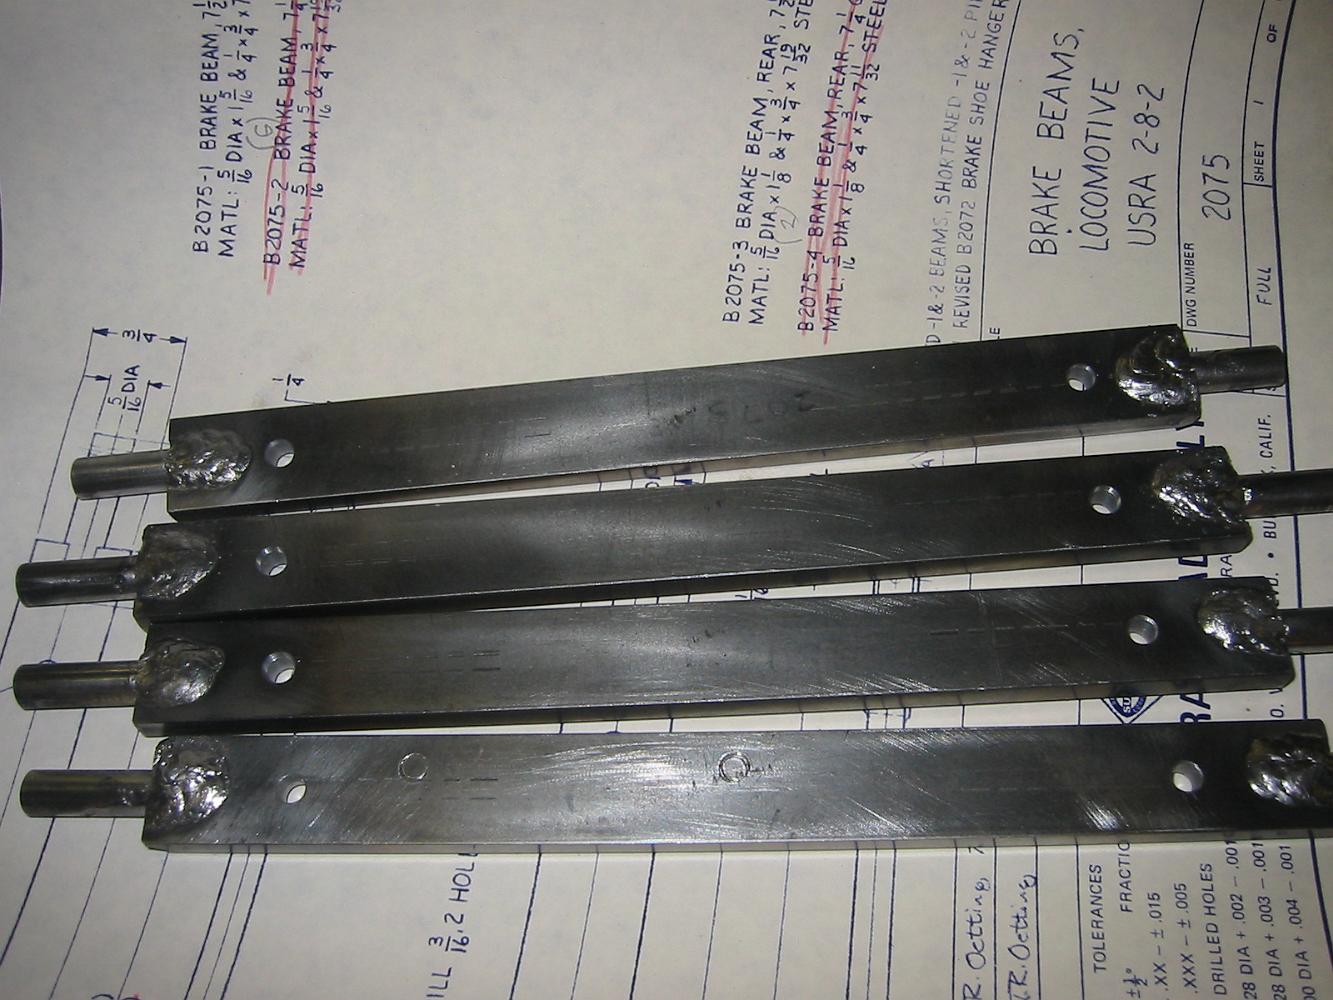
Bill worked on the hangers while I cut the brake beams and connecting link stock with the band saw - some 45 pieces in all.
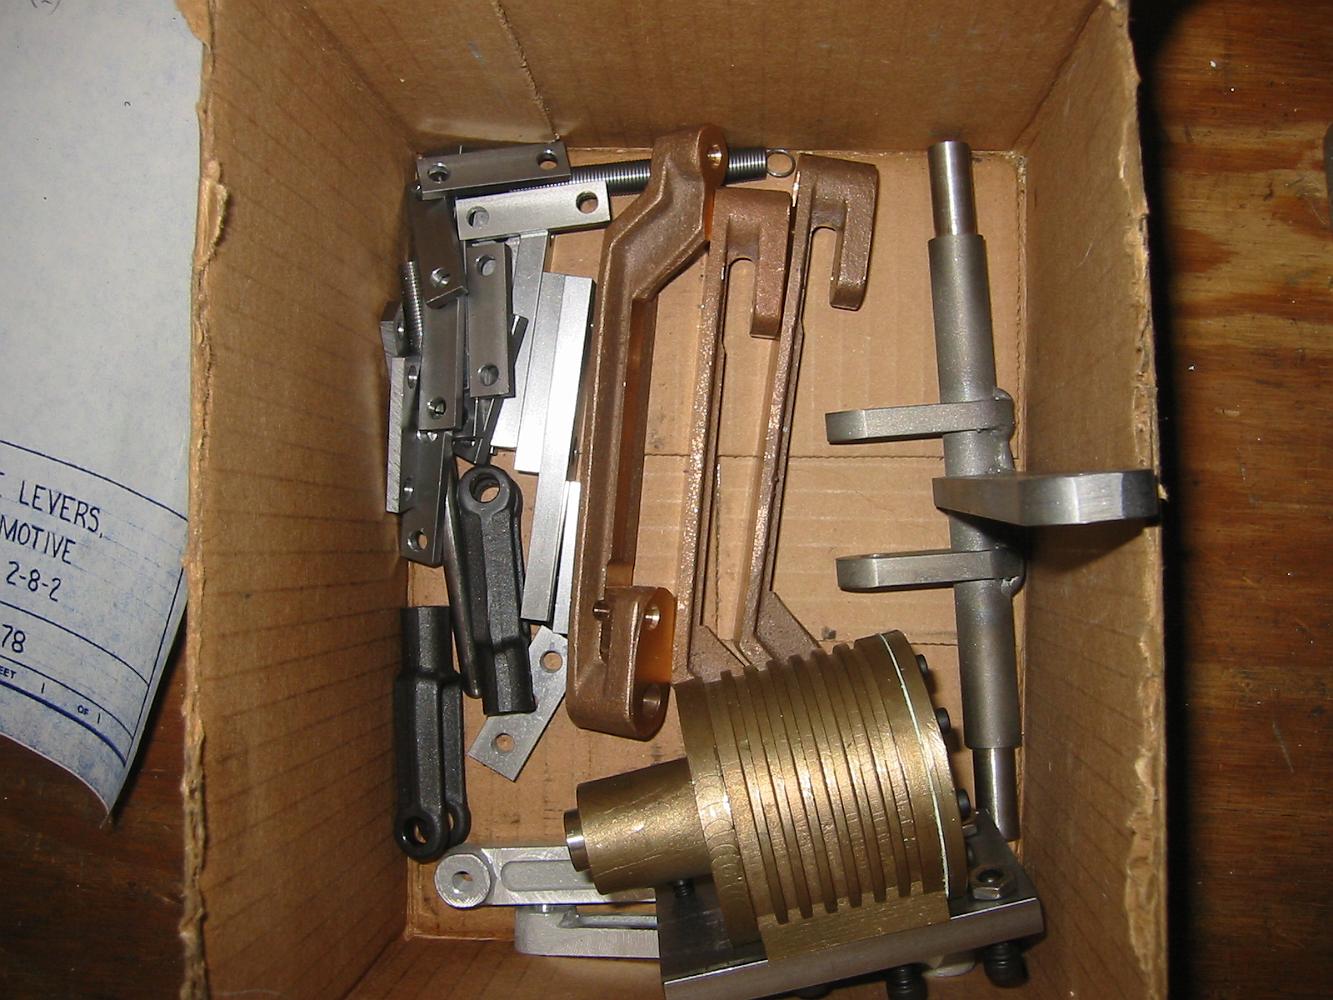
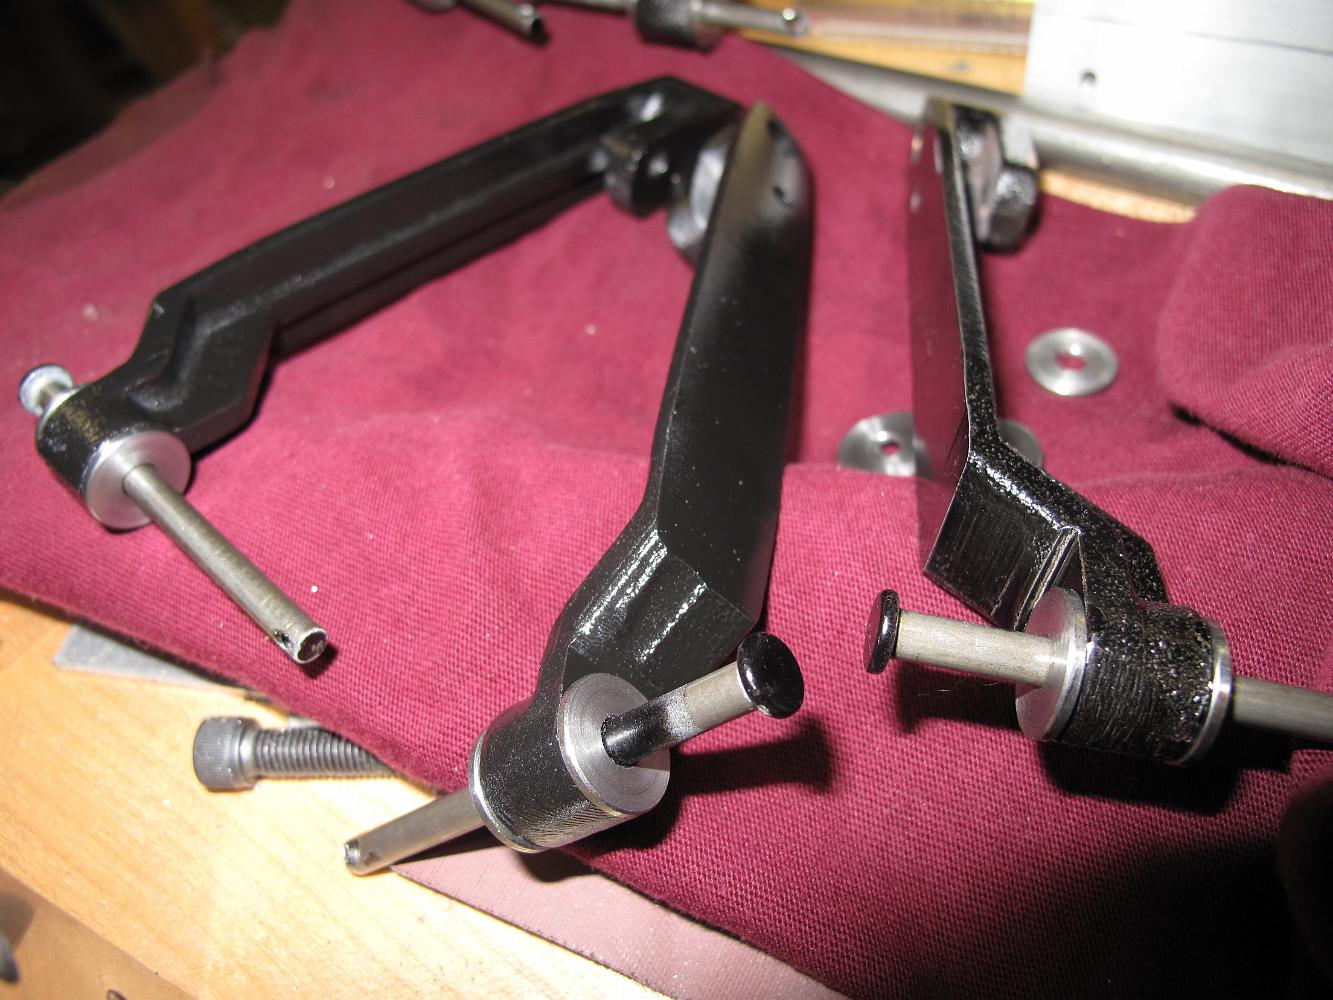
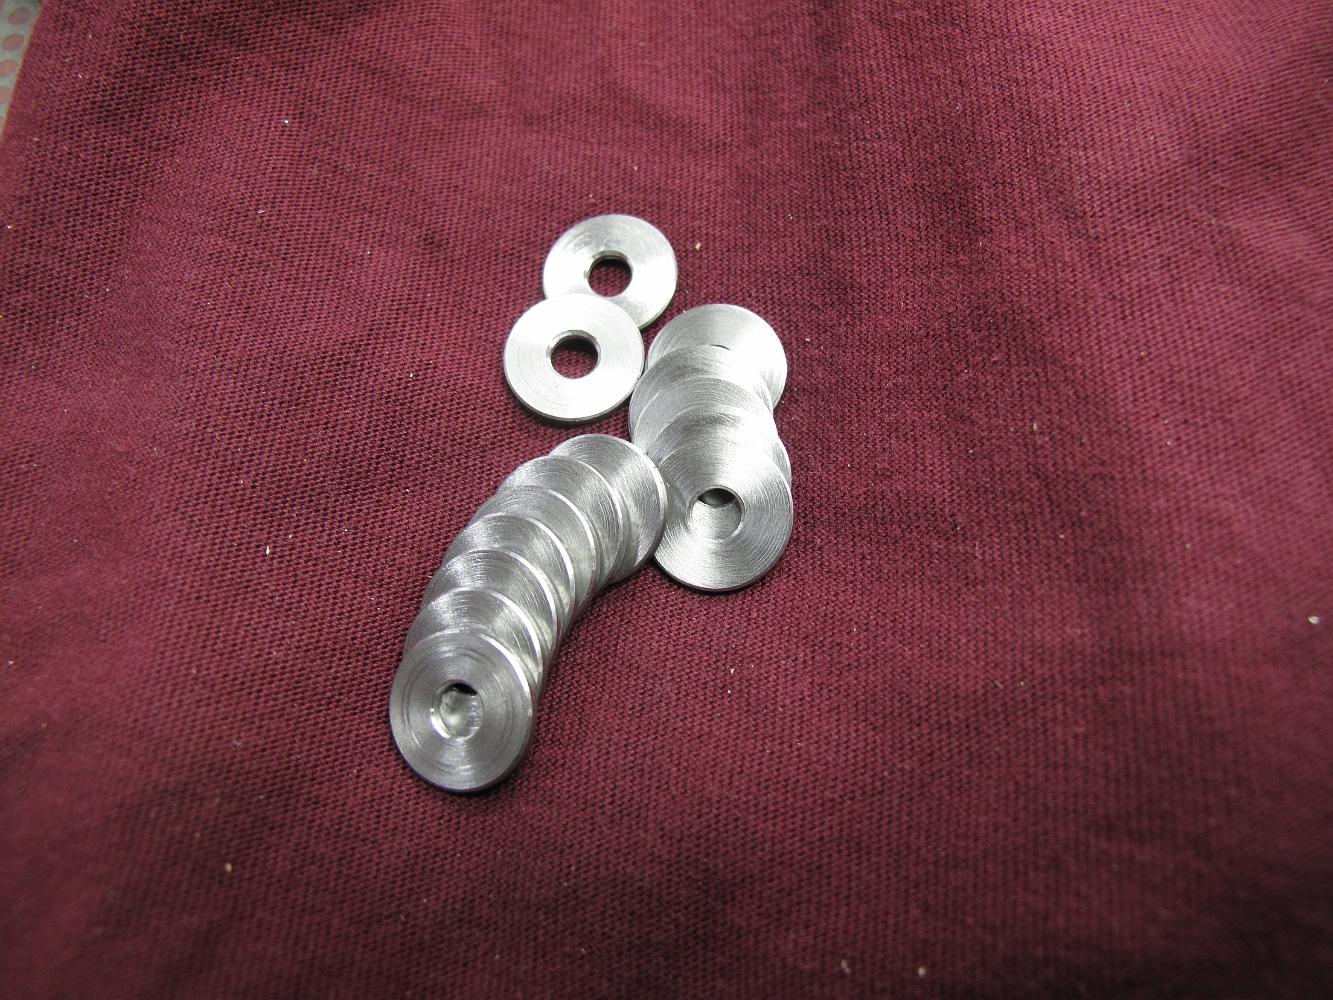
13-Feb-08 A box of finished brake parts. The brake cylinder/piston has had the O-ring installed, lubed with plumbers pure silicone grease, gasket cut and…
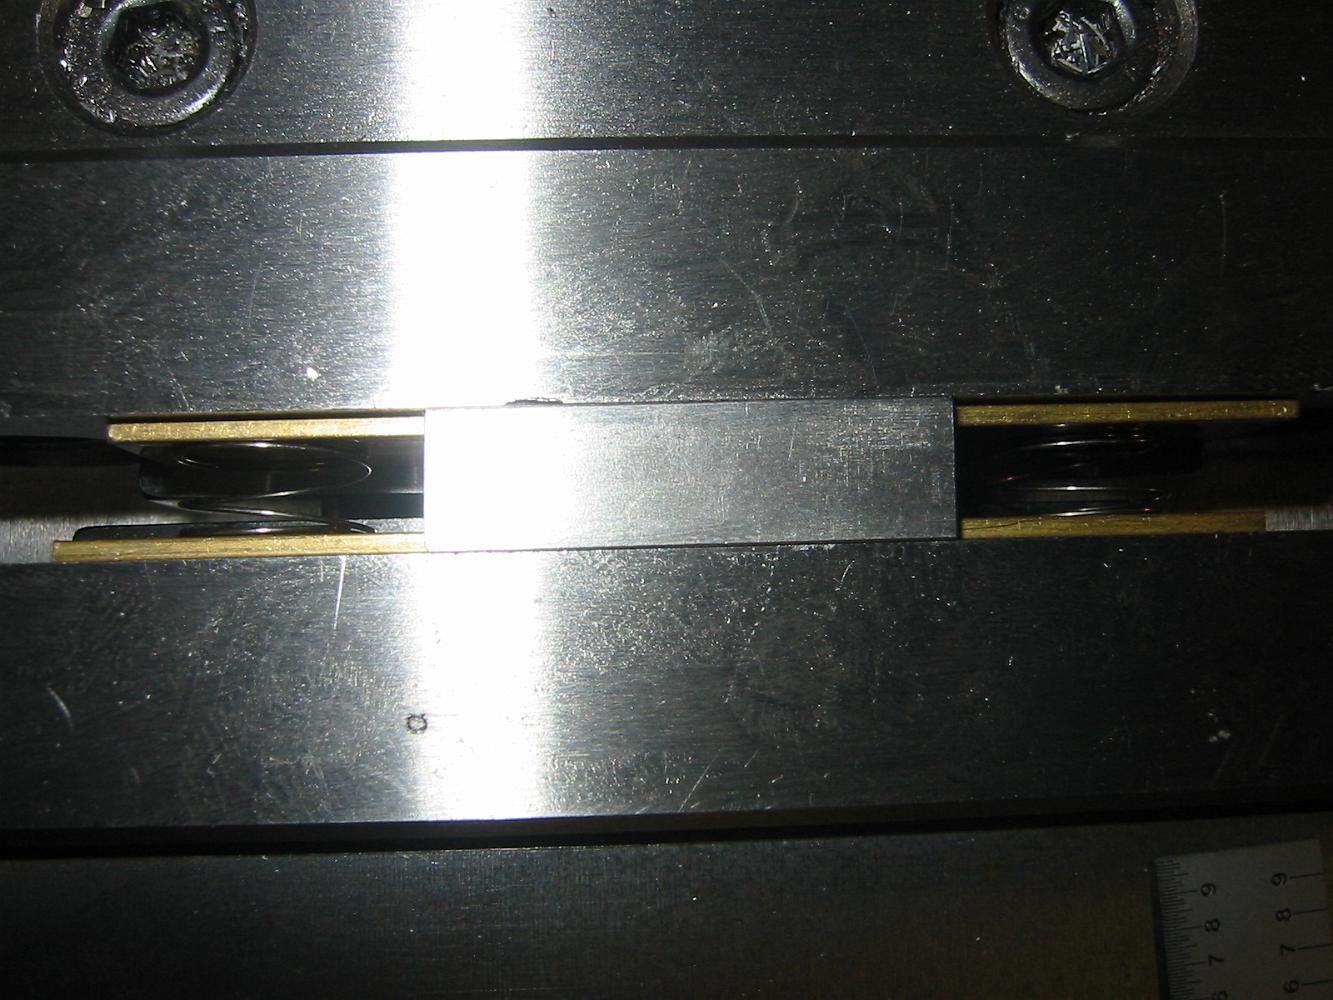
A tight Squeeze - Holding a Brake Beam Link for drilling. The thin brass parallels are held apart with small springs to keep them from falling over when the…
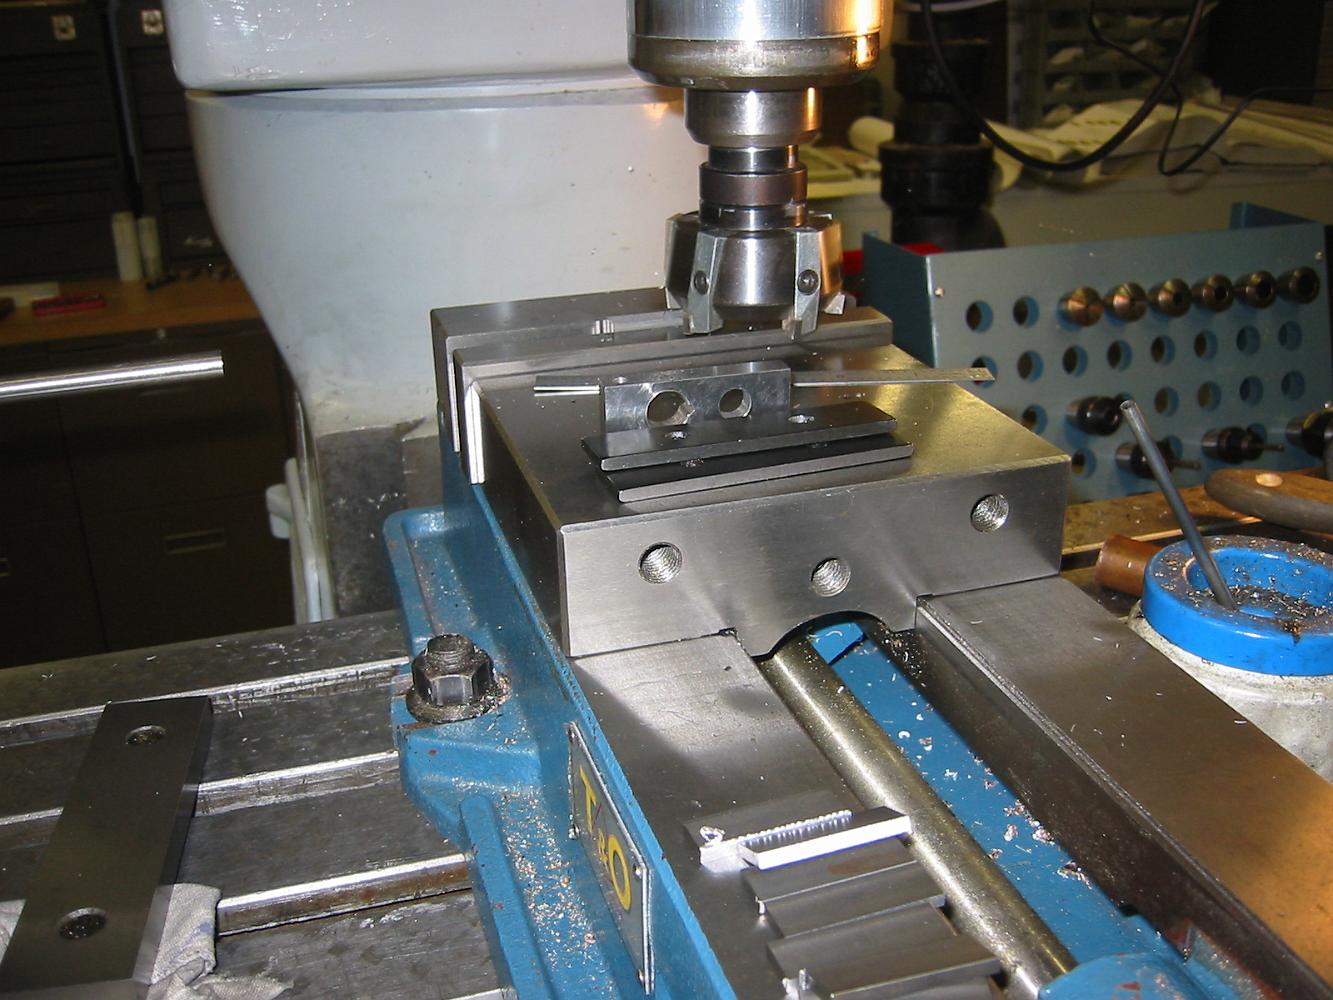
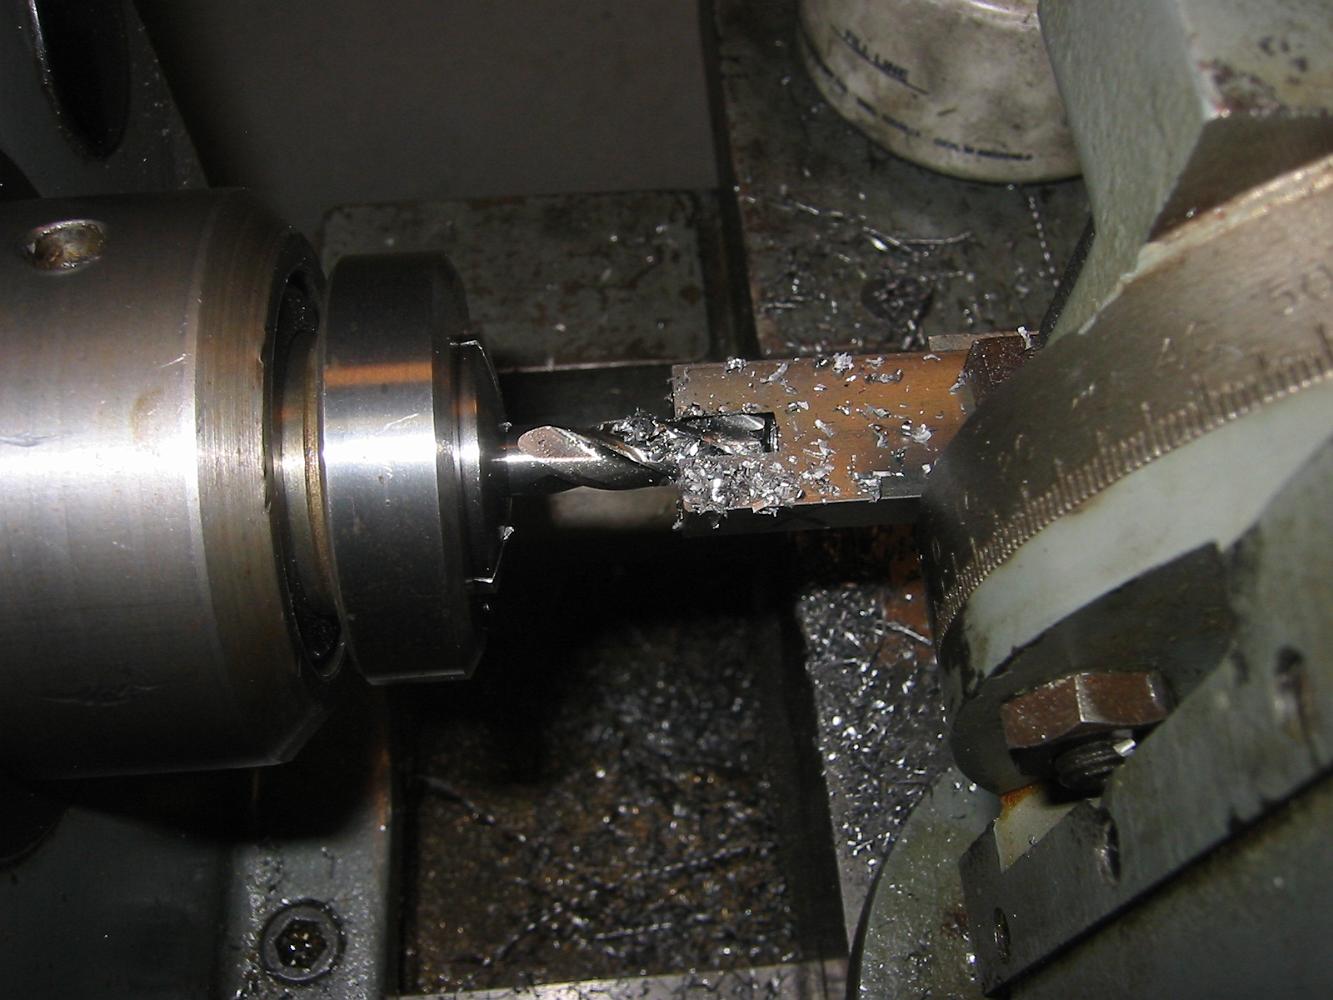
13-Feb-08 The vise stop is set up for 'mass producing' the 12 Brake Beam Links. Step one is to trim them to length.
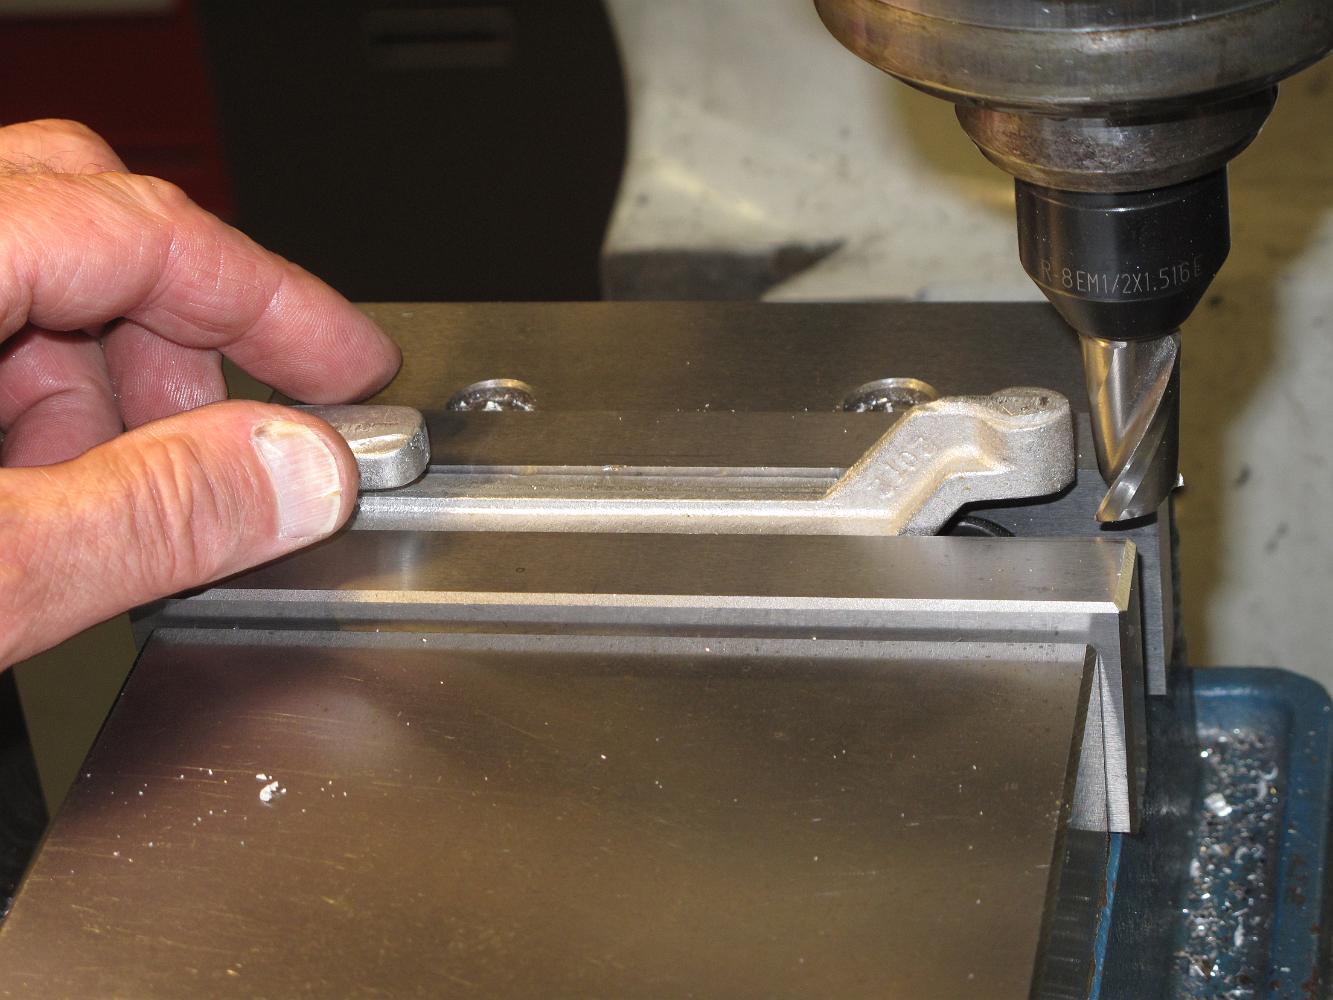
After pilot drilling holes in the ends of the 1/4" x 3/4" bar stock, a 5/16" endmill cuts the finished round slot.
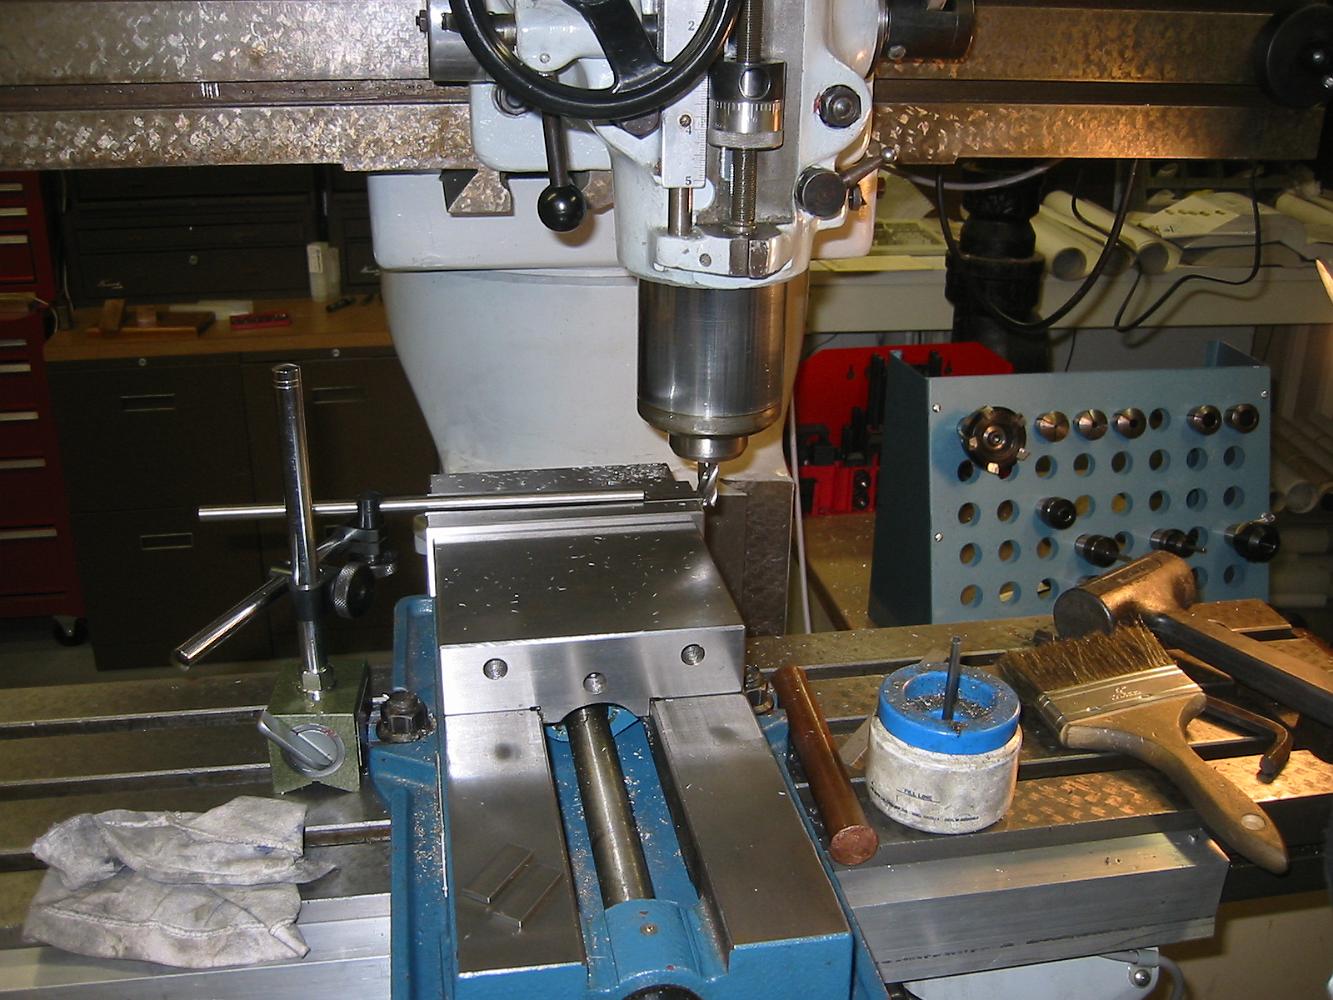
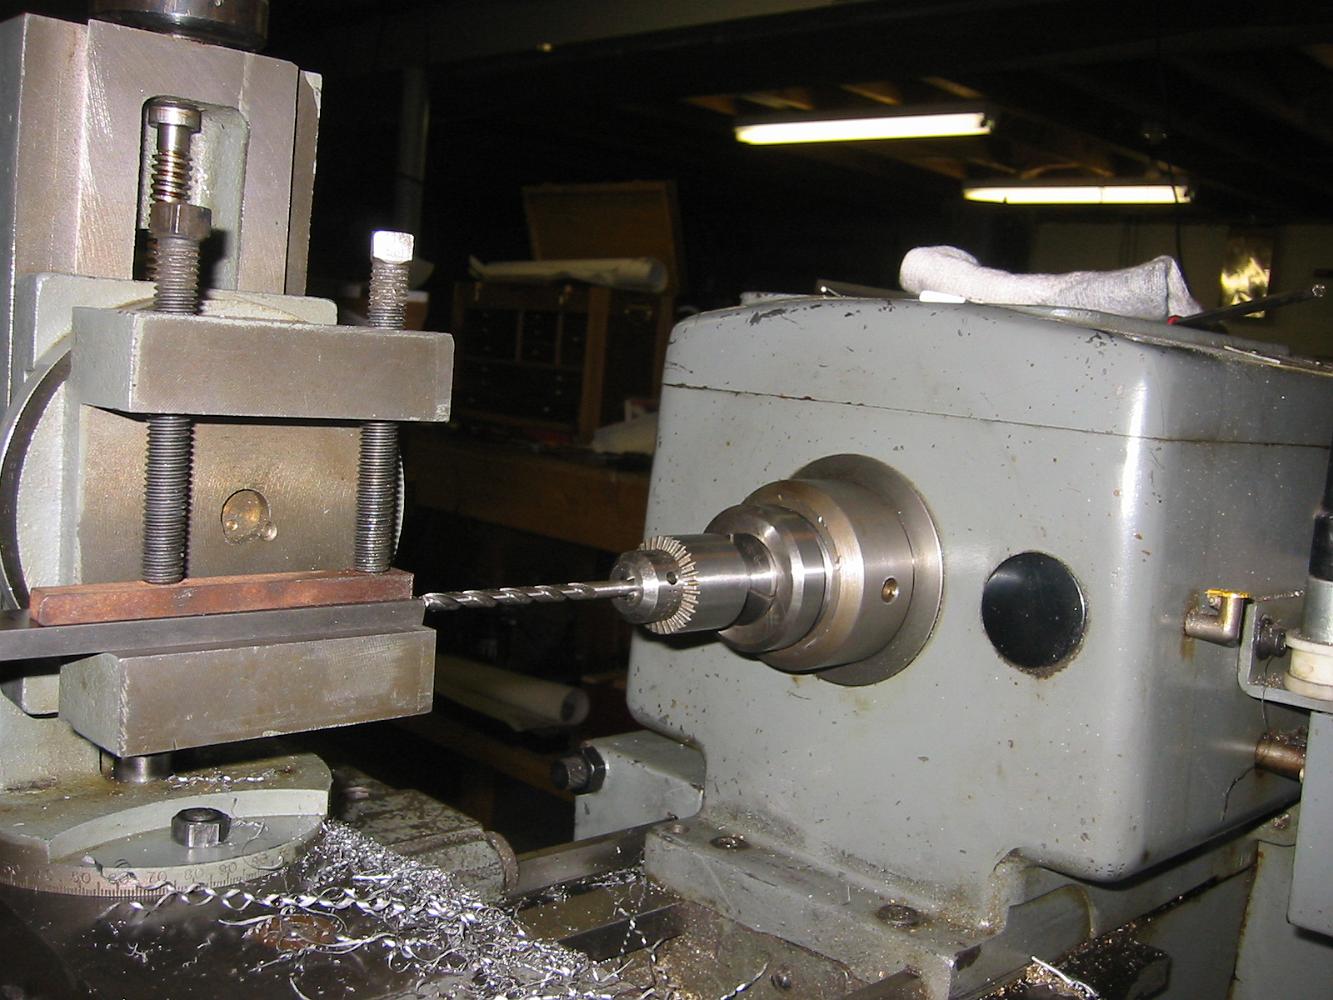
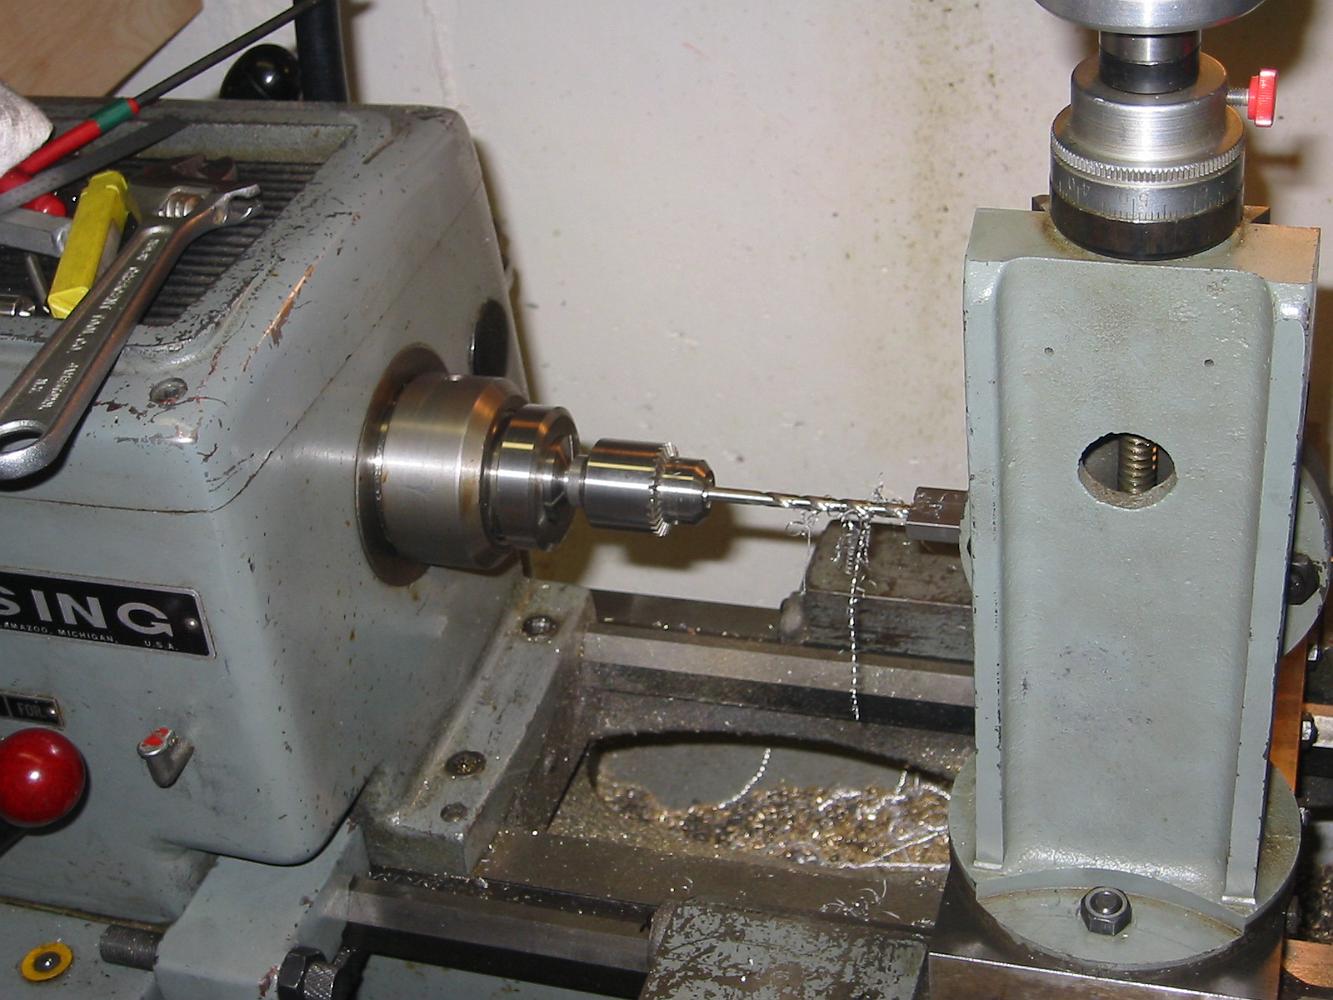
9-Feb-08 Using the vertical compound on the vice to drill the brake beams. I've been looking for an excuse to use this tool since I got it with the lathe.
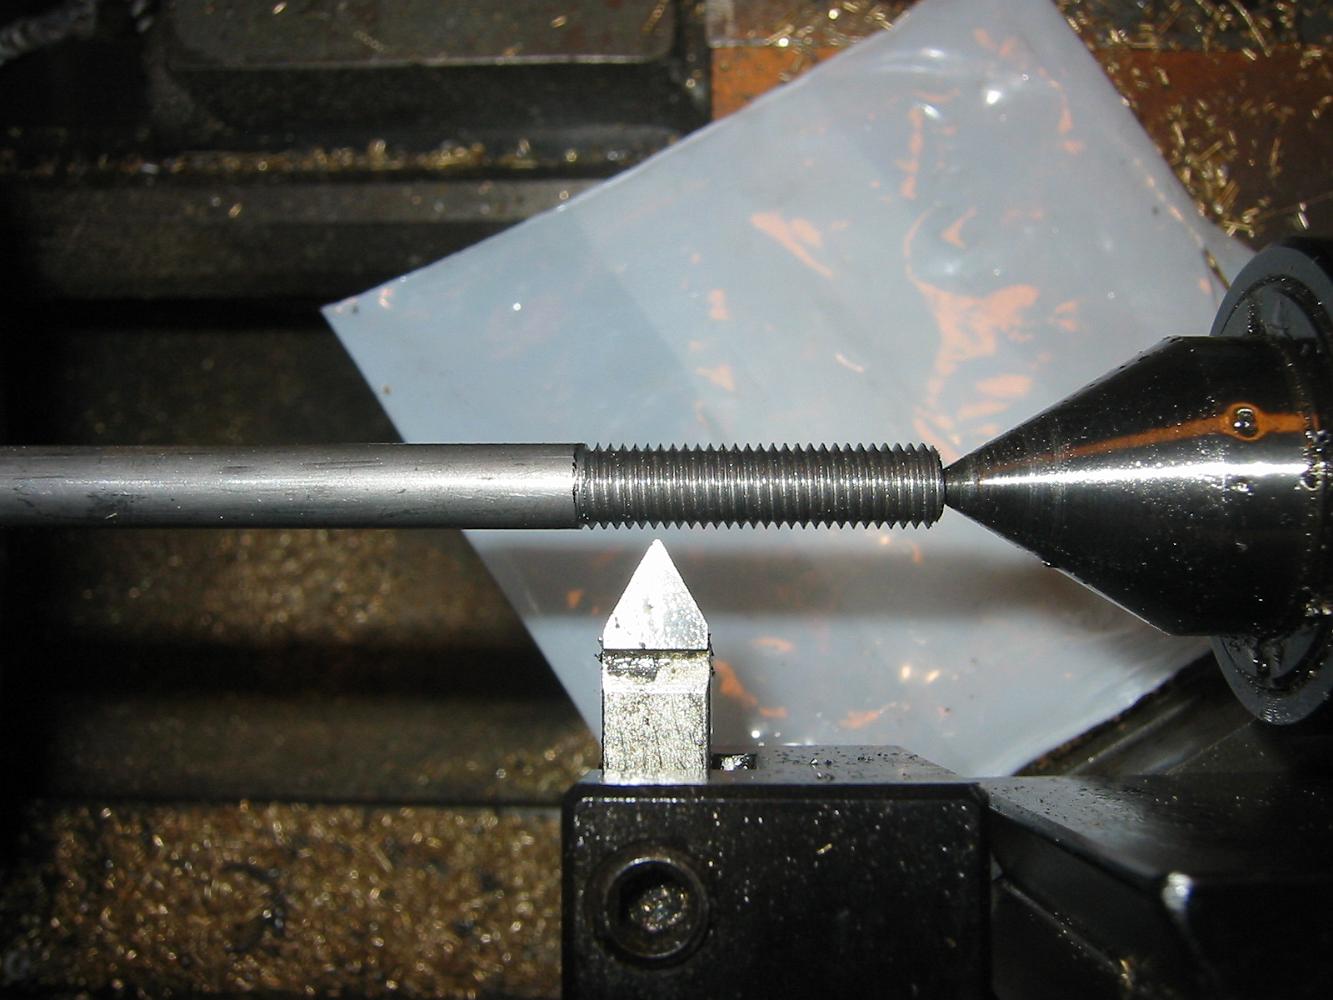
6-Feb-08 Single point threading a 1/4-28 connecting brake rod. Except the first piece I threaded was 5/16" rod. The 5/16-28 thread turned out nice, but is not…
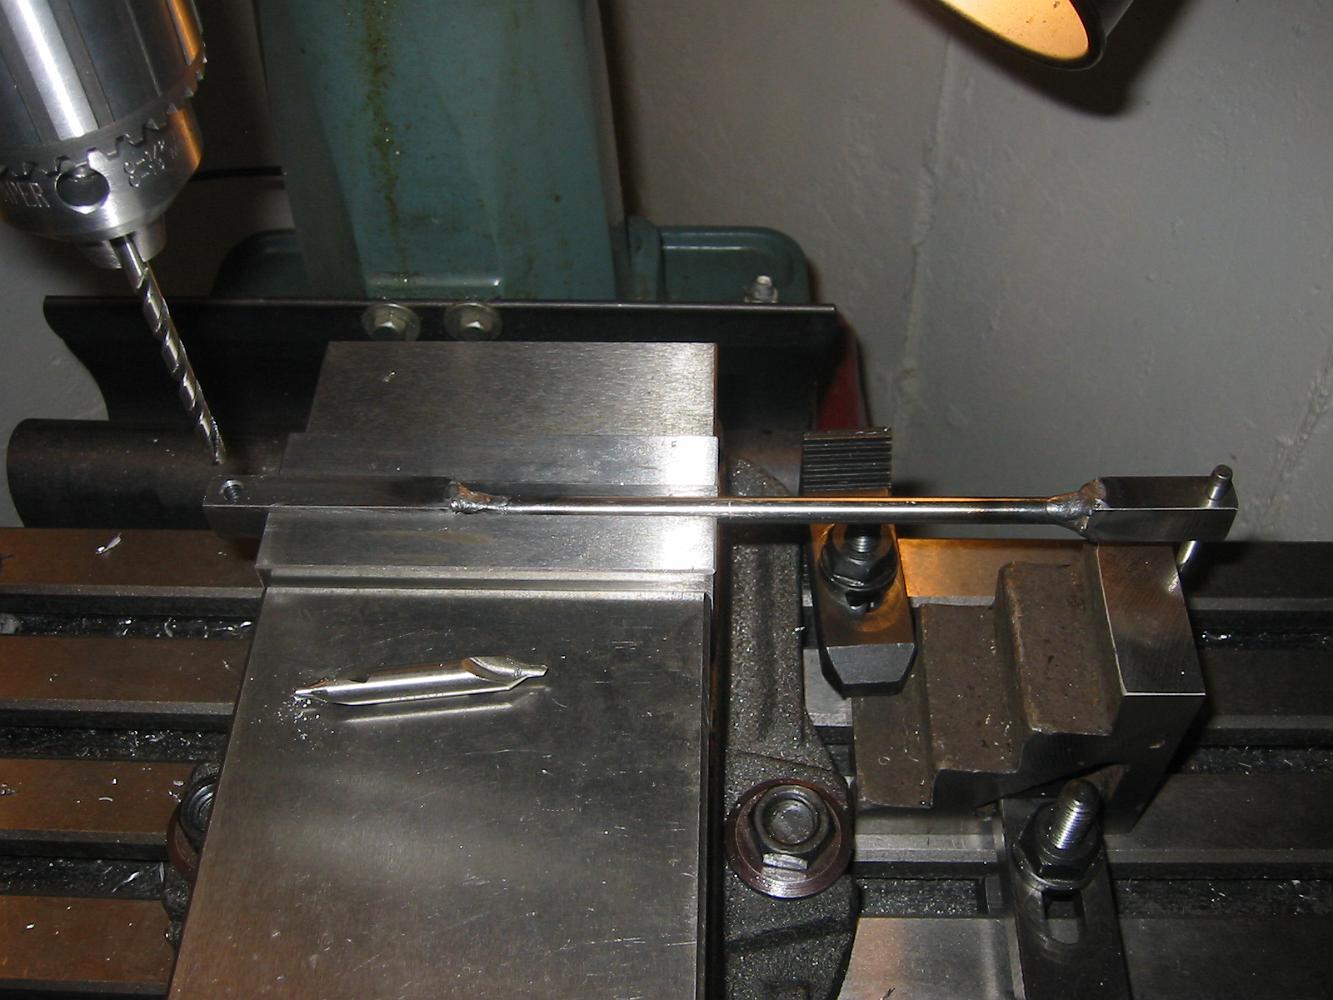
5-Sept-08 Using the clevis pin hole in the end of the brake rod as a stop against the side of the vise, I mill the slots into the brake rods. As expected, once…
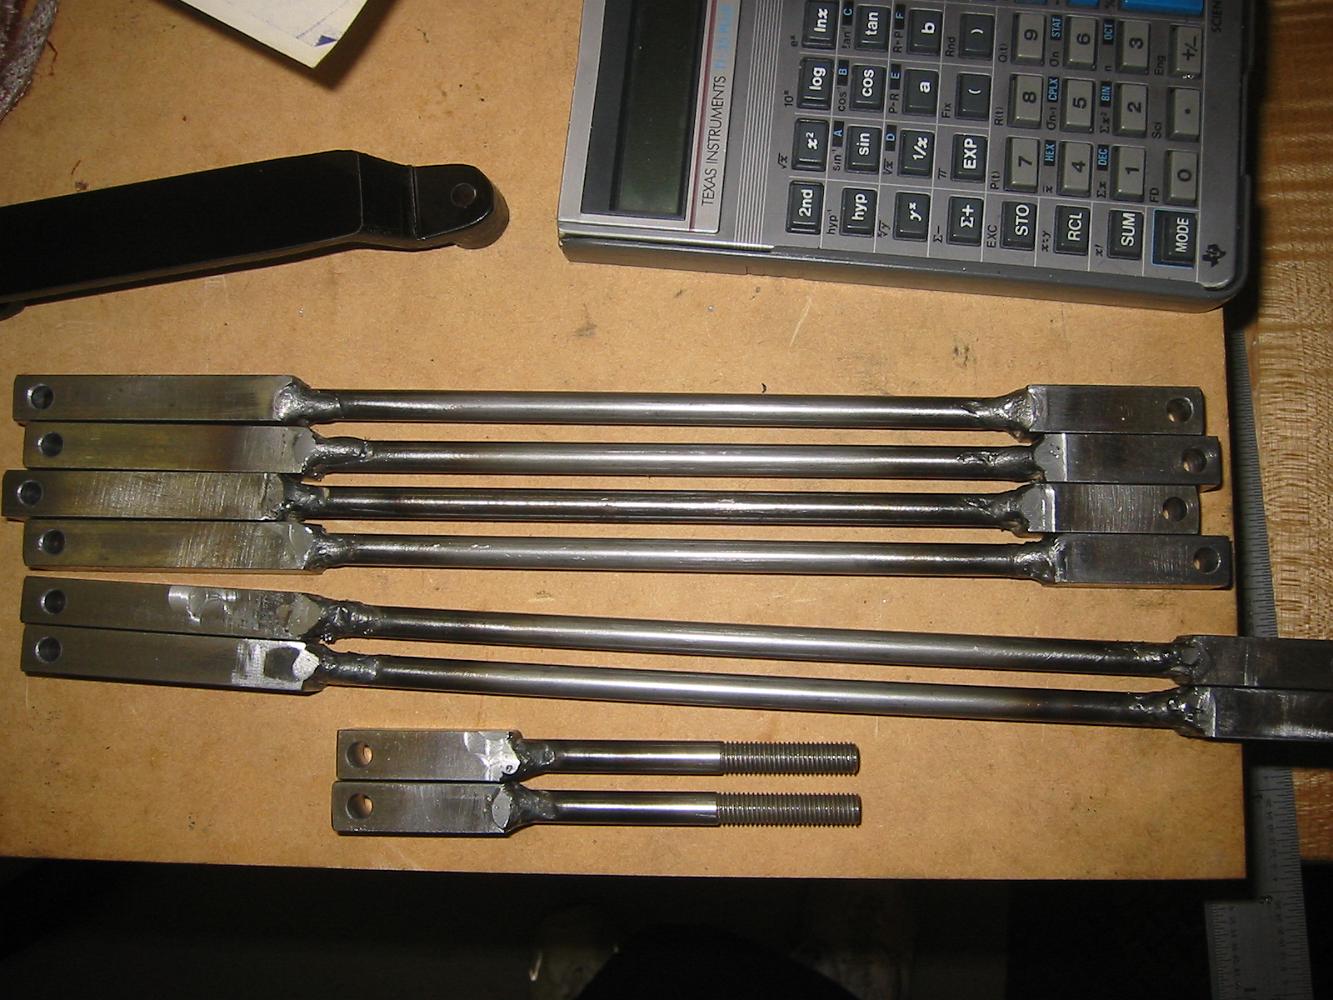
1-Sept-08 After welding the brake rods at my friend Tim's with his MIG welder, I have cleaned up the welds and drilled the connecting pin holes.
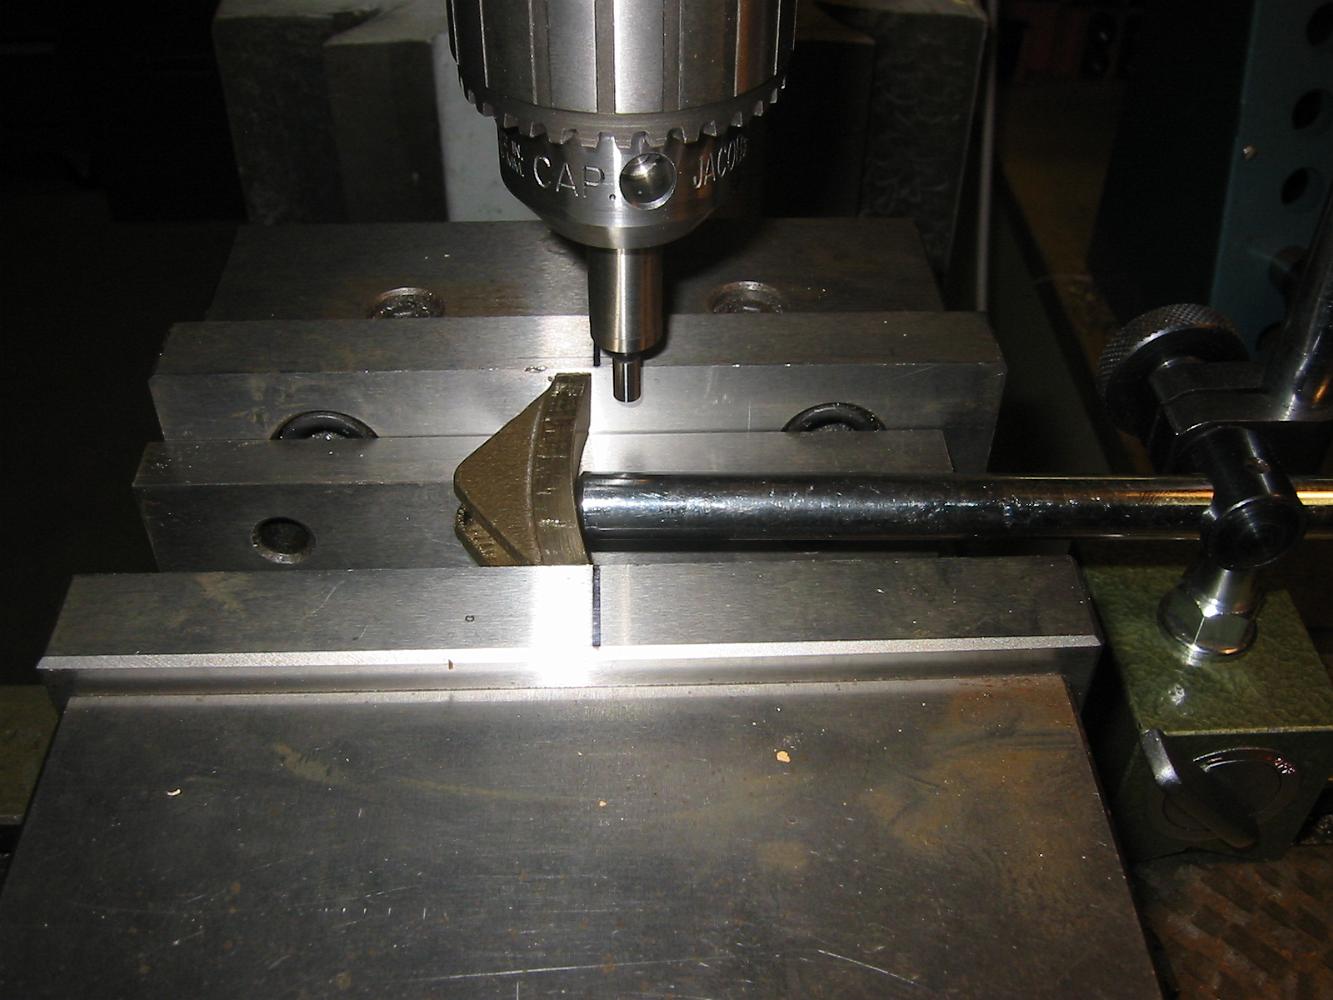
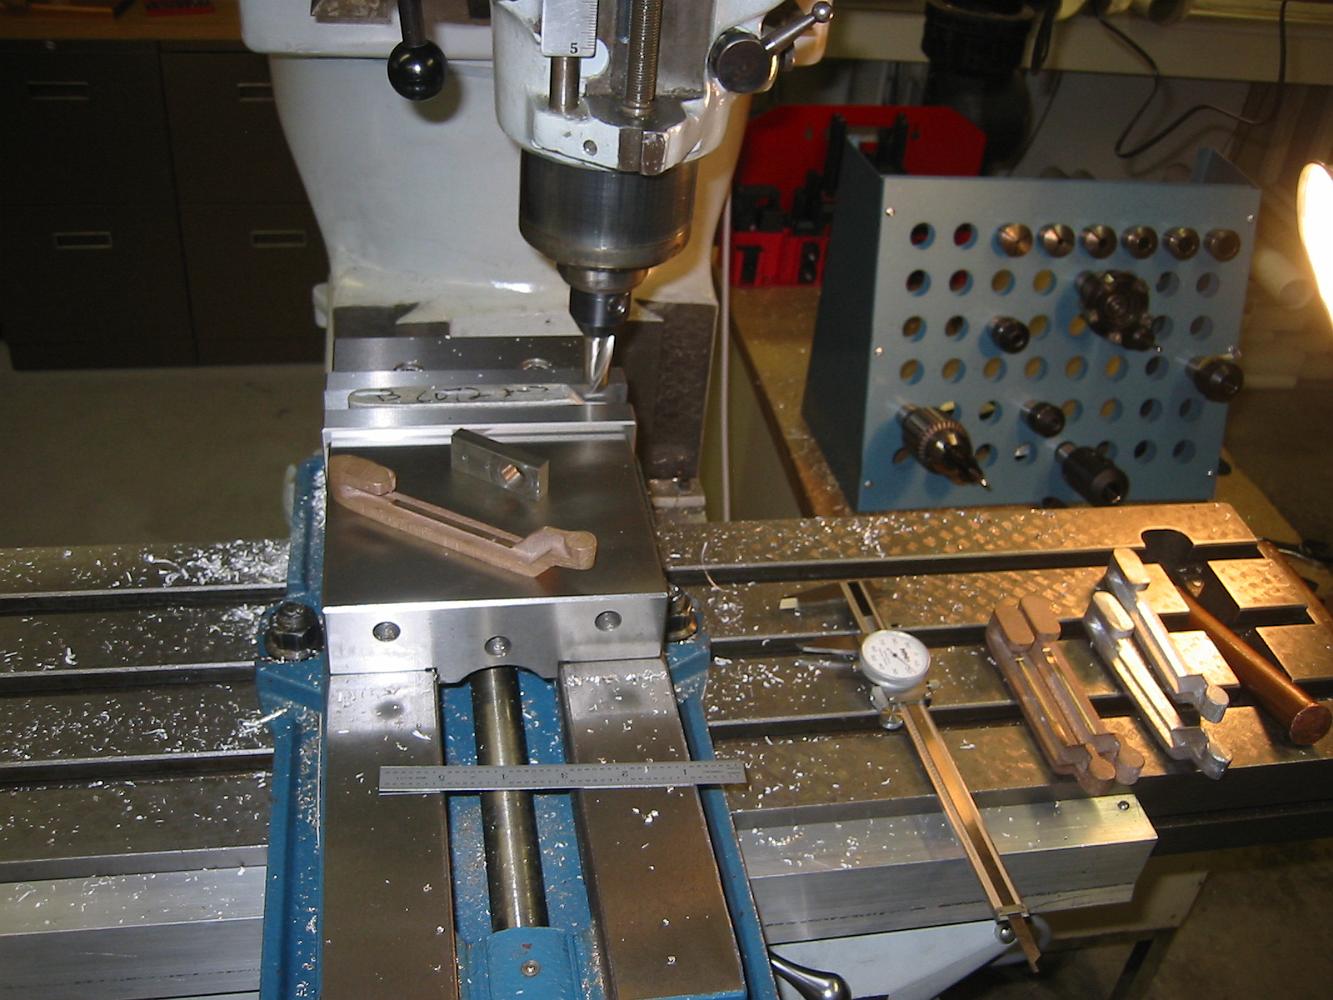
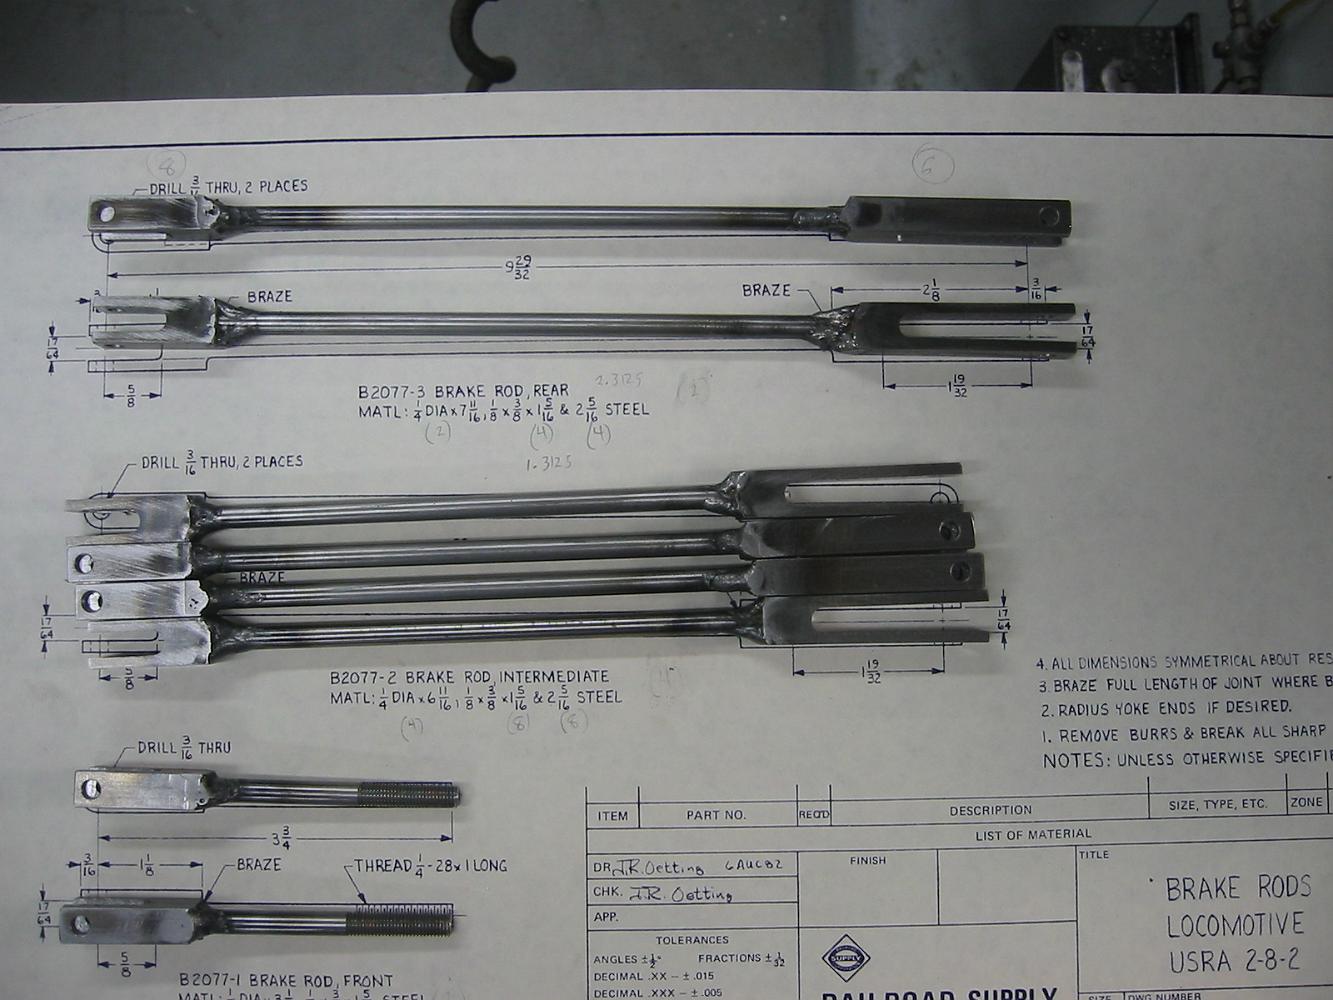
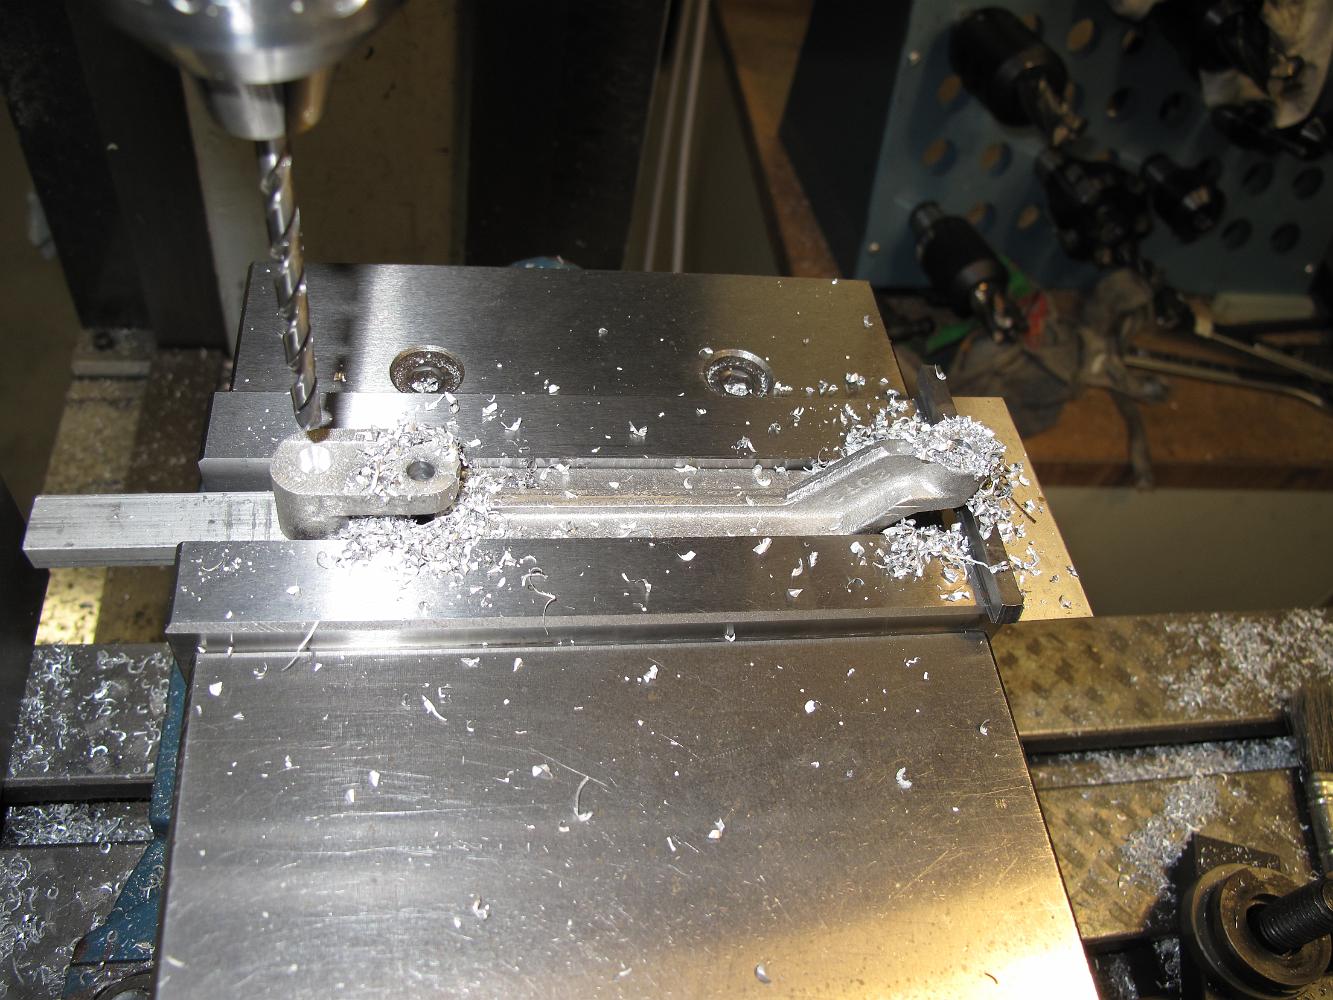
Since the big Bridgeport mill was in use with a rotary table setup, I use the little Rong-Fu mill. Needing to drill a hole 9 and 29/32 inches away, but not…
After welding the pins into the ends of the beams with my friend Tim's MIG welder, I finish machining them to size and drill the pin holes in them.
17-June-09 Having received a replacement aluminum brake hanger to replace the broken one, we take a break from the smokebox to finish this section. The supplier…
Drilling the holes, with care not to snag any of the unsupported parts and snap them with the drill.
Milling the pocket for the brakeshoe. We also had to hand dress the bottom of the bracket to allow the shoe to drop/tilt/droop without binding.
With very thin parallels hold the bracket in reference, another fragile clamping setup is made to mill the brakeshoe pocket.
24-June-09 Cutting the hanger boss to size. Note this clamping arrangement is not the best. The vise is pinching the hanger boss, the other end is not actually…
With the backside cut, the hangers are bolted to the table and the brakeshoe support tab (front of picture) is machined to correct overall thickness.