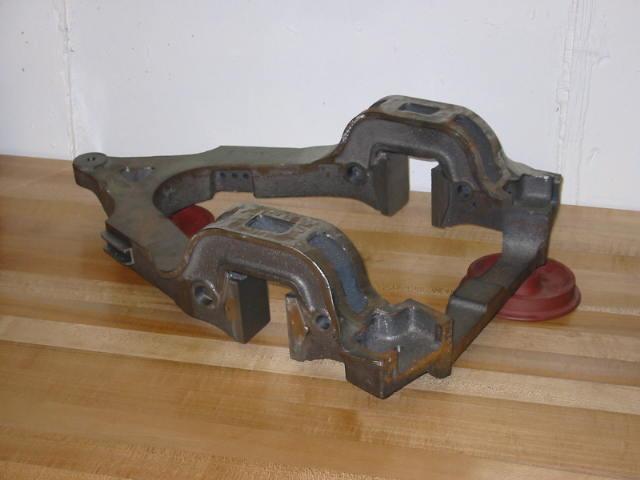
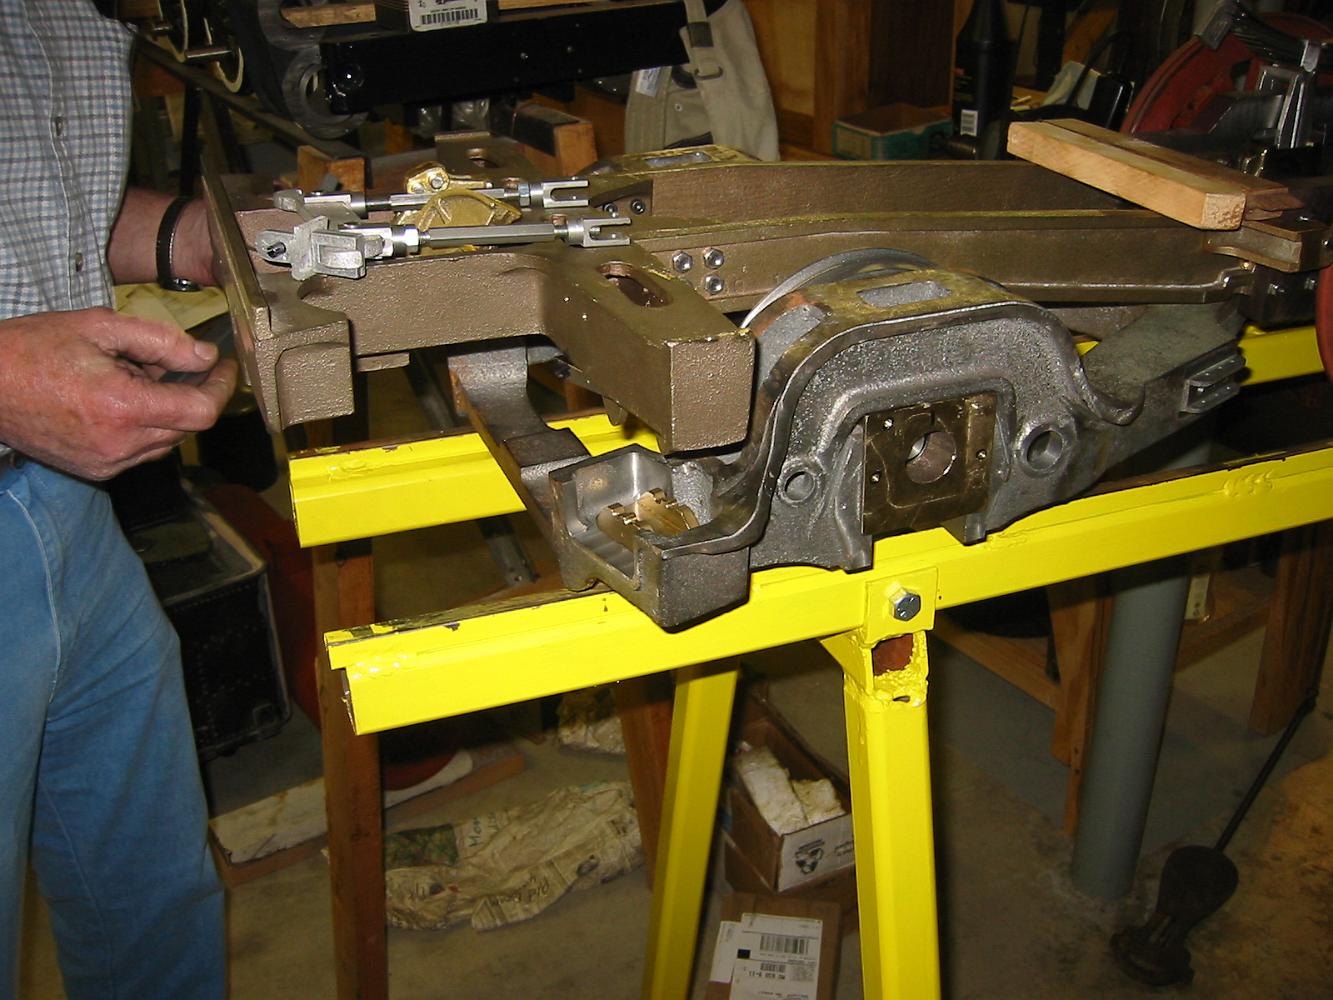
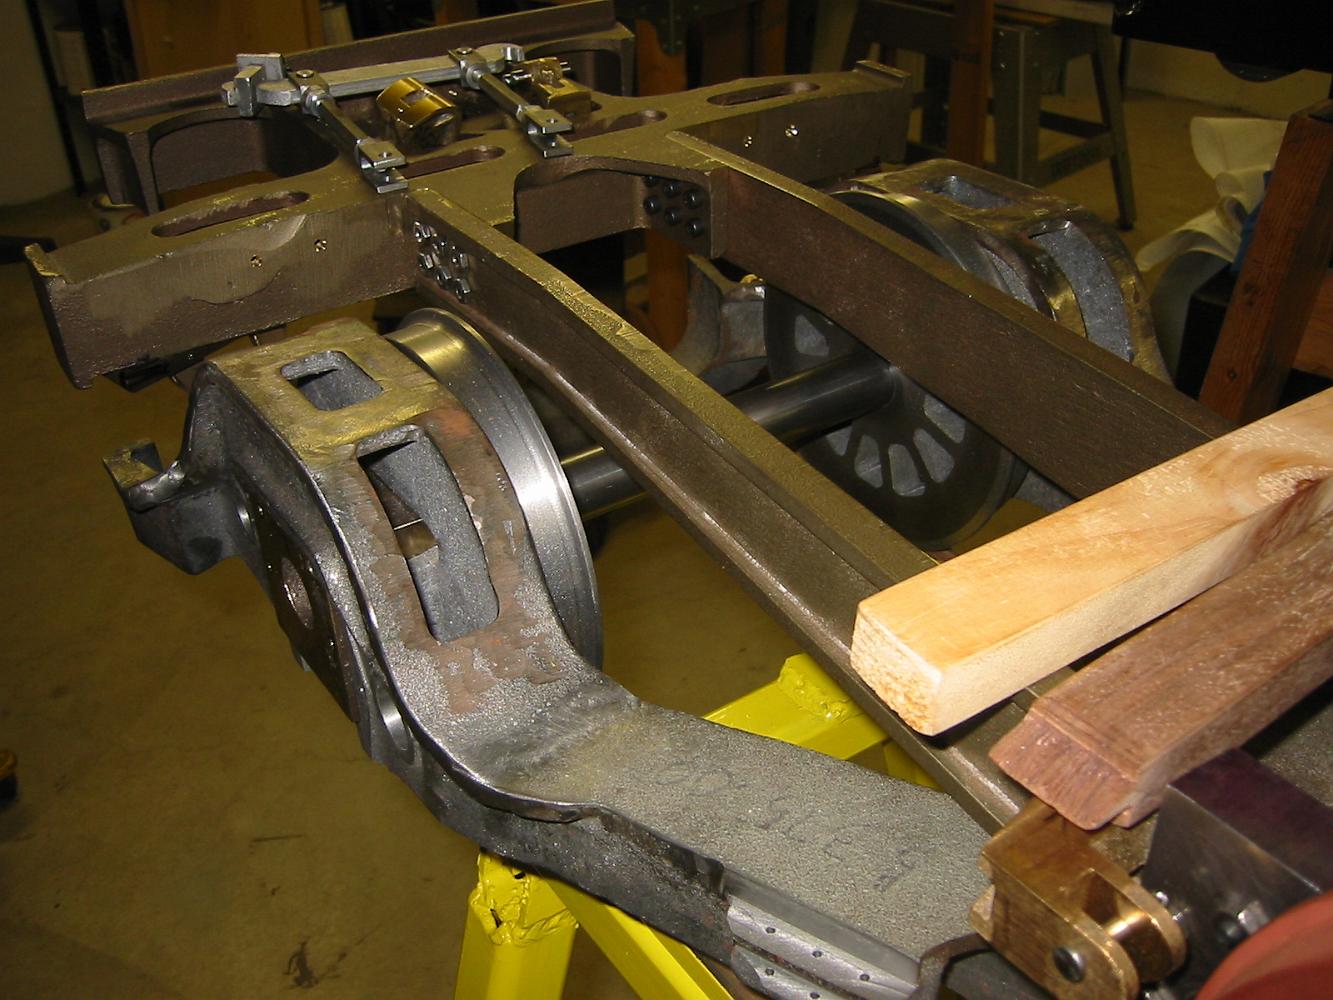
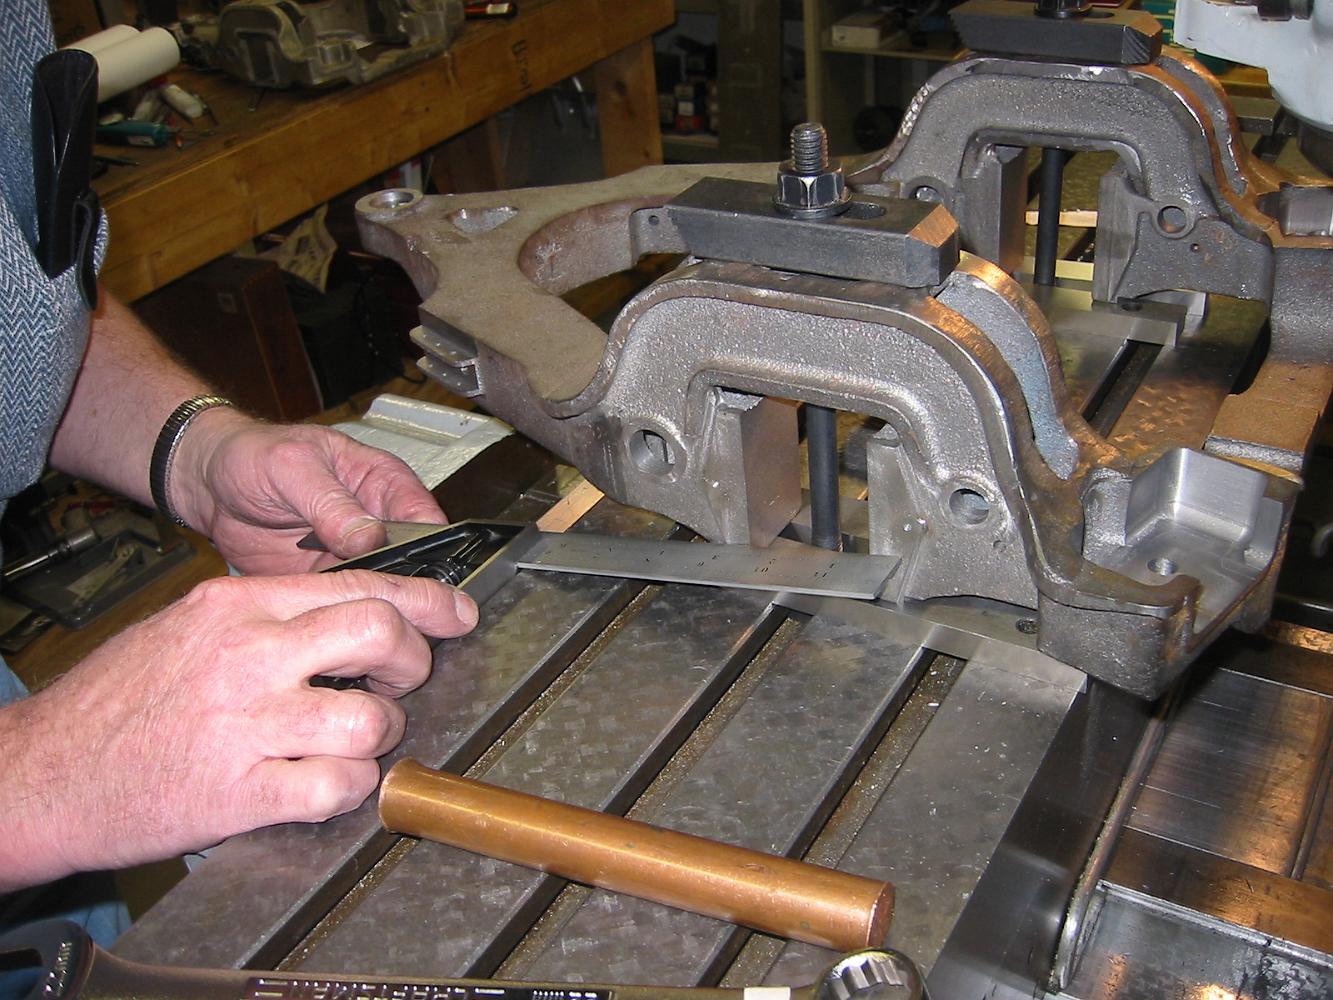
The delta trailing truck frame in cast iron. It has already been machined.
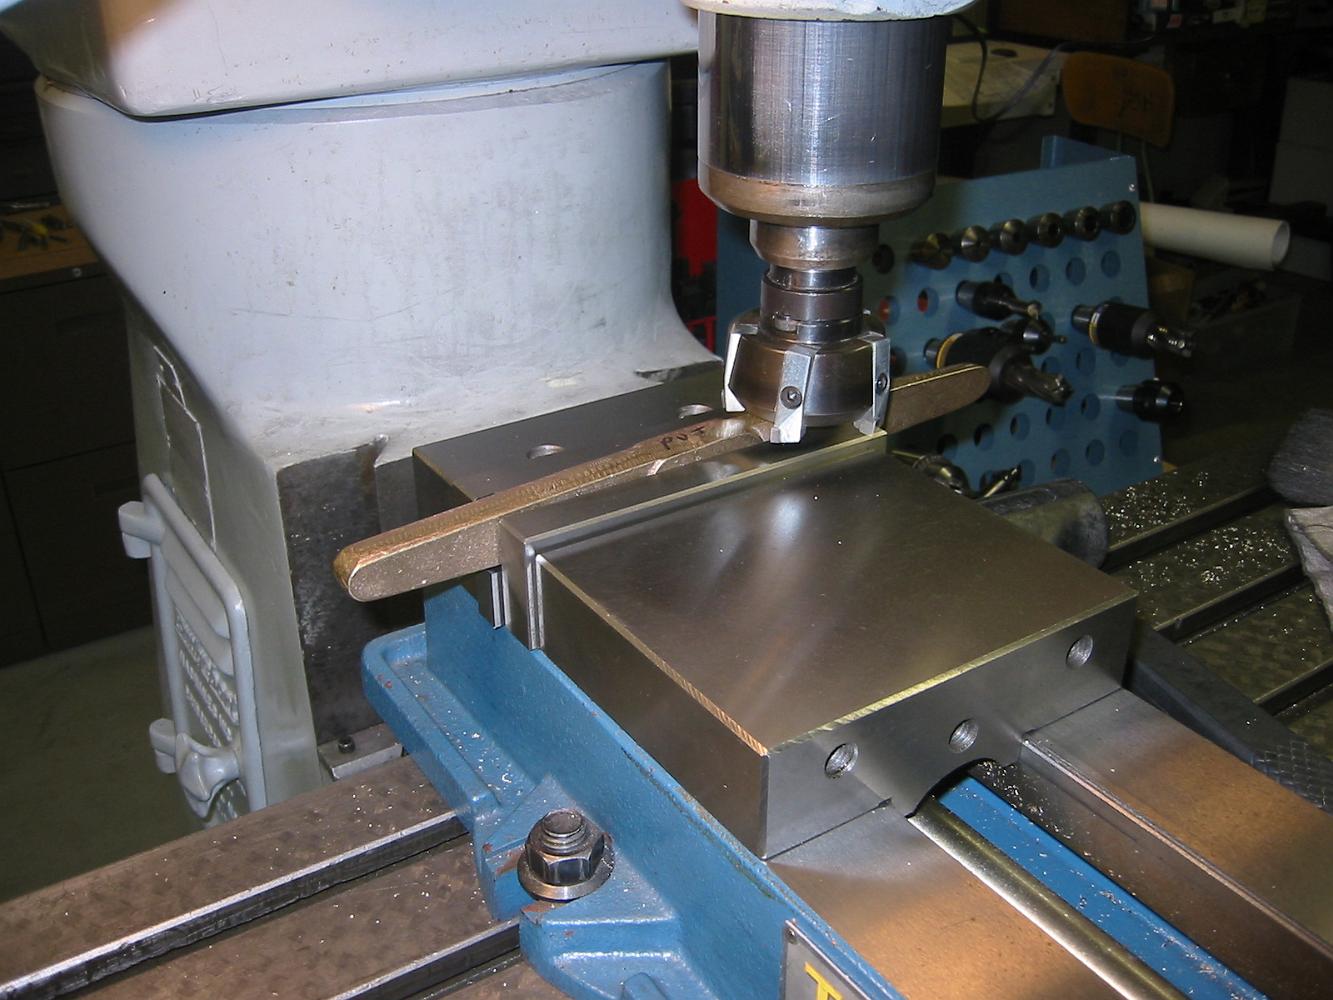
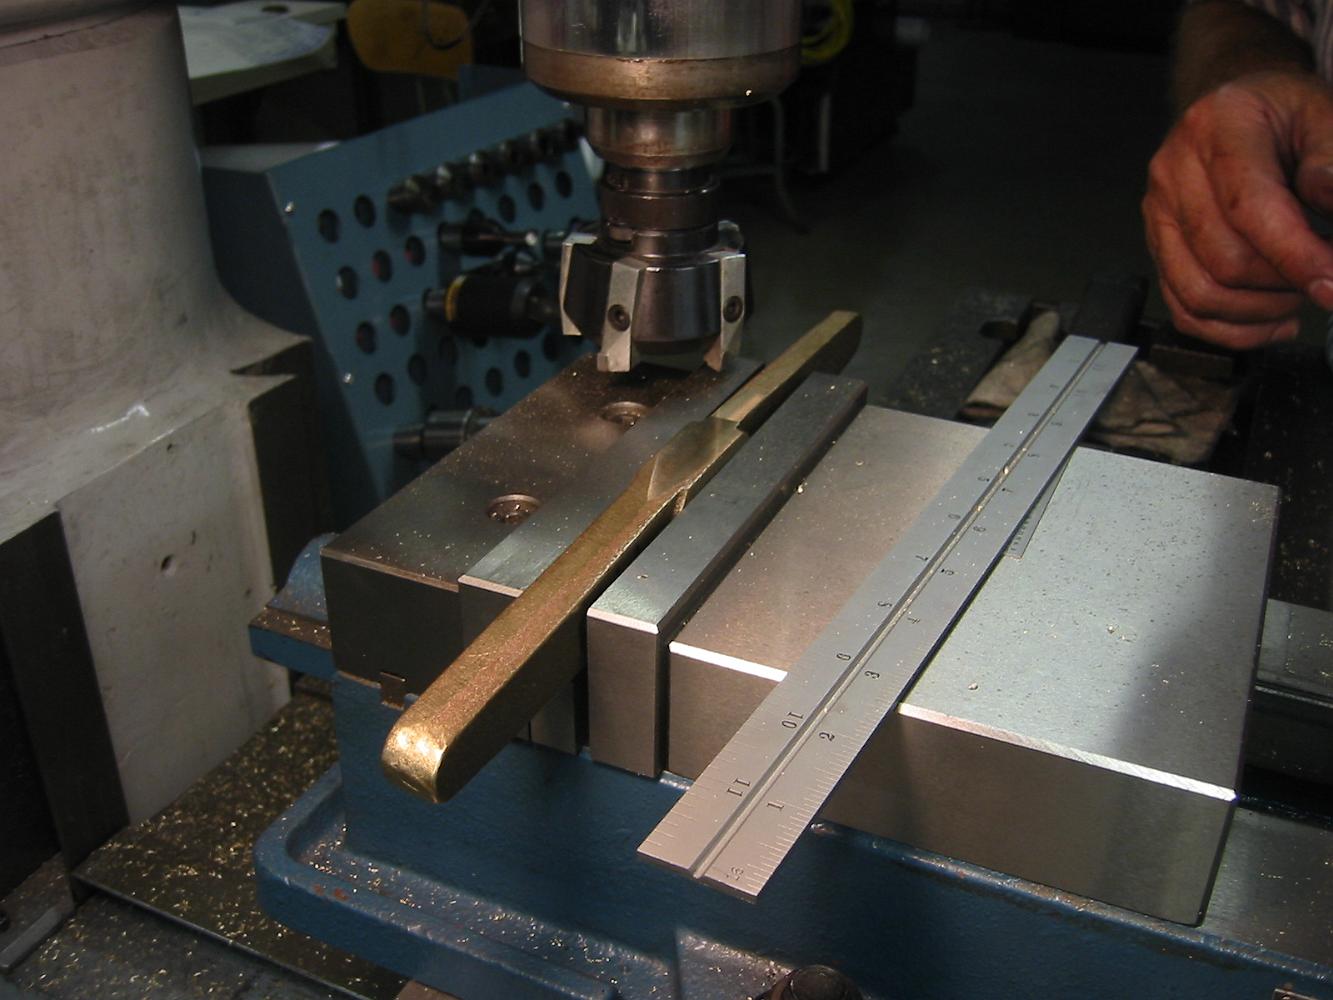
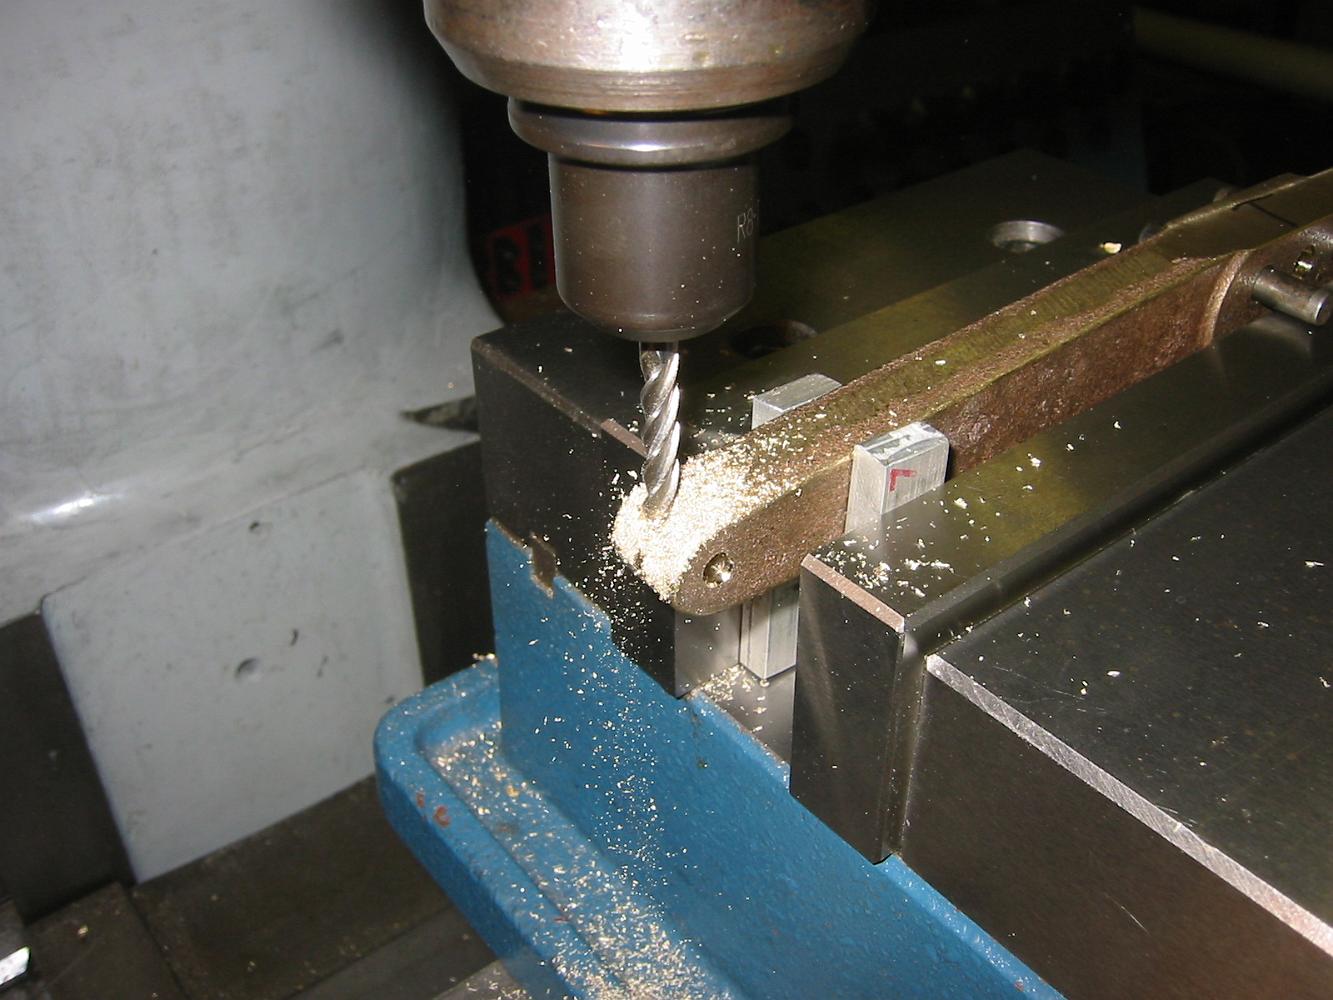
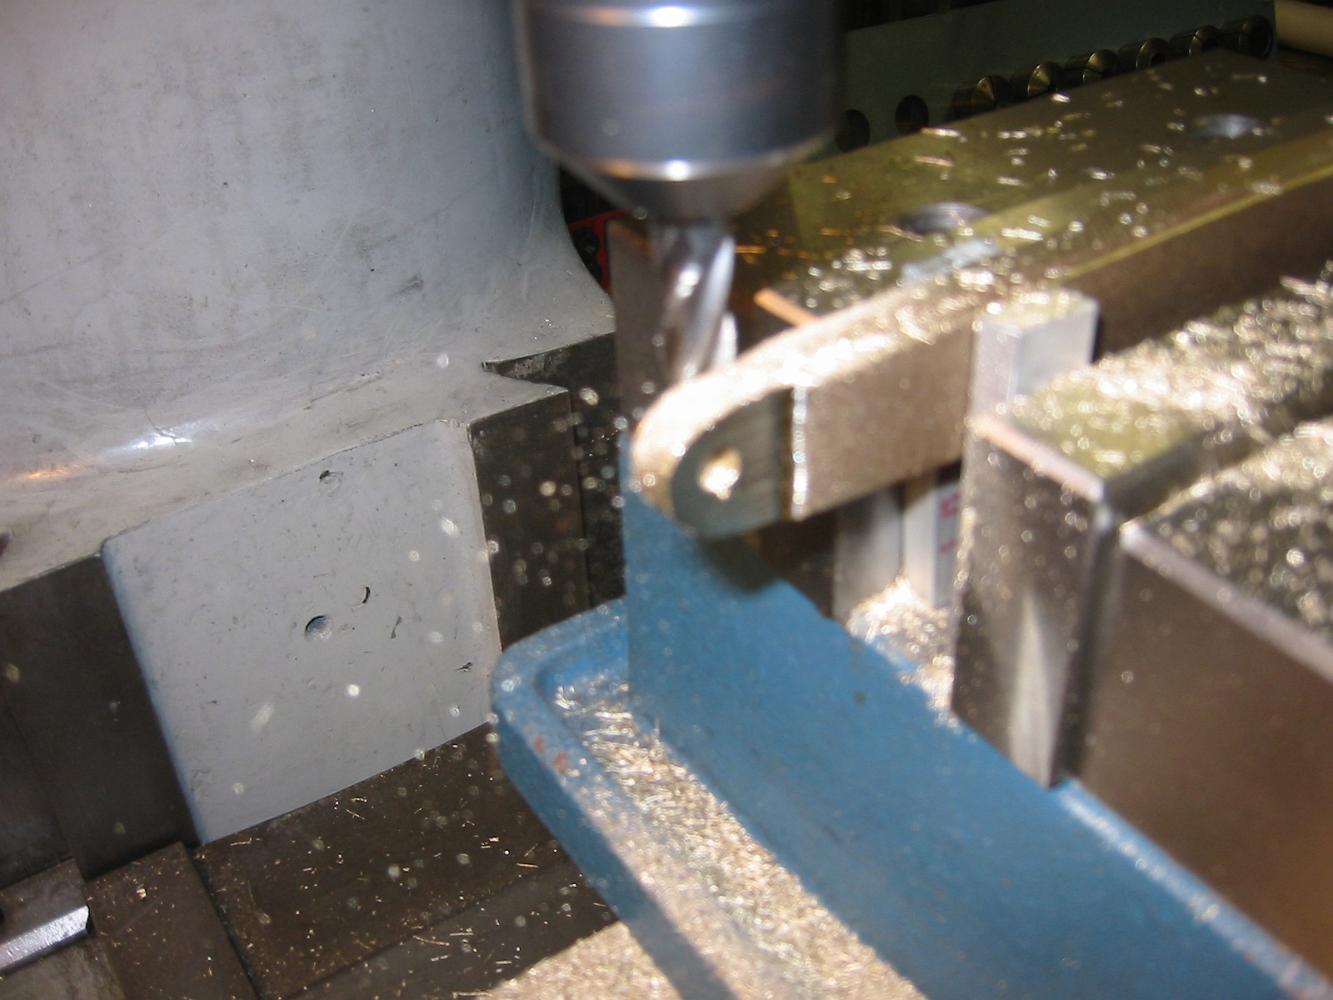
5-May-05 The next assembly to start will be the trailing truck. We start with the equalizing arms.
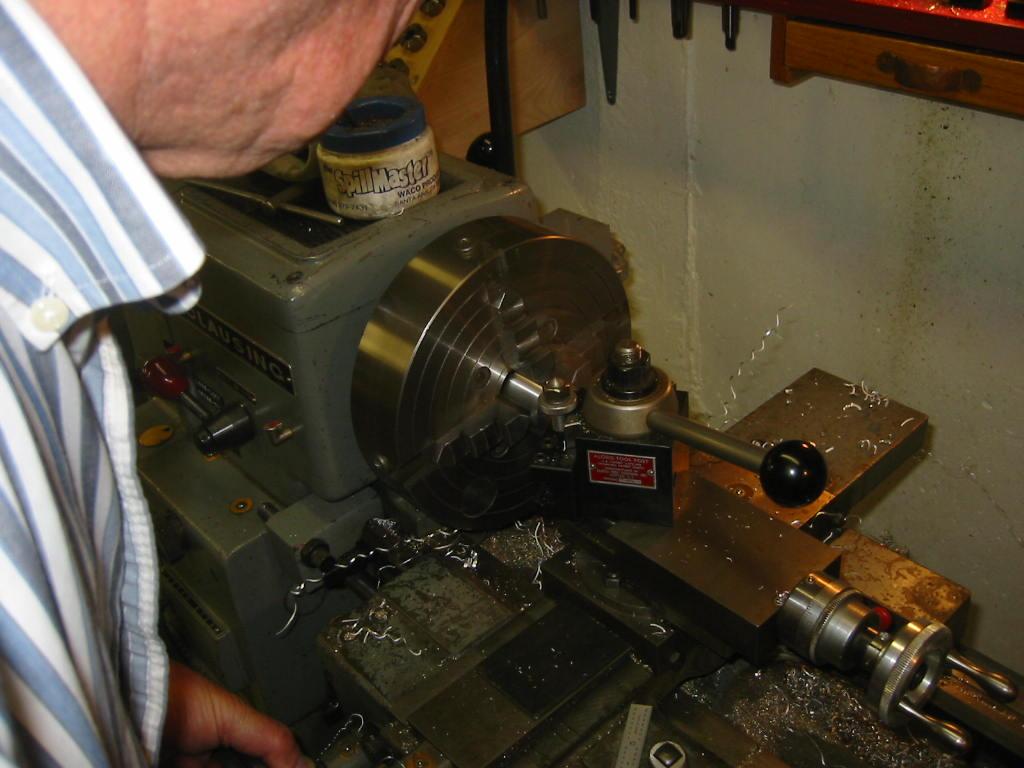
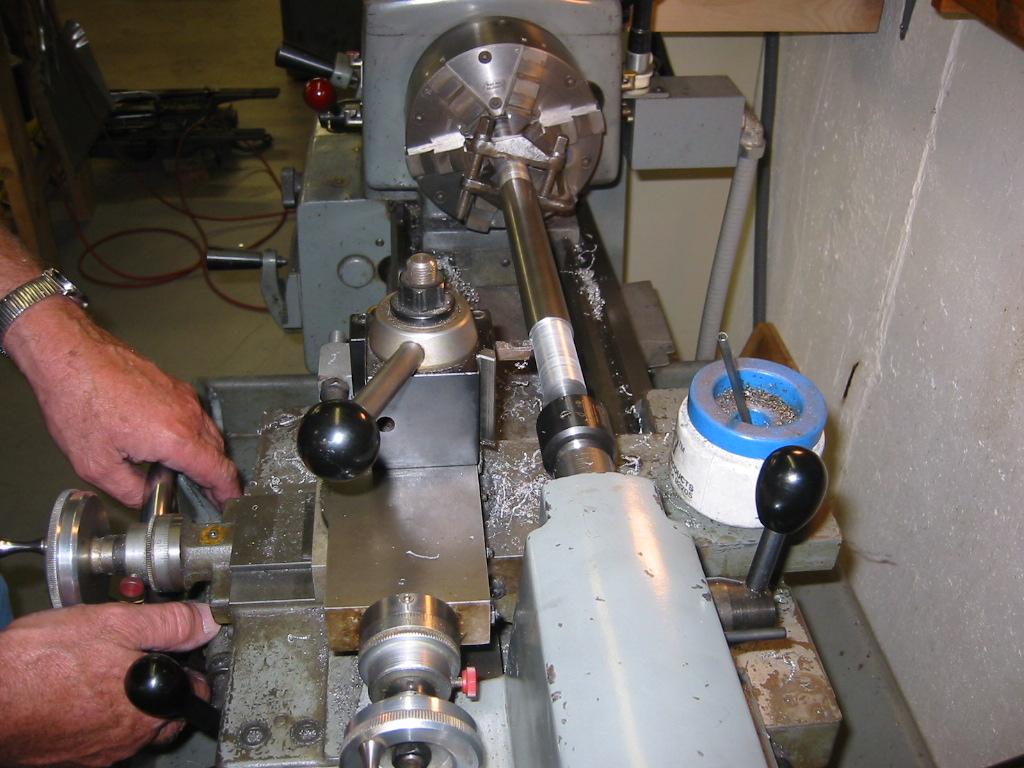
10-May-06 Here is a familiar process: rough boring the trailing truck axle boxes, after completing a truing cut on the face.
10-May-06 Checking the bore to match the bearings size.
10-May-06 Another familiar operation: turning a mandrel to mount on the angle plate to machine the axle boxes.
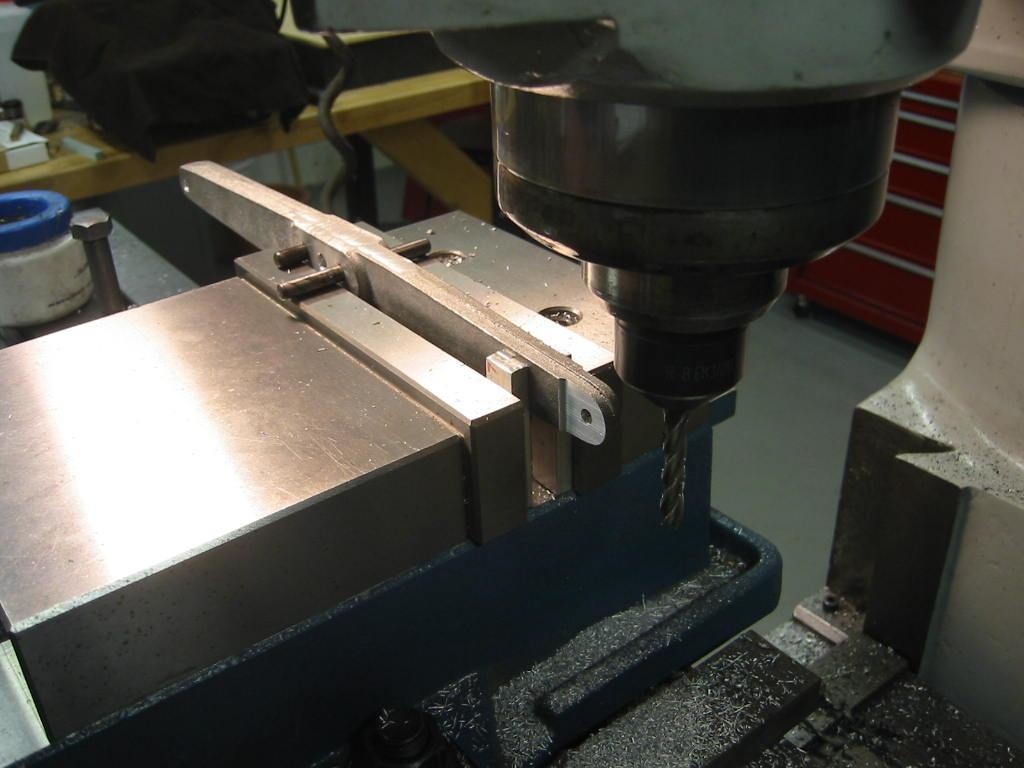
10-May-06 Milling the axle box openings using the same fixture techniques used on the main axle boxes.
17-May-06 Facing the front of the trailing truck axle box. A few tapped holes to mount the decorative box cover and we are done.
14-Jun-06 Now we get our chance to machine fresh cast iron wheels for the trailing truck. The four jaw chuck is used. We machine the back first, then rough bore…
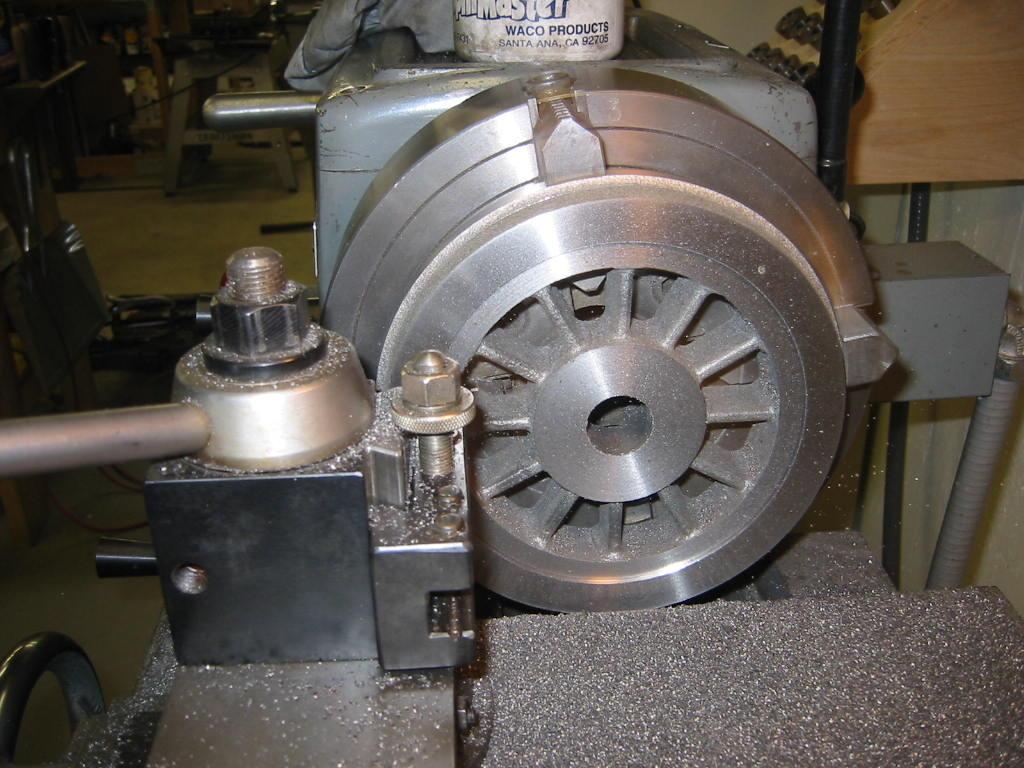
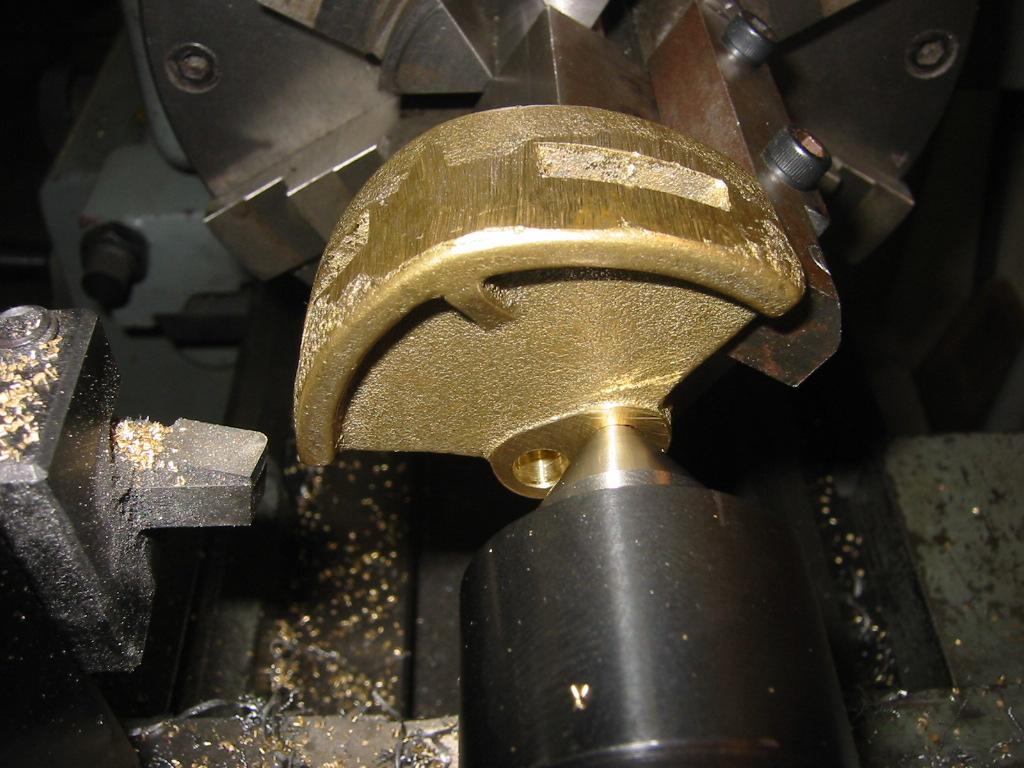
14-Jun-06 Turning the trailing truck wheels. The outer diameter has been rough turned, along with the hub and tire thickness. We add the decorative relief to…
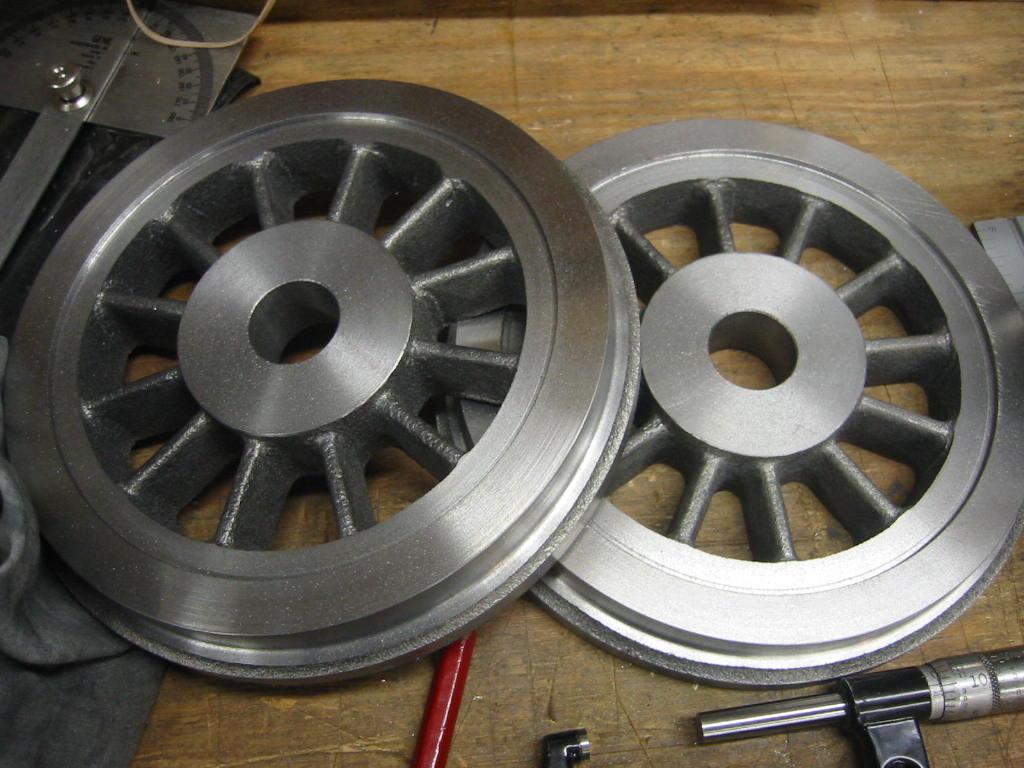
14-Jun-06 The two trailing truck wheels rough turned. We will finish turn the tread profile and finished thickness dimensions after they have been pressed on…
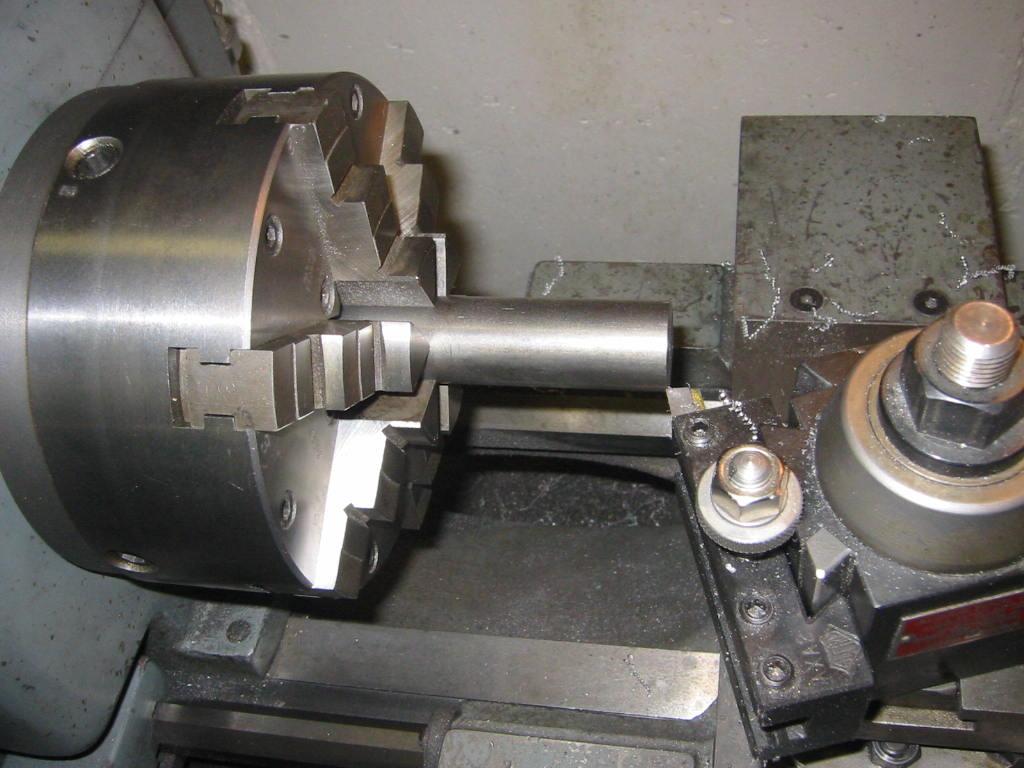
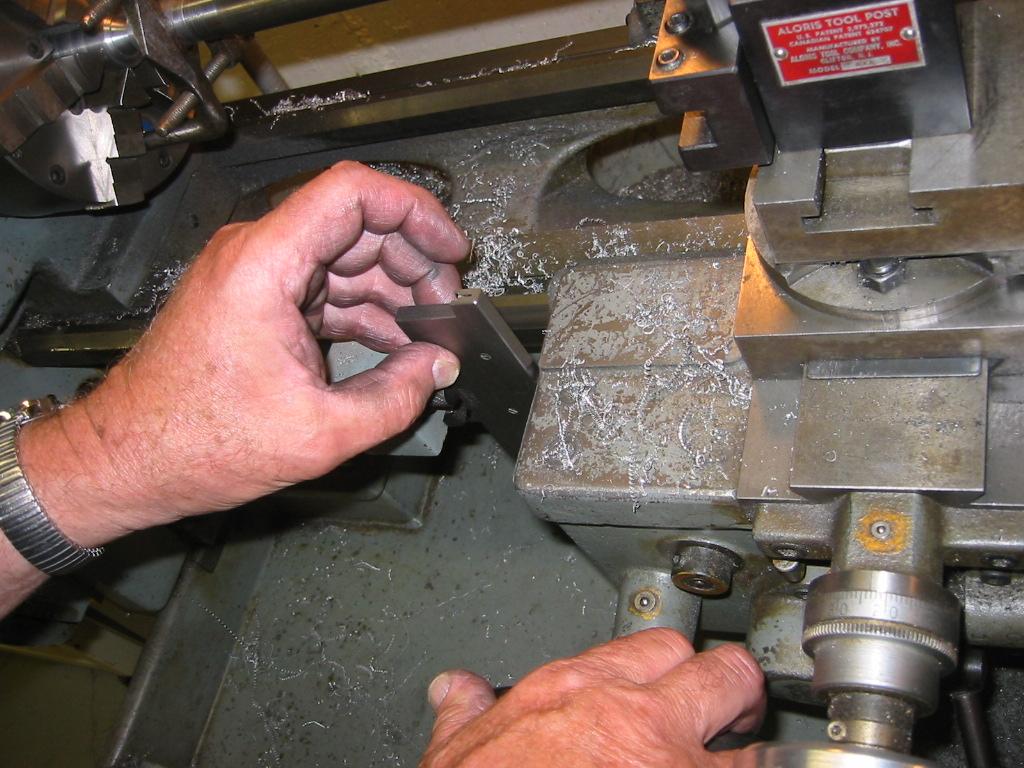
14-Jun-06 Facing the end of the trailing truck axle.
14-Jun-06 Using the height gage on the granite block to get the correct length since the 9" axle is longer than any verniers I have.
28-Jun-06 Turning the trailing truck axle between centers. Same process as we used for the main axles.
28-Jun-06 Lacking a micrometer carriage stop, we use an adjustable parallel set to the correct offset. The parallel was set using a micrometer.
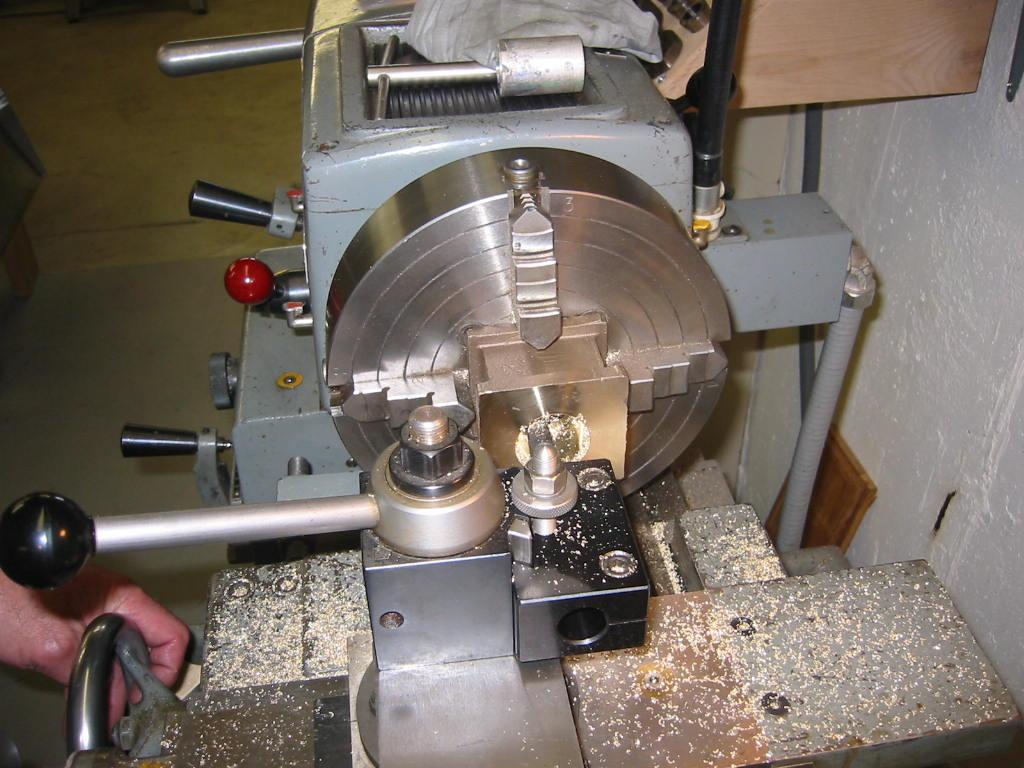
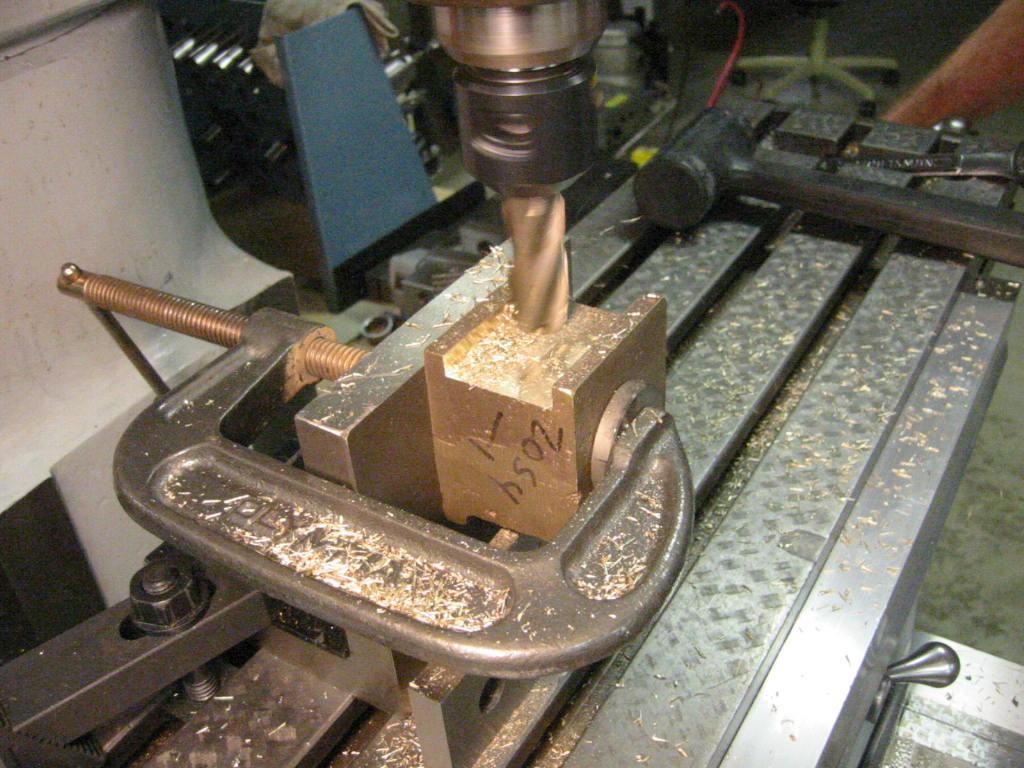
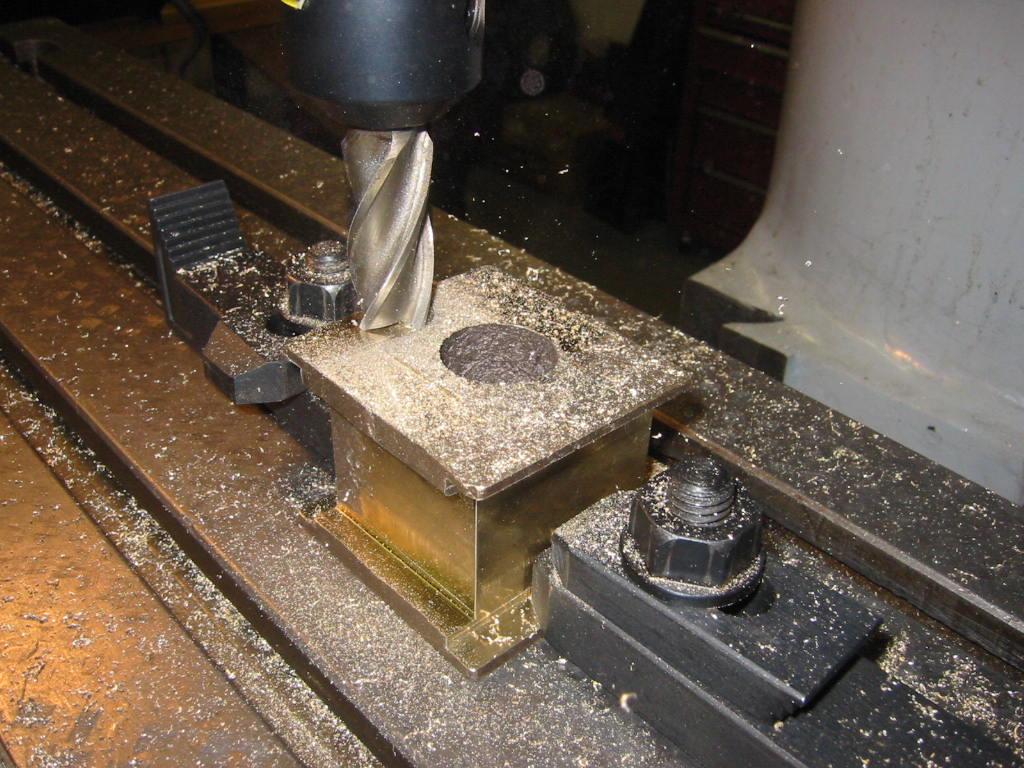
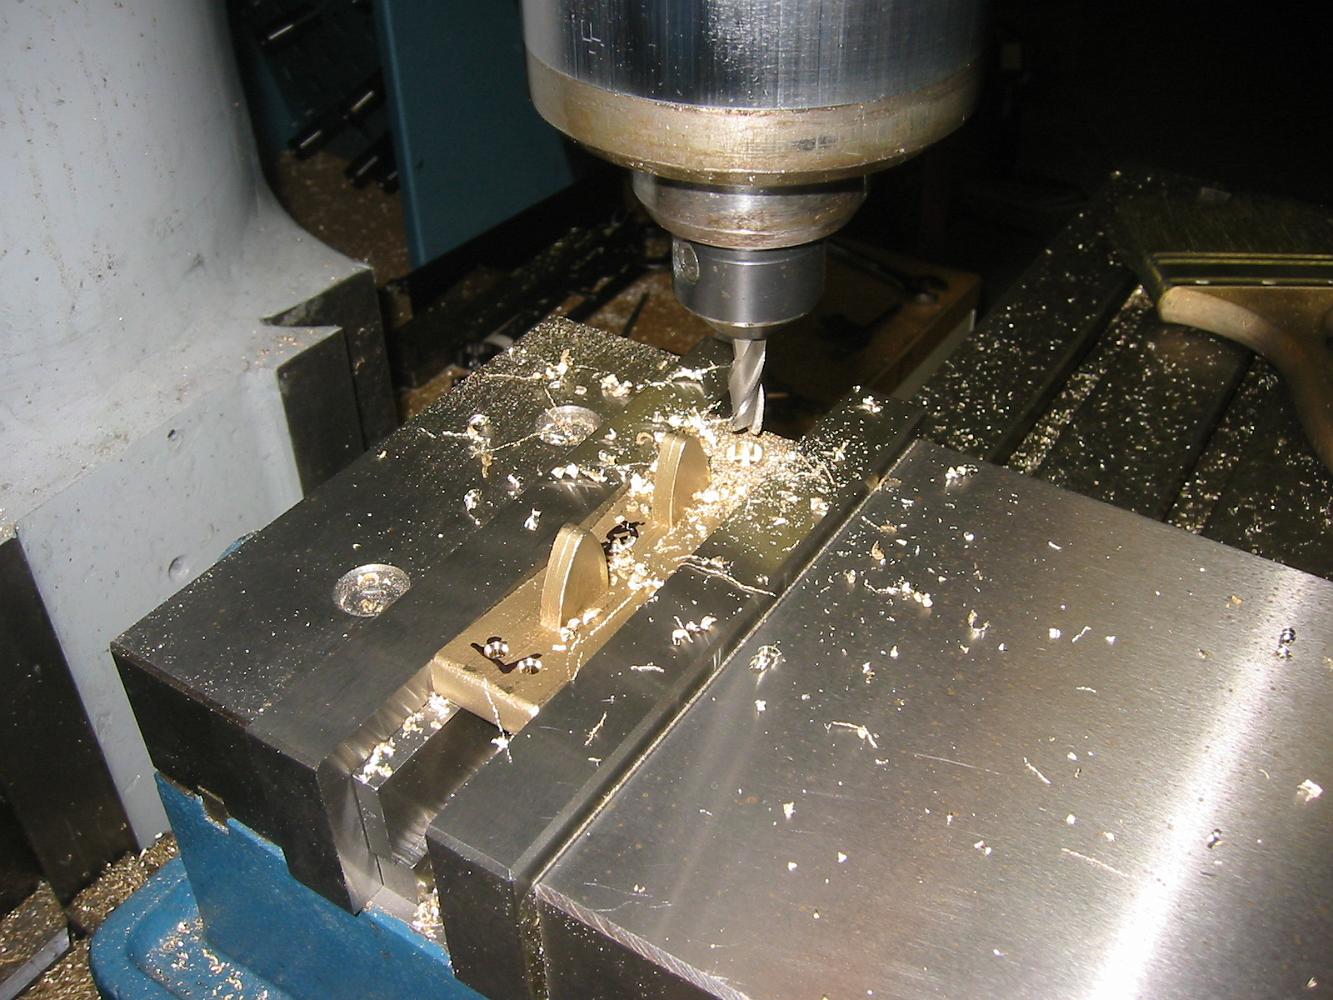
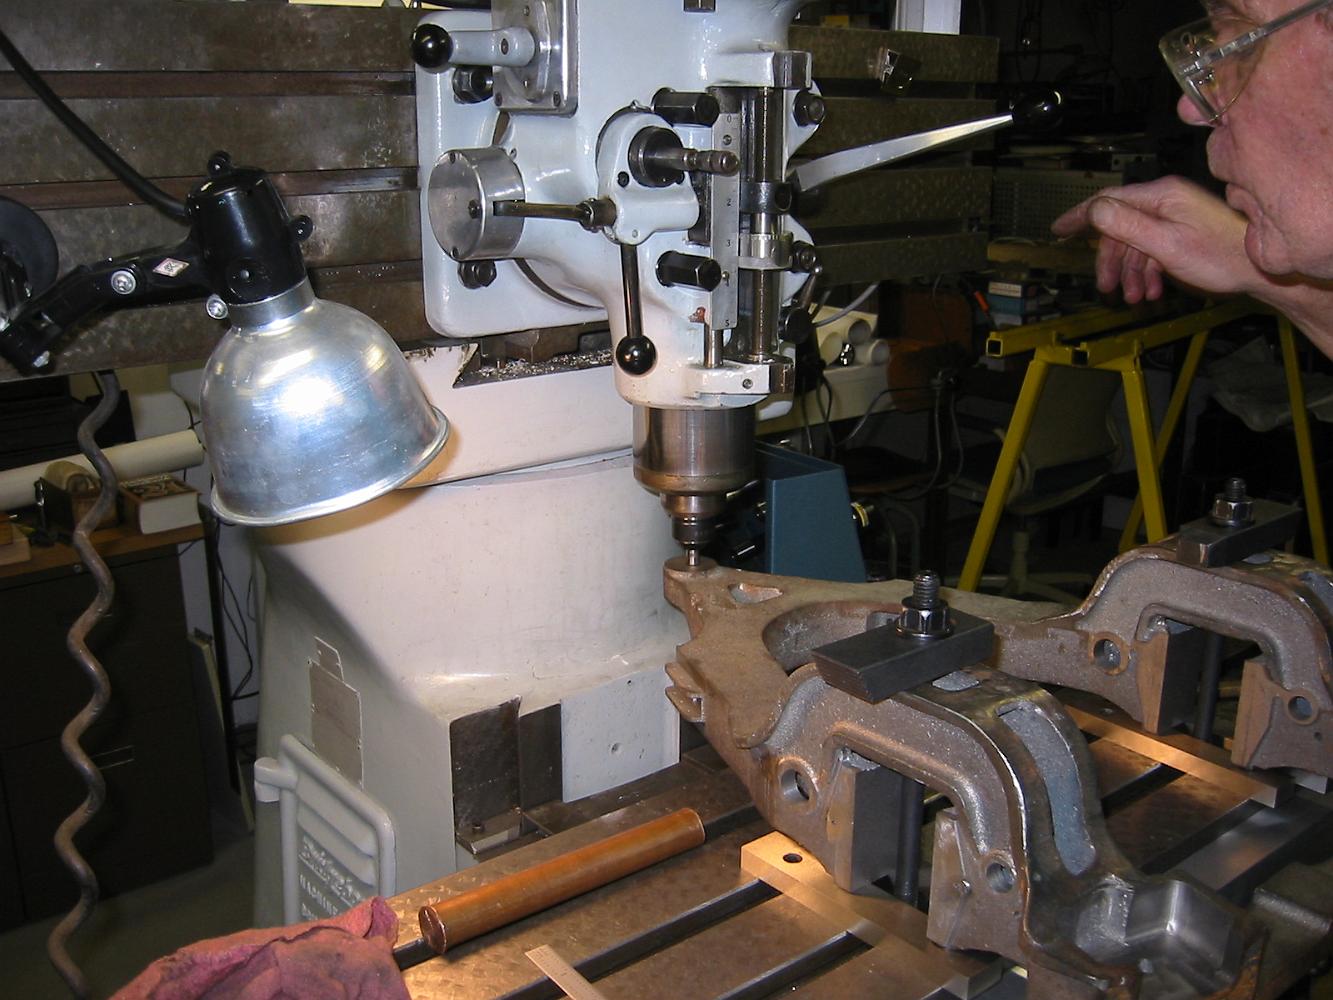
5-Jul-06 Making a fixture to hold the trailing truck Rockers for turning. We did not want to disturb the setup in the big Bridgeport, so the little mill/drill…

11-Jul-06 The arbor for turning the trailing truck rockers mounted in the six jaw chuck. The chuck jaws are on the round portion of the mandrel. The quarter…
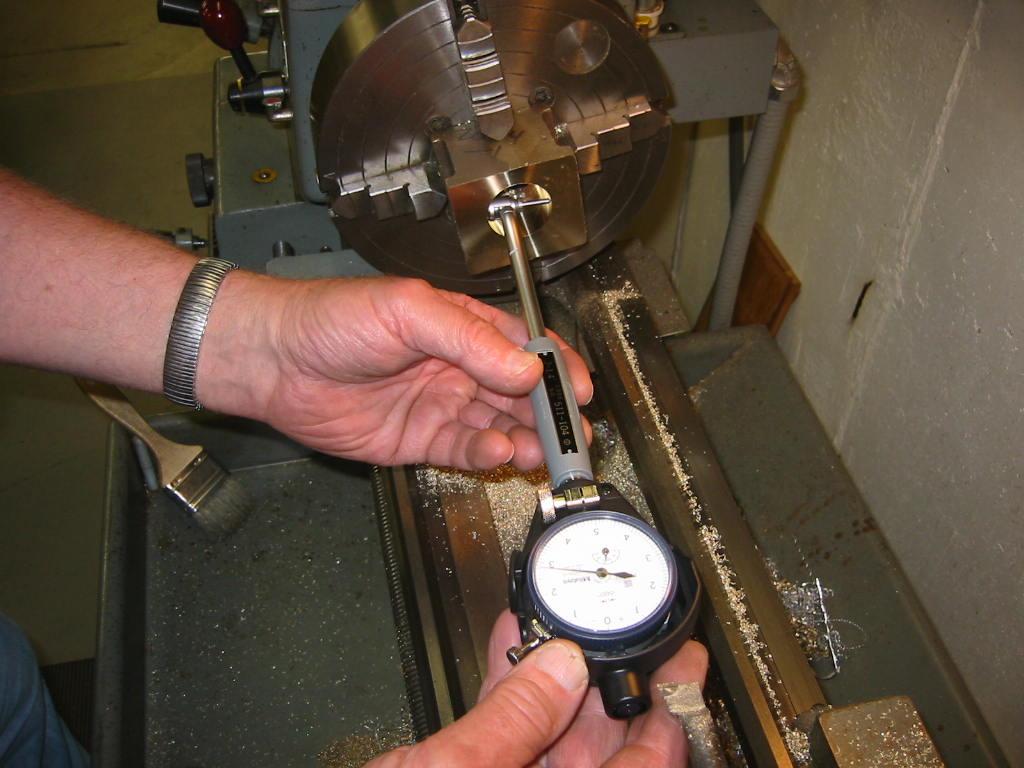
11-Jul-06 The rocker casting on the mandrel ready for turning.
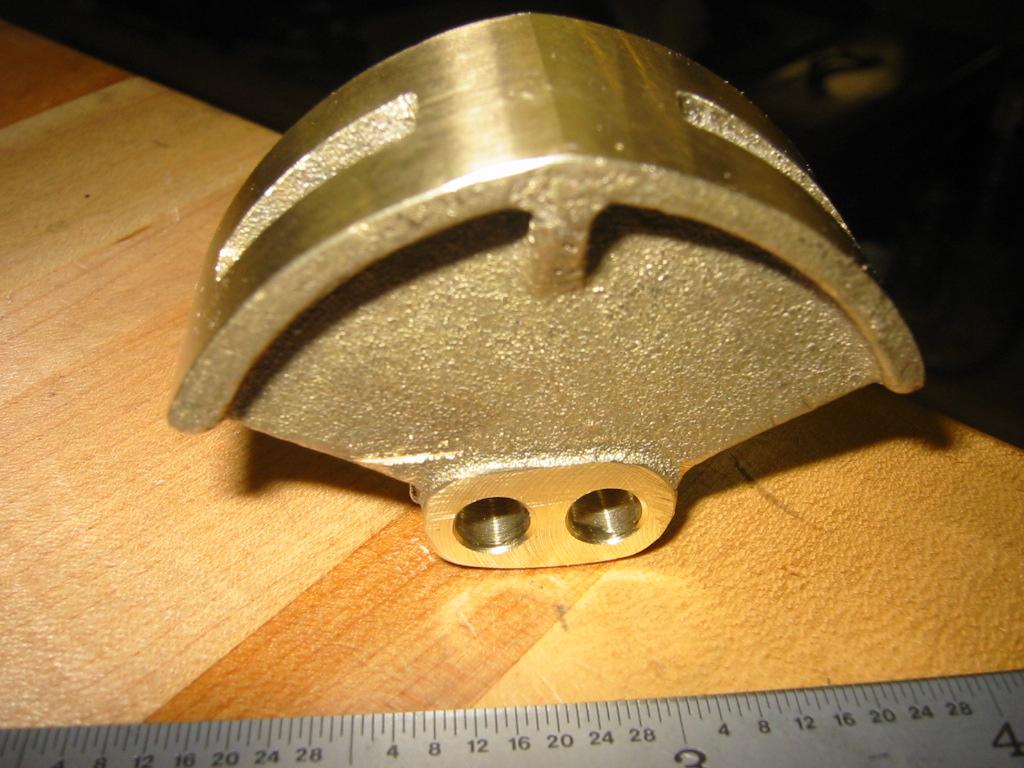
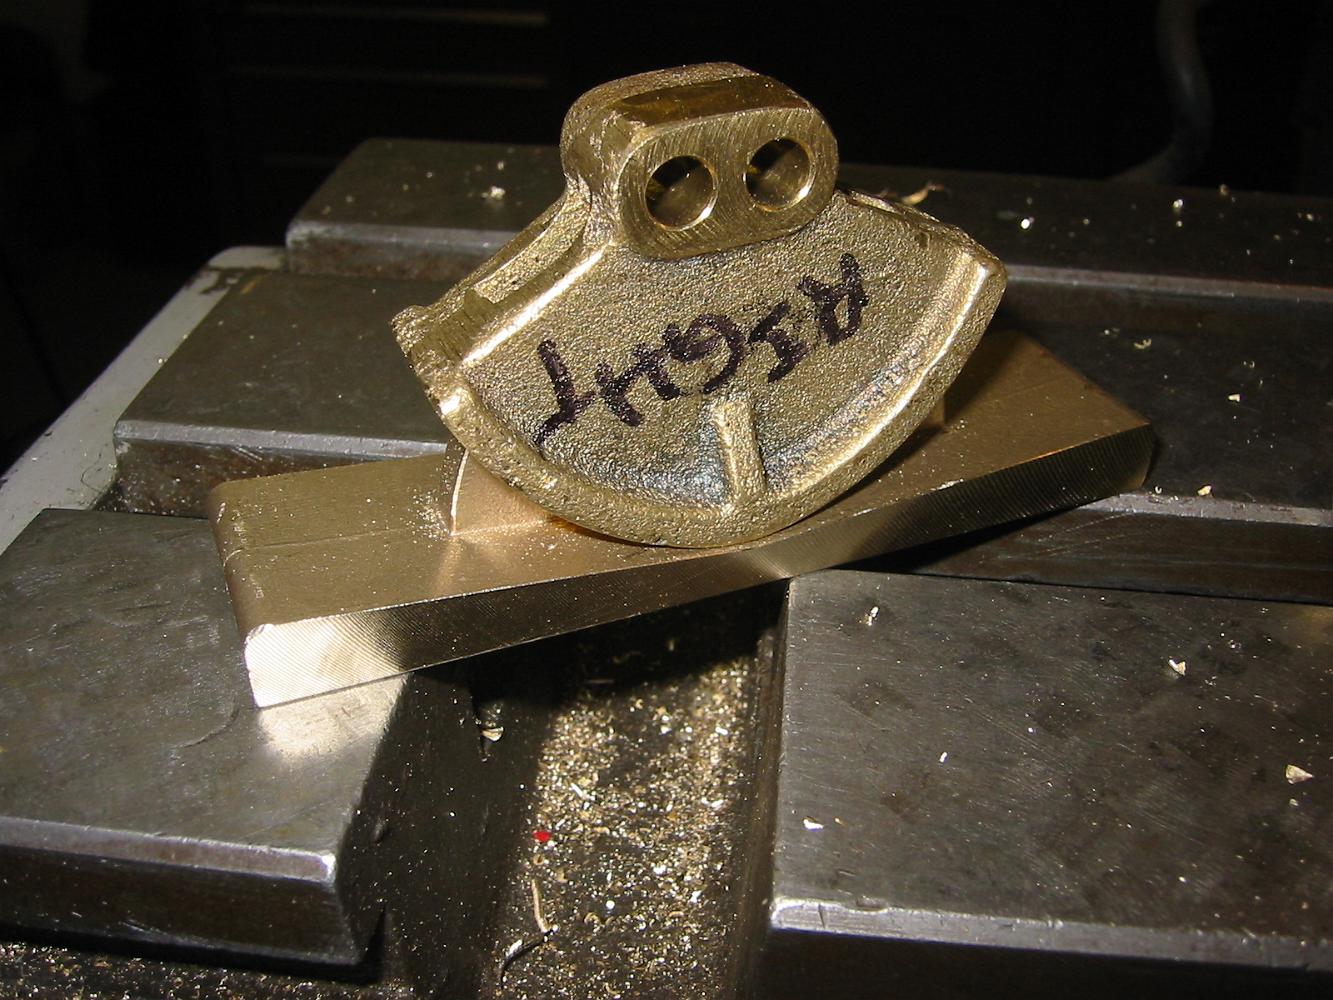
11-Jul-06 The finished trailing truck rocker. Looks good!
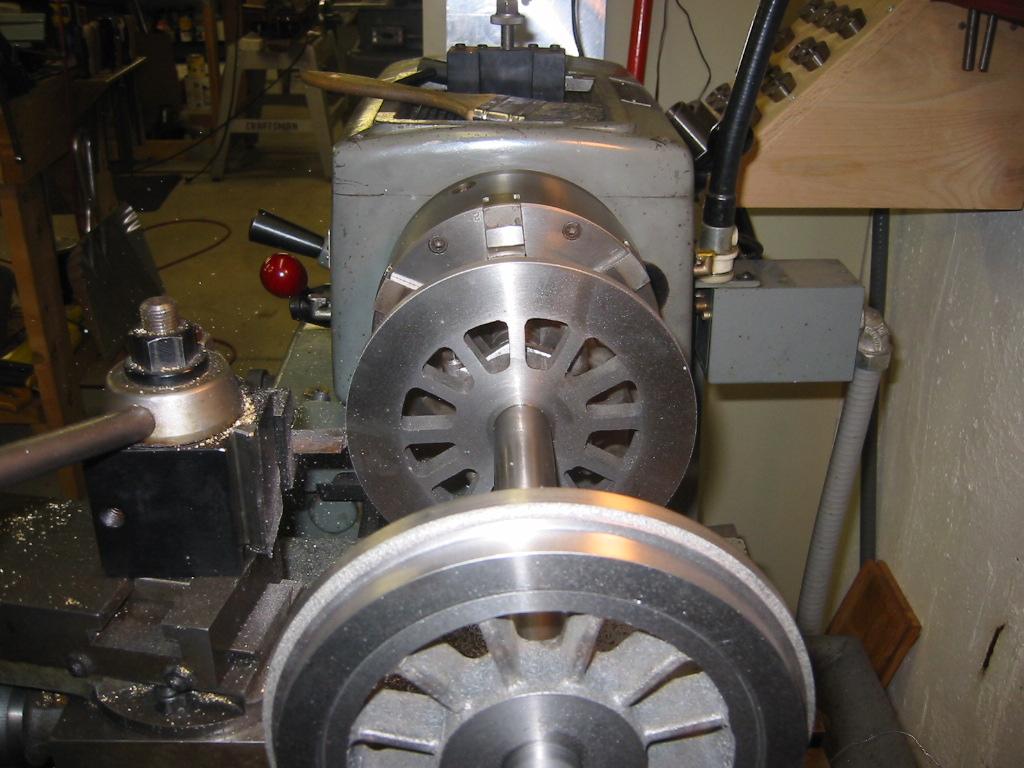
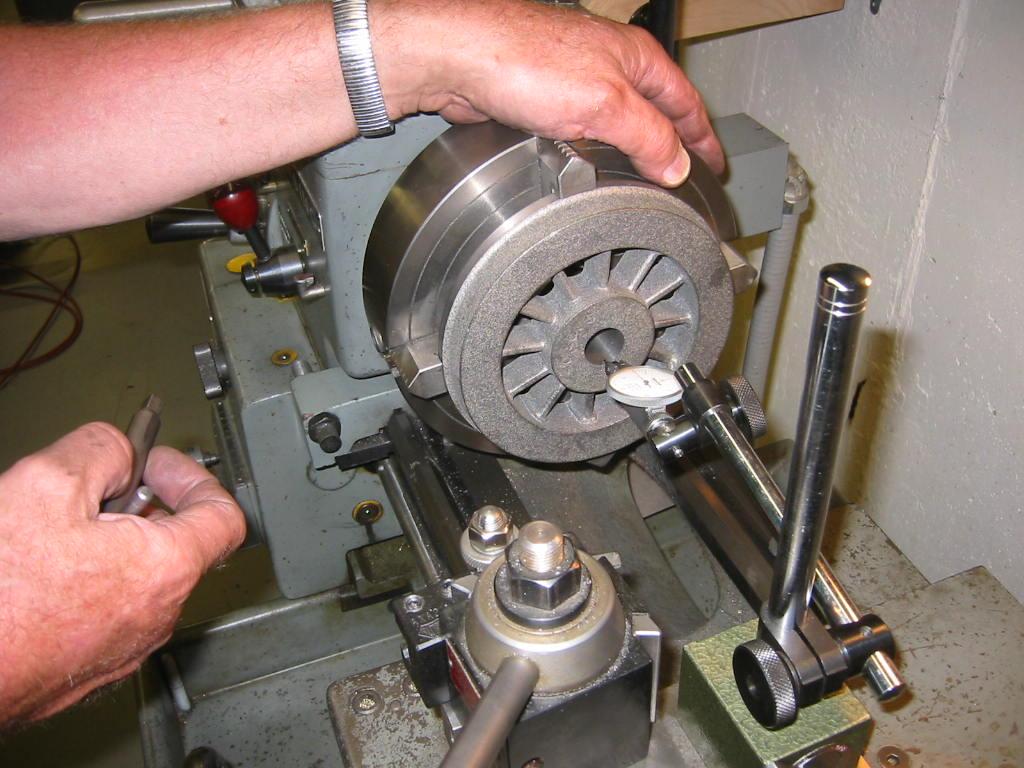
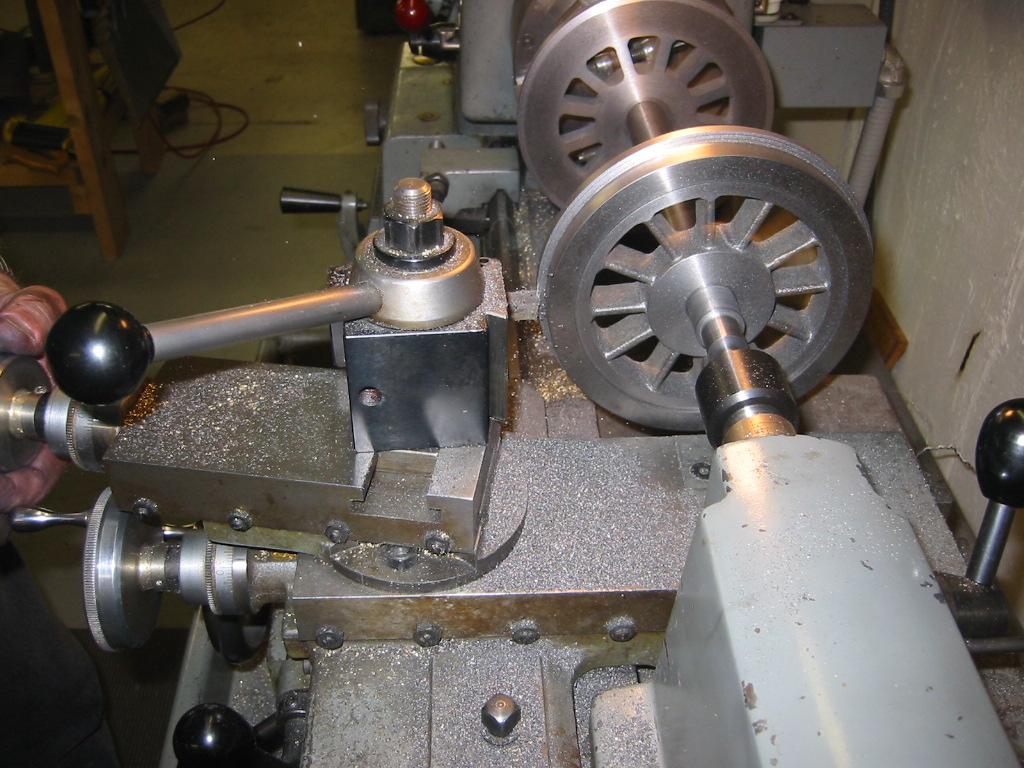
12-Jul-06 Preparing to turn the finished tread profile on the trailing trucks. Earlier that weekend I used the hydraulic press at Joel's shop and pressed the…
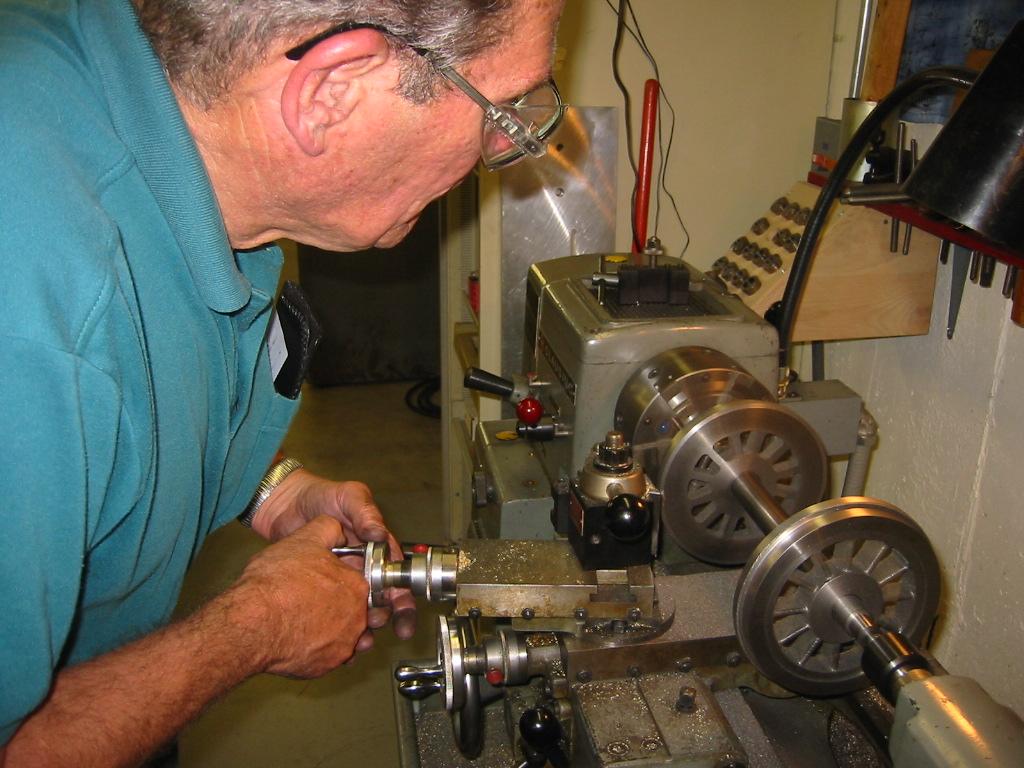
Turning the 10 degree flange taper on the trailing truck wheels. 12-July-06
12-July-06 Turning the tread profile in the trailing truck wheels. This challenged machinist and machine, since this light duty lathe is not really rigid enough…
6-Dec-06 After leaving this section incomplete back in July while waiting for replacement brass parts to come in (I didn't want the aluminum parts originally…
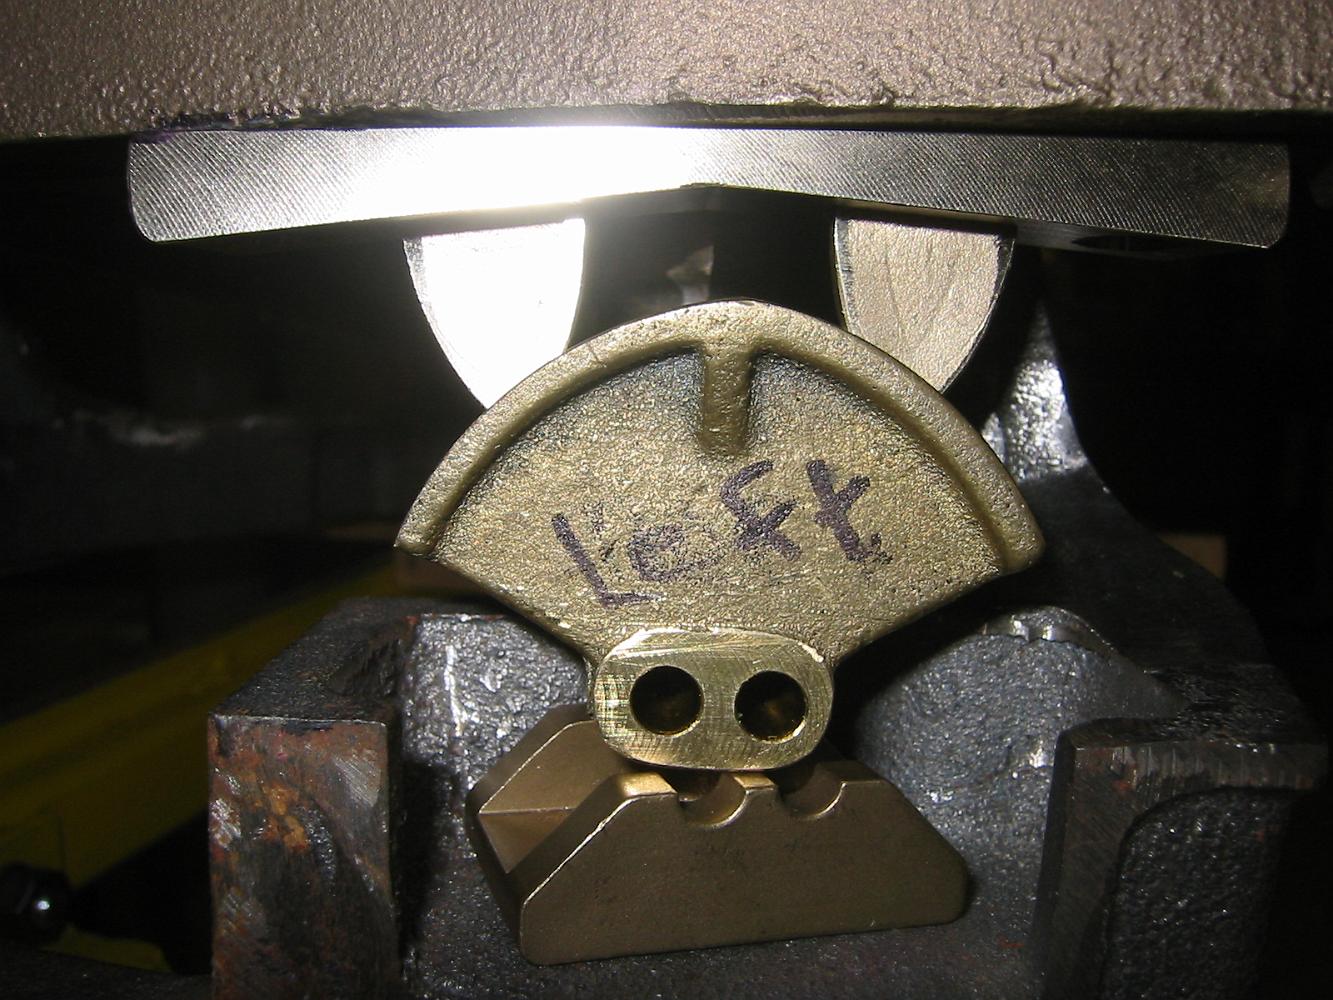
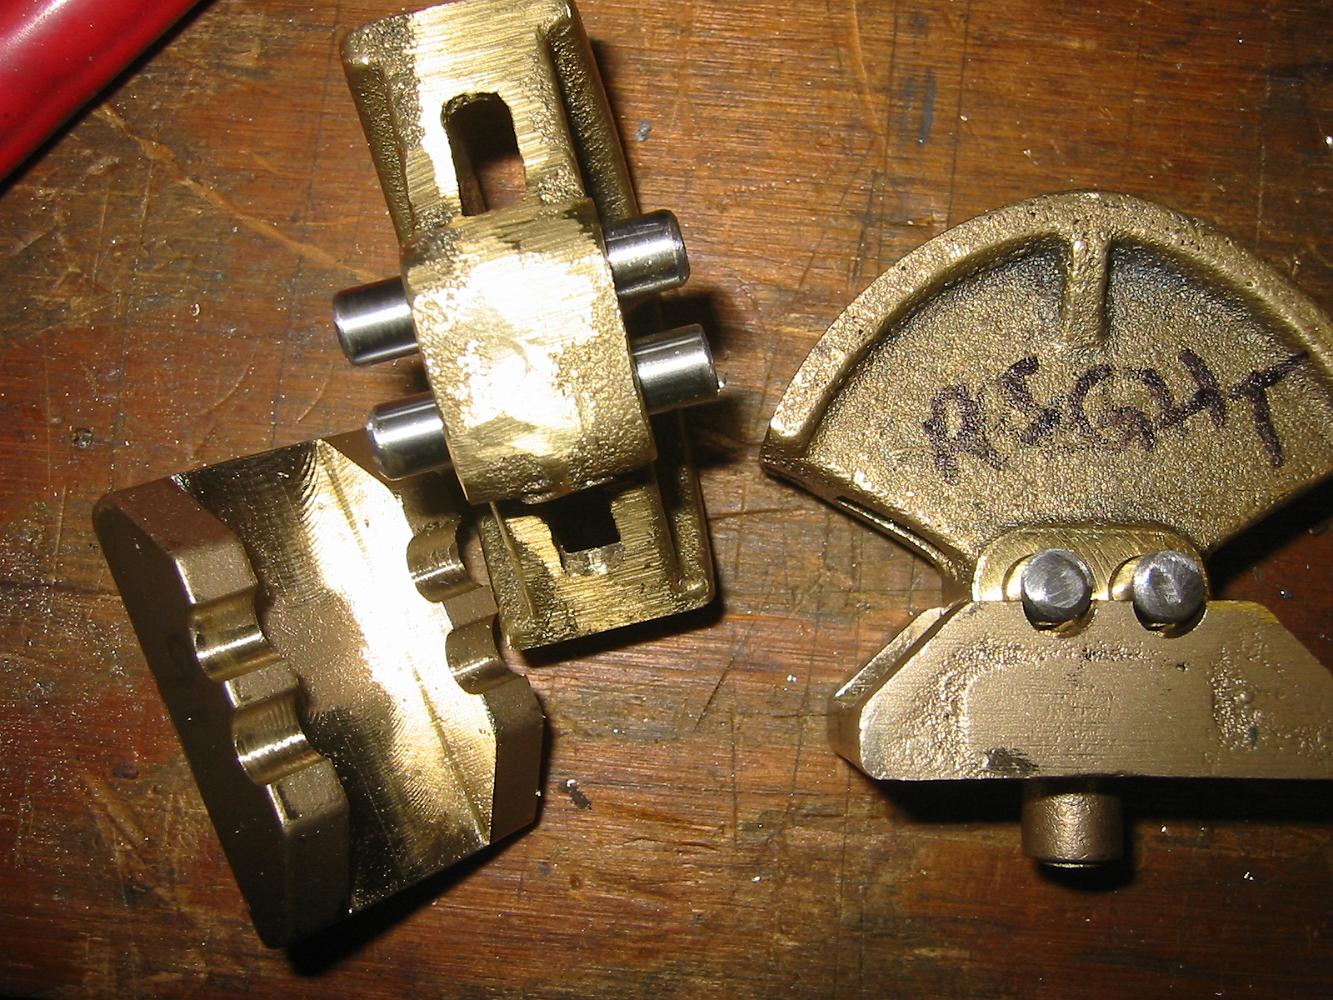
6-Dec-06 While Bill was machining the rocker guides, I worked the slots in the rockers (labeled "right") with a file for smooth operation.
6-Dec-06 Another part to bolt on! That always feels good. The rocker guide (top) has been bolted to the tail cradle, the rocker positioned in the guide and the…
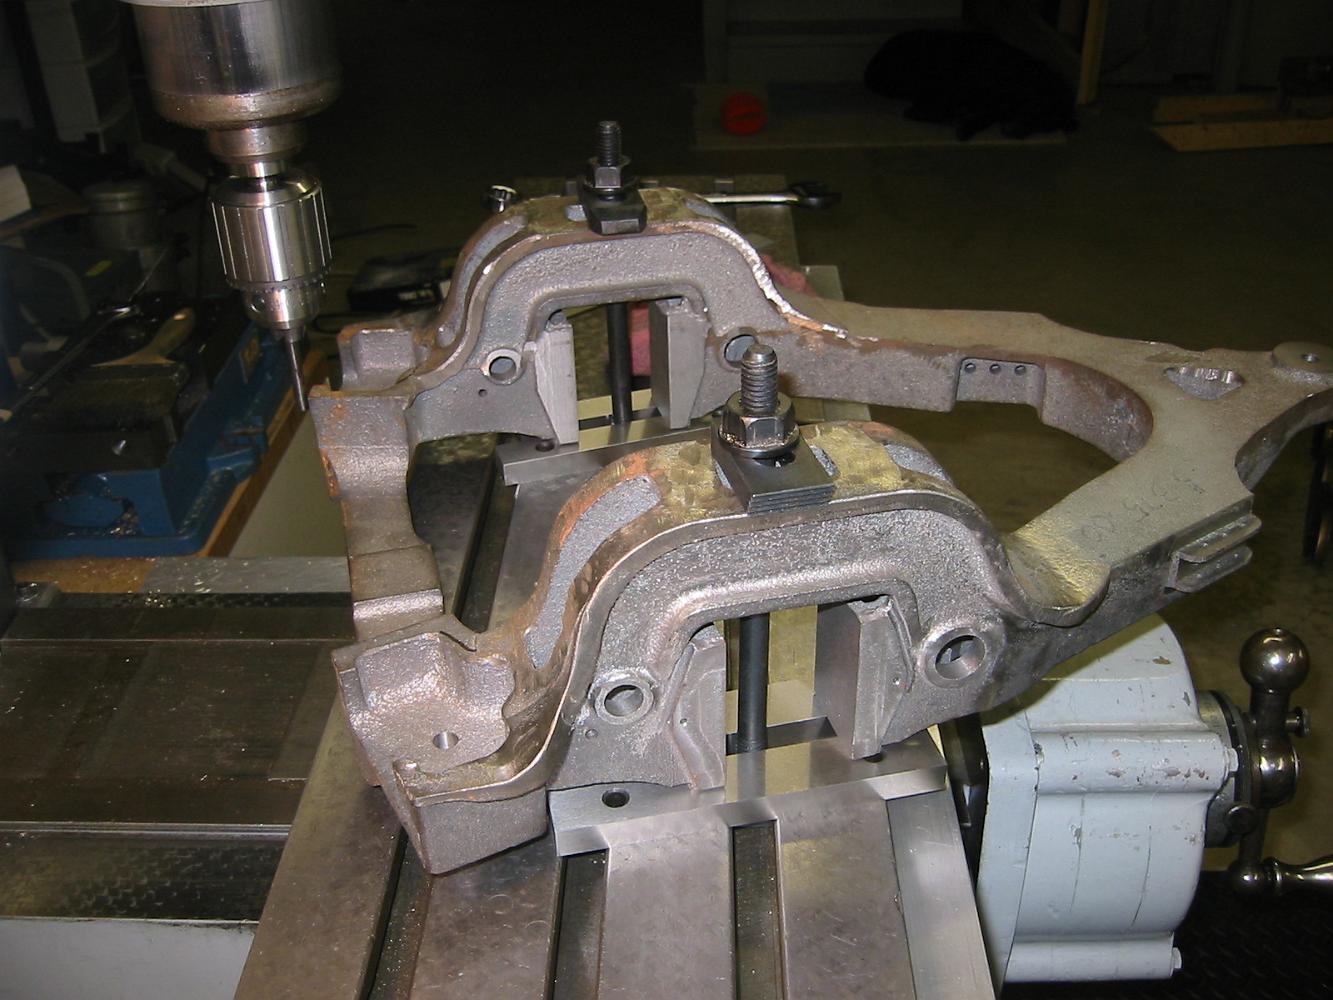
30-Jan-07 After assembly, we find we have machine the pockets since the casting is slightly larger than the print,
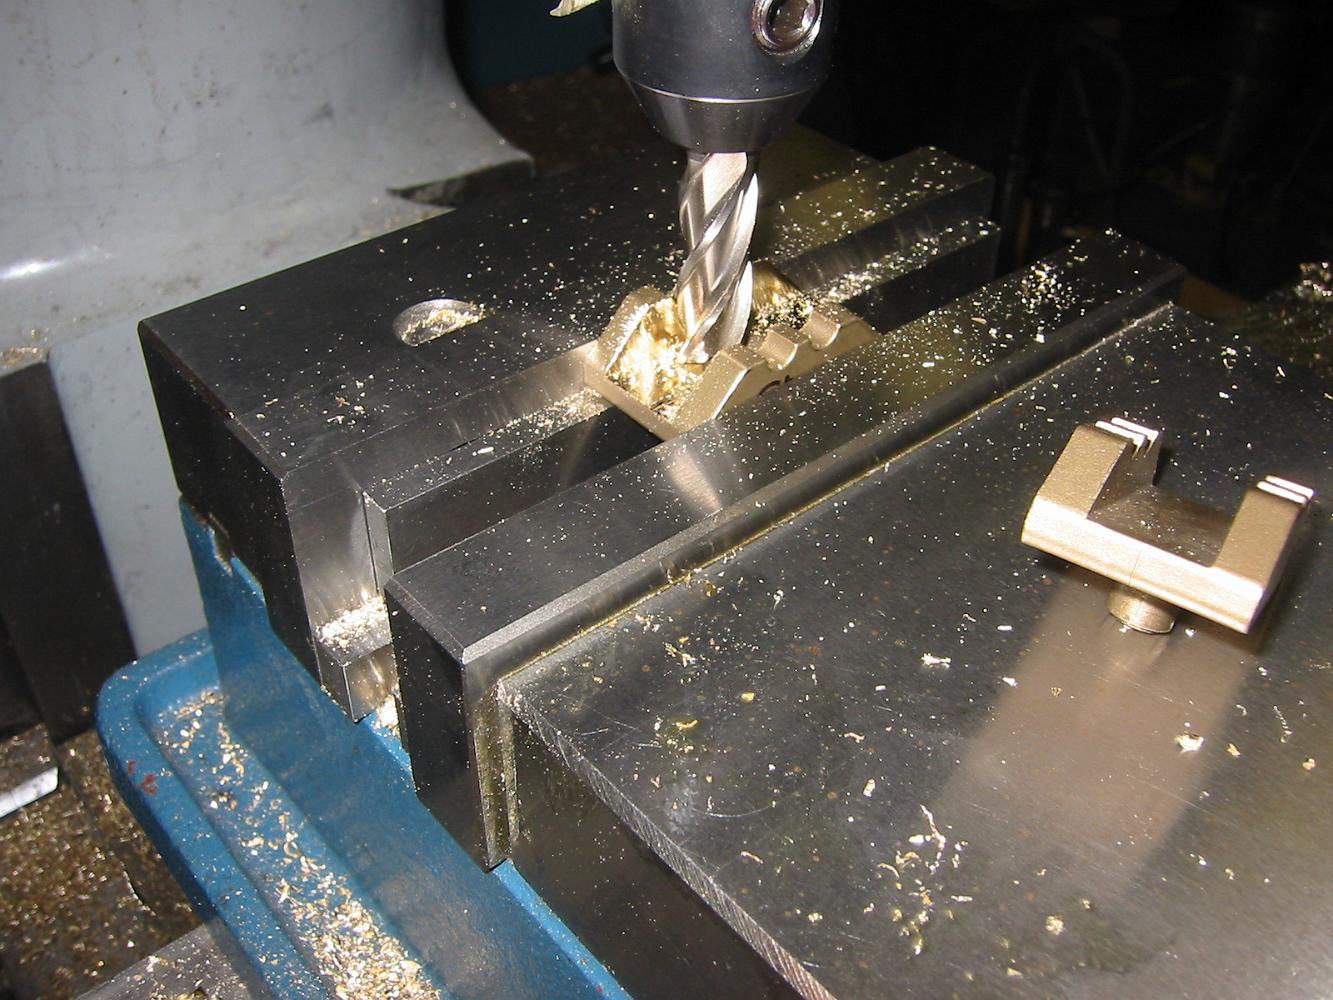
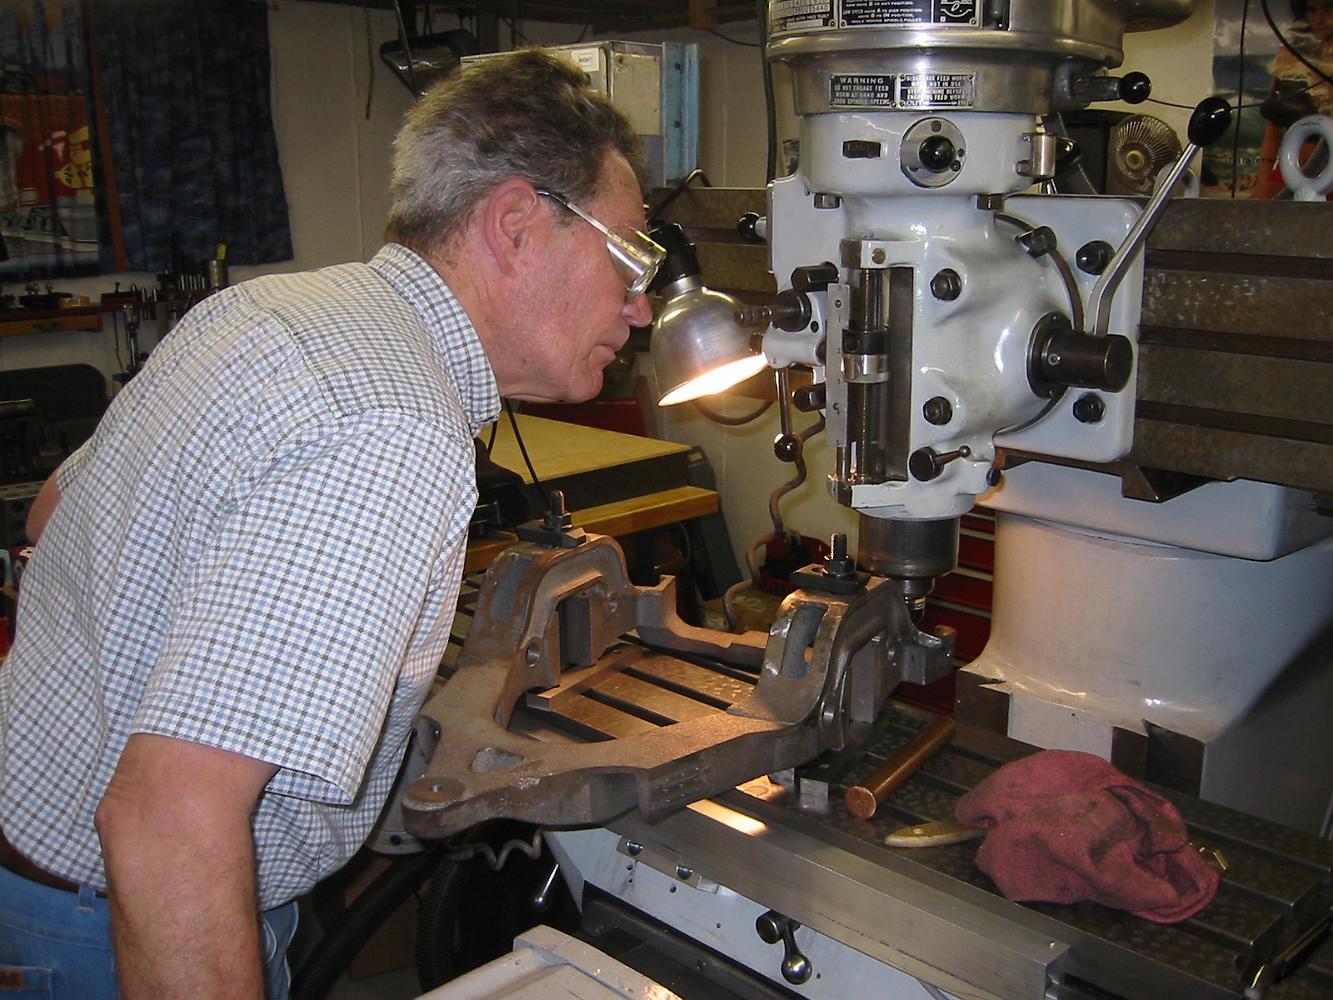
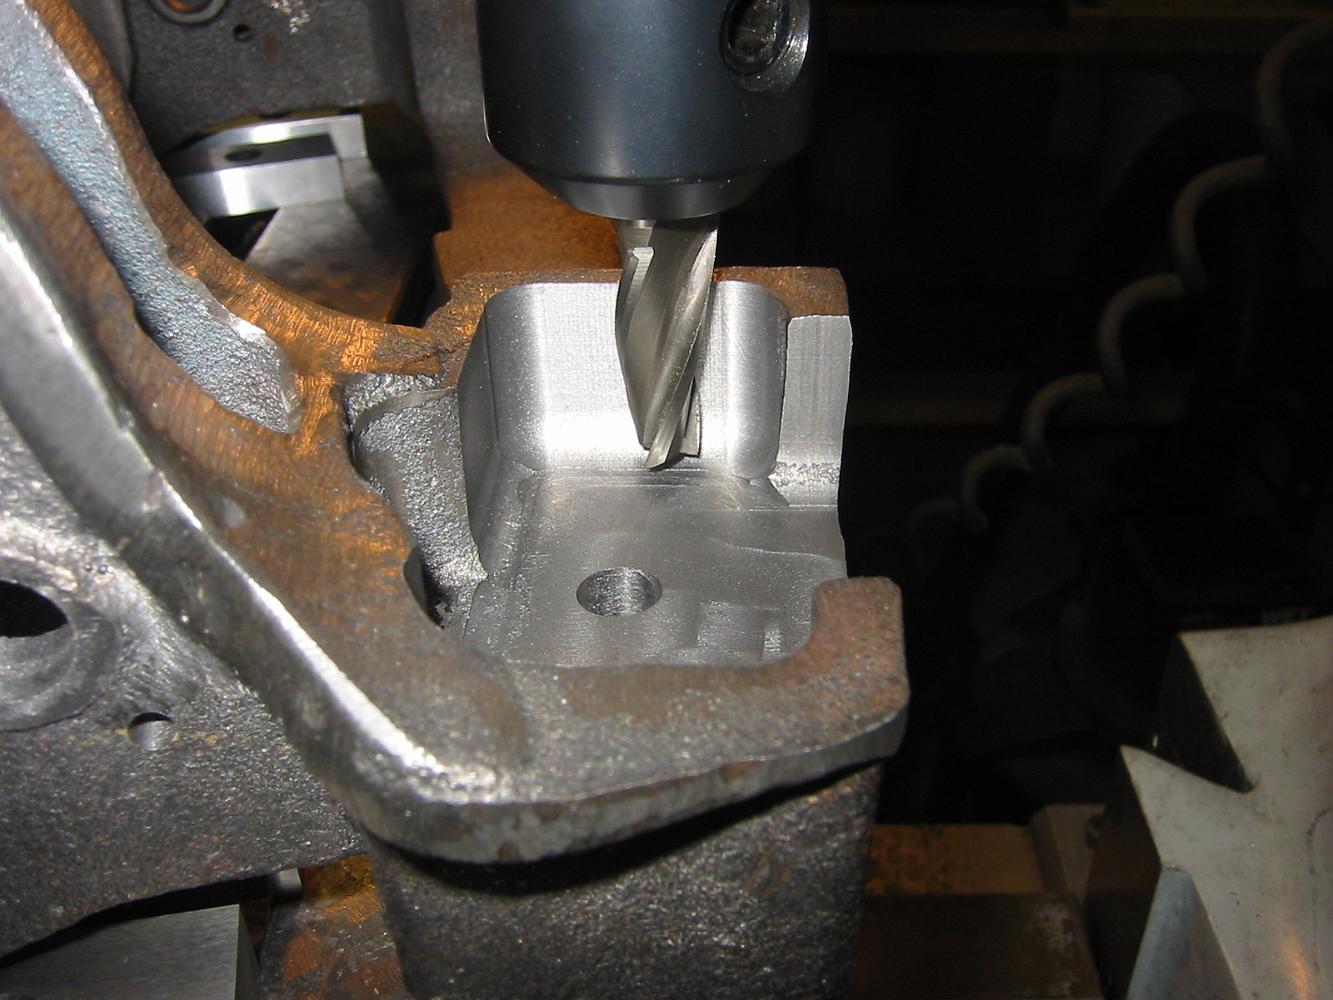
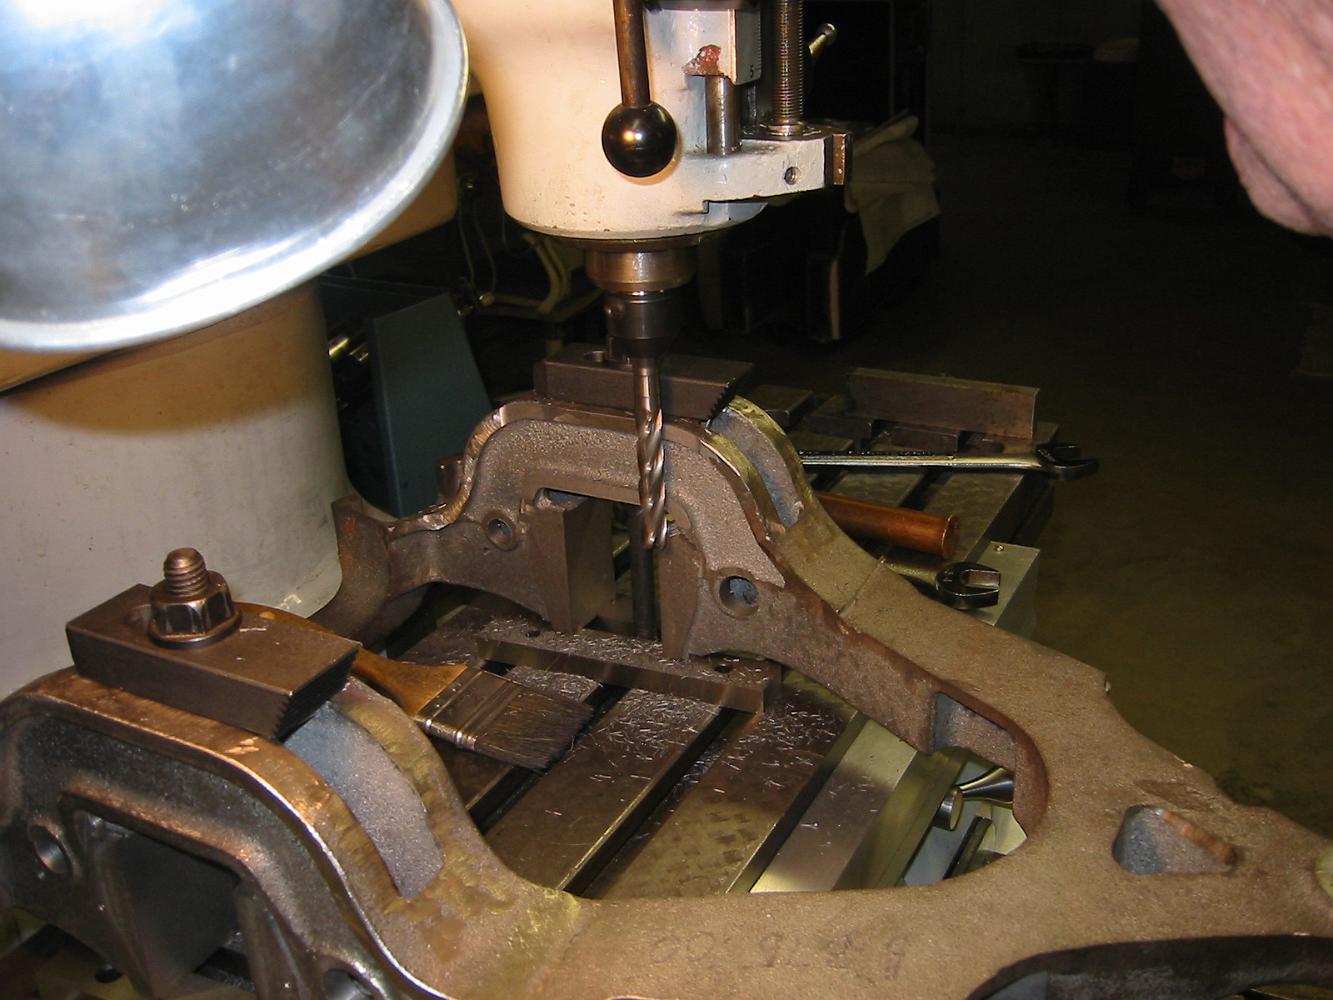
30-Jan-07 Milling the rocker pad pockets out so the rockers will line up and have enough freedom of motion as required by print. The raw casting is a little bit…
7-Feb-07. I've purchased some cup washers to use instead of the casing boss, so we machine the boss down and put a pocket in it for the washer.
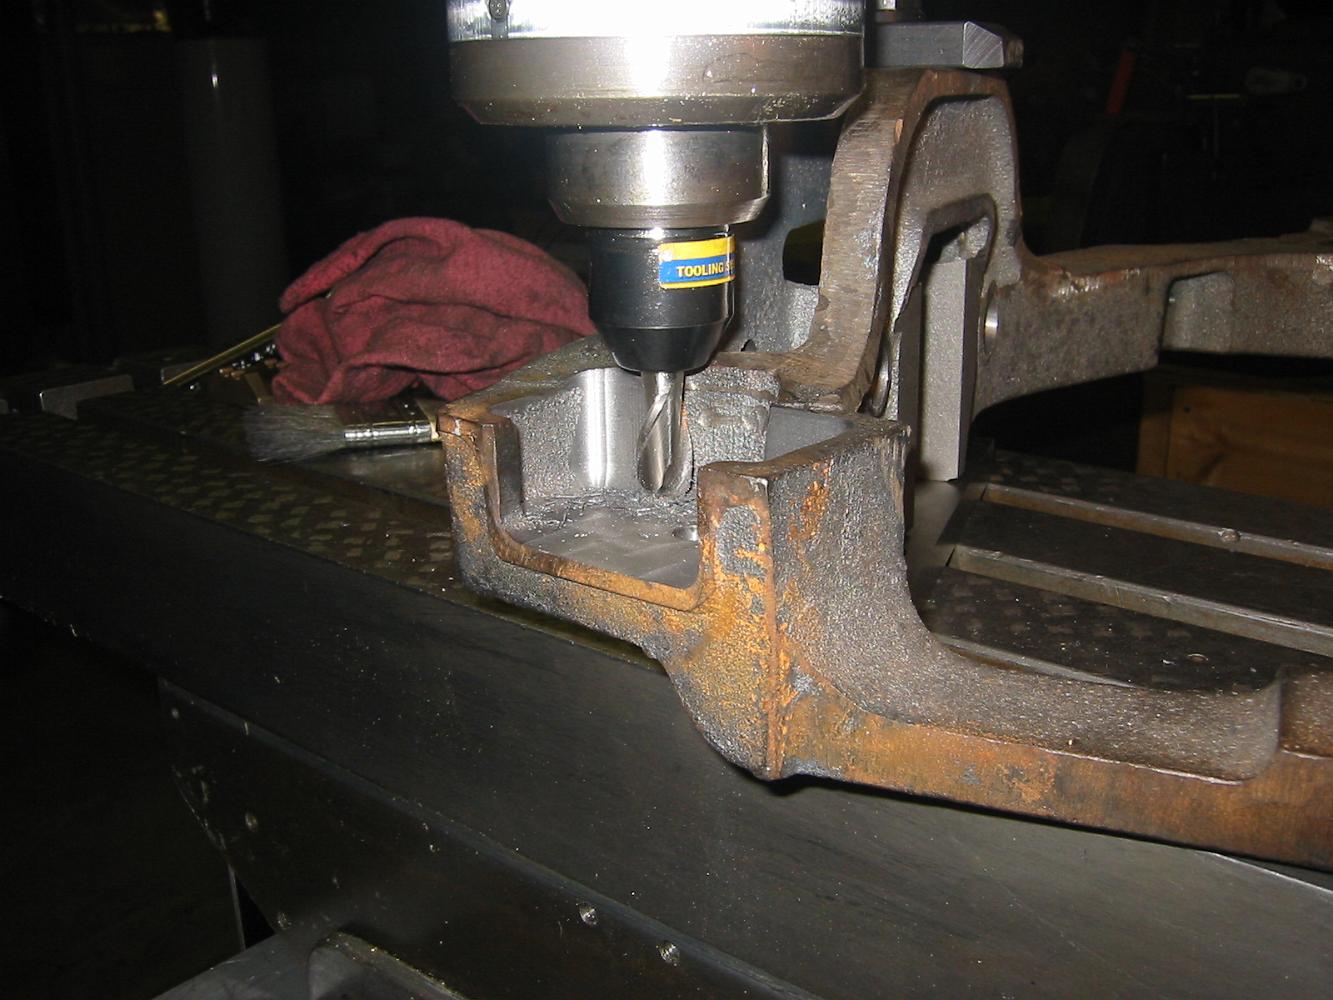
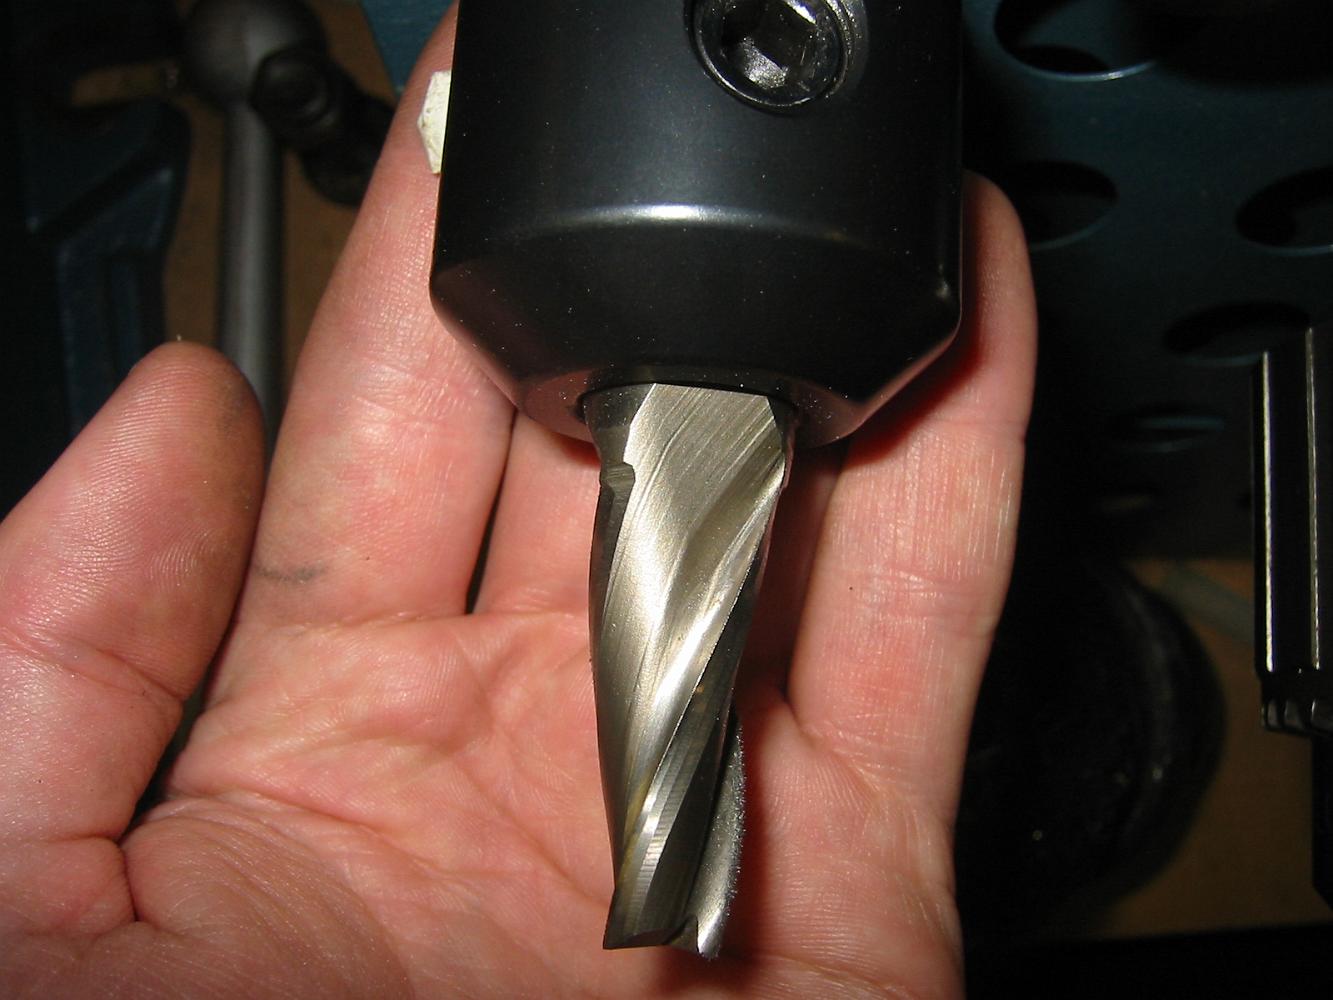
14-Feb-07 Try #2 to widen the rocker pockets. Here we use a 5 degree taper mill that my brother gave me. We get the clearance we need.
1-Aug-07 I was not convinced the original aluminum arms could really take the weight and wear, so I purchased replacement bronze arms from Bob Pederson at…